
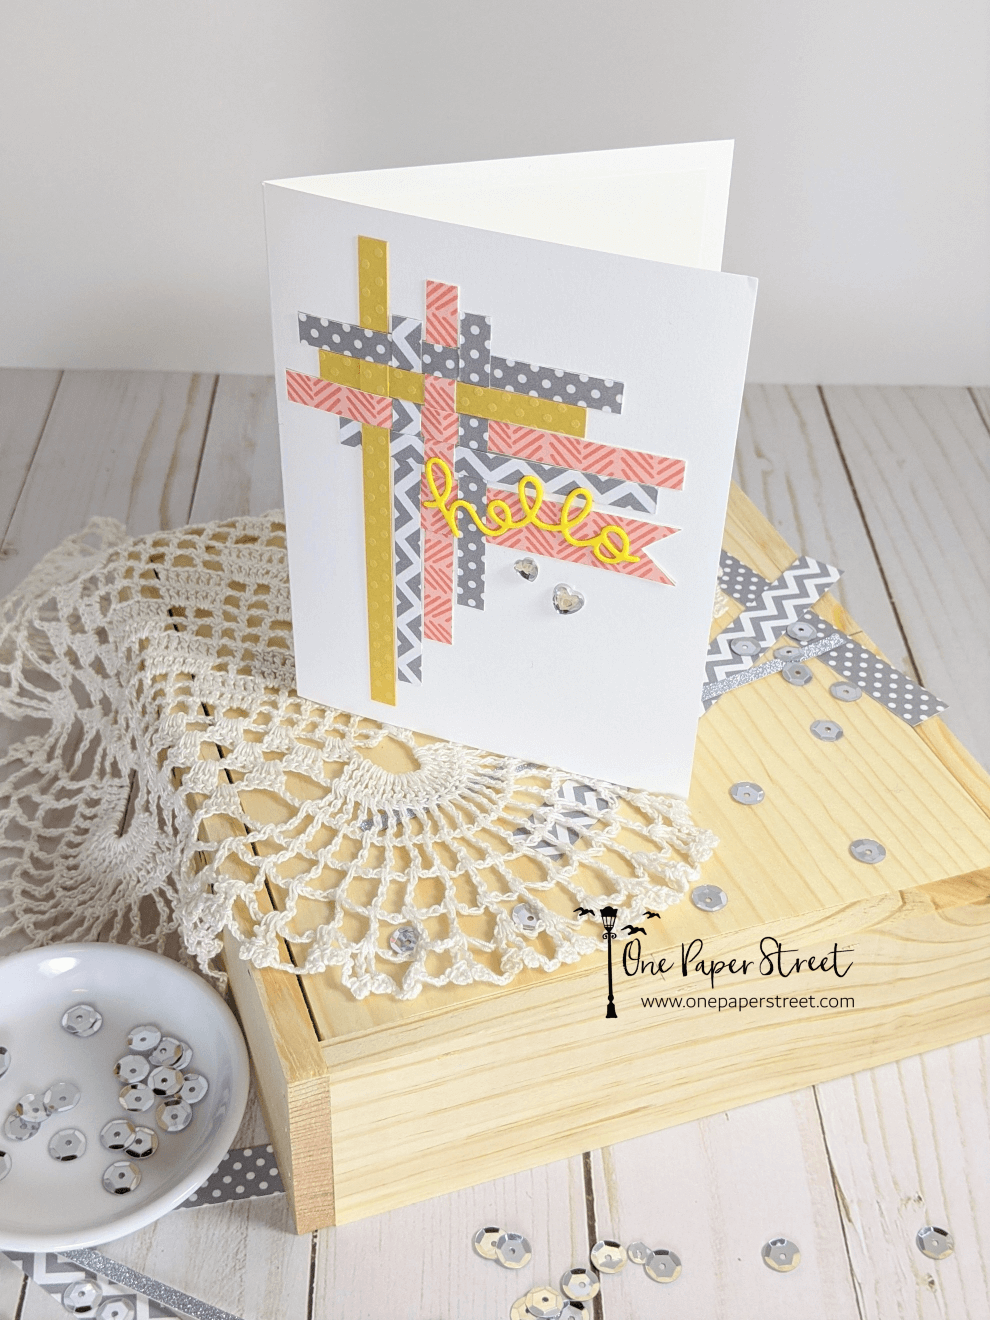
Happy Monday everyone! I’ve had some paper scraps and washi tape lying around my craft room from past projects, so I challenged myself to turn them into a new design. One thing I love about this Woven Hello card is that it didn’t require a ton of supplies, and knowing that I used mostly leftover supplies, makes me appreciate it even more!
My washi tape also served duel purposes for this card. In this post, I’ll walk you through how you can make a simple card with leftover supplies, and how to make a washi tape banner. All the supplies I used and a full tutorial are both listed below. So stick around and enjoy!
Watch the Woven Hello YouTube tutorial below.
If you’re having trouble viewing the video, you can also click this link.
I always like to use leftover paper or ribbon scraps where I can. If you’re interested in seeing other projects where I repurposed scraps, you can click here to view all of those cards!
Woven Hello Materials Used:
This blog may use affiliate links when they’re available. If you choose to make a purchase through one of these links, I may receive a small commission at no cost to you. I don’t make recommendations lightly, and will only link to products I know and trust.
- Pink Washi Tape (mine is sold out, but here are some similar items) [Scrapbook.com]
- Bazzill Dotted Swiss Cardstock – Honey [Amazon]
- Grey Polka Dot Cardstock
- Grey Chevron Cardstock
- Neenah Solar White Cardstock [Scrapbook.com] [Amazon]
- Fiskars Recycled Bypass Trimmer, 12 Inch [Amazon]
- EK Tools EK Scoring Board 12×12 [Amazon]
- Feather No.55 Switch-Blade Shear, 5.5 Inch [Amazon]
- Trim Slant Tip Tweezers [Amazon]
- Lawn Fawn – Magic Color Slider Die Set [Scrapbook.com] [Amazon.com]
- Sizzix BIGkick Machine [Scrapbook.com] [Amazon]
- Rhinestones (These heart-shaped rhinestones are sold out, but here’s another pack I’ve purchased that I really like) [Amazon]
- Tombow MONO Aqua Liquid Glue [Scrapbookpal.com] [Amazon]
- Scrapbook Adhesives Initially Repositionable Mounting Squares [Amazon]
Are you trying to repurpose materials because you’re trying to save money? If so, learn more about how you can make a realistic and helpful crafting budget!
Woven Hello Tutorial:
Step 1. Choose cardstock scraps for the woven pattern.
As I mentioned earlier, I used leftover paper scraps from previous projects to make the woven pattern on this greeting card. I trimmed each strip of paper to be .25 inches wide and made two strips of paper for each color cardstock I used. The length of the strips varied in size. Most of the paper that I used is not sold online anymore, but the Bazzill Honey Yellow cardstock I used can be found here.
Step 2. Create paper with washi tape.
Next, I used Washi tape to make the pink patterned strips that you see on the card. I grabbed a strip of Neenah Solar White cardstock that was about .75 inches in width and 6 inches long then laid a strip of pink patterned washi tape overtop of cardstock. Then I trimmed the paper to remove any excess white paper. Lastly, I cut the .5 inch wide washi tape paper in half, so that it would be the same size as the other strips.
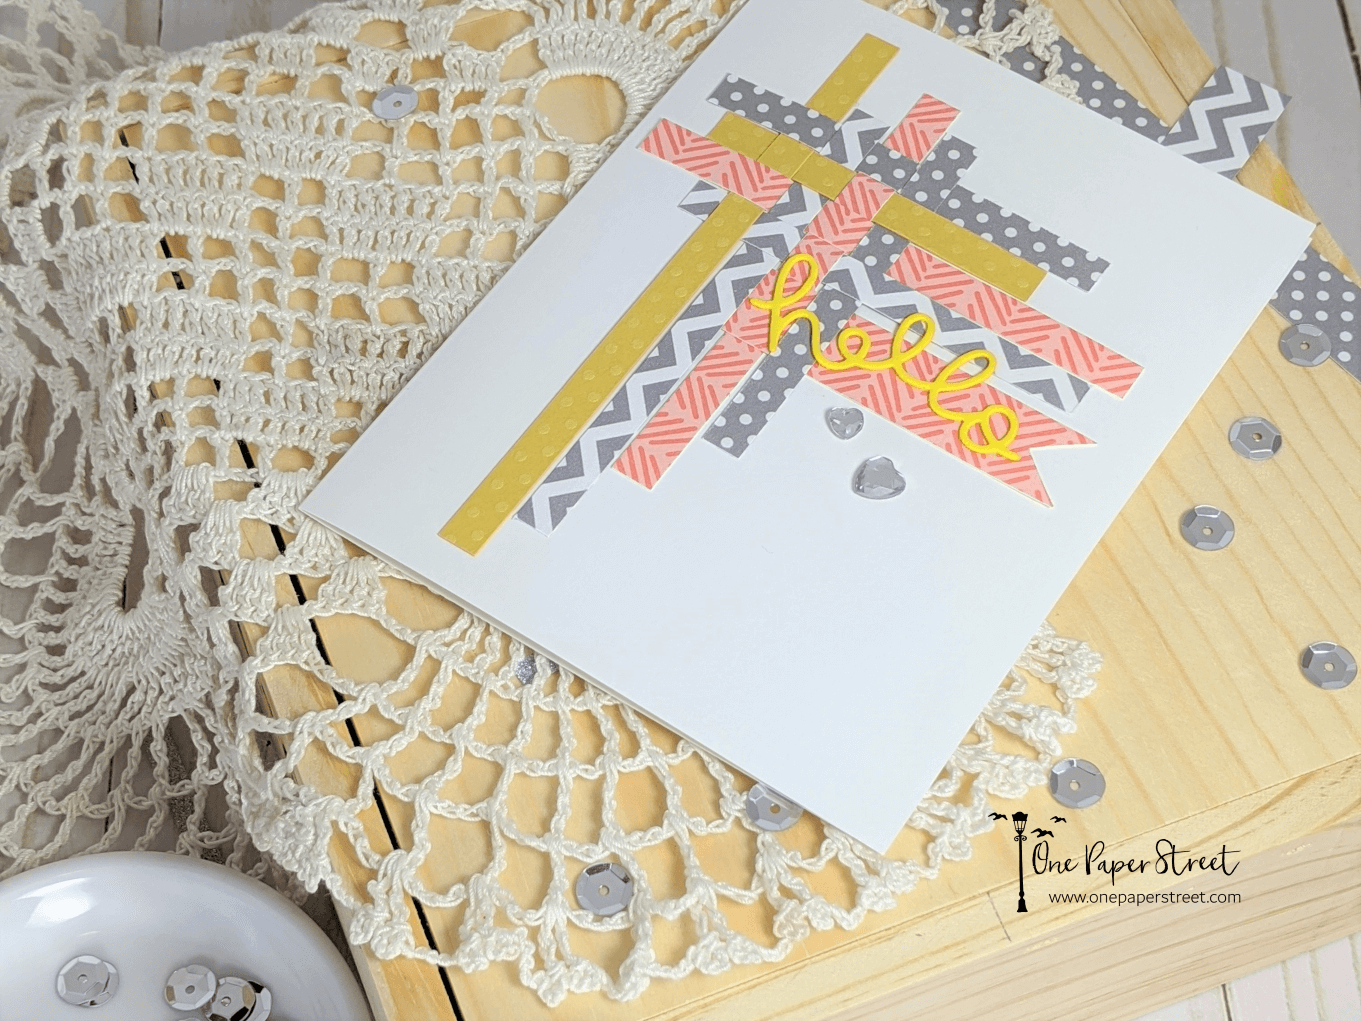
Step 3. Design the woven pattern
Much like weaving a basket, I wove each sheet of cardstock in between each other to make a thatched design. I didn’t want the design to look to uniform, so I would shift strips of paper around during the weaving process. l didn’t adhere anything until I had my design looking the way I wanted it. Once everything was in place, I flipped it over and added Scrapbook Adhesives mounting squares to the middle of the design and the bottom of each strip of paper. I secured it in place on the card.
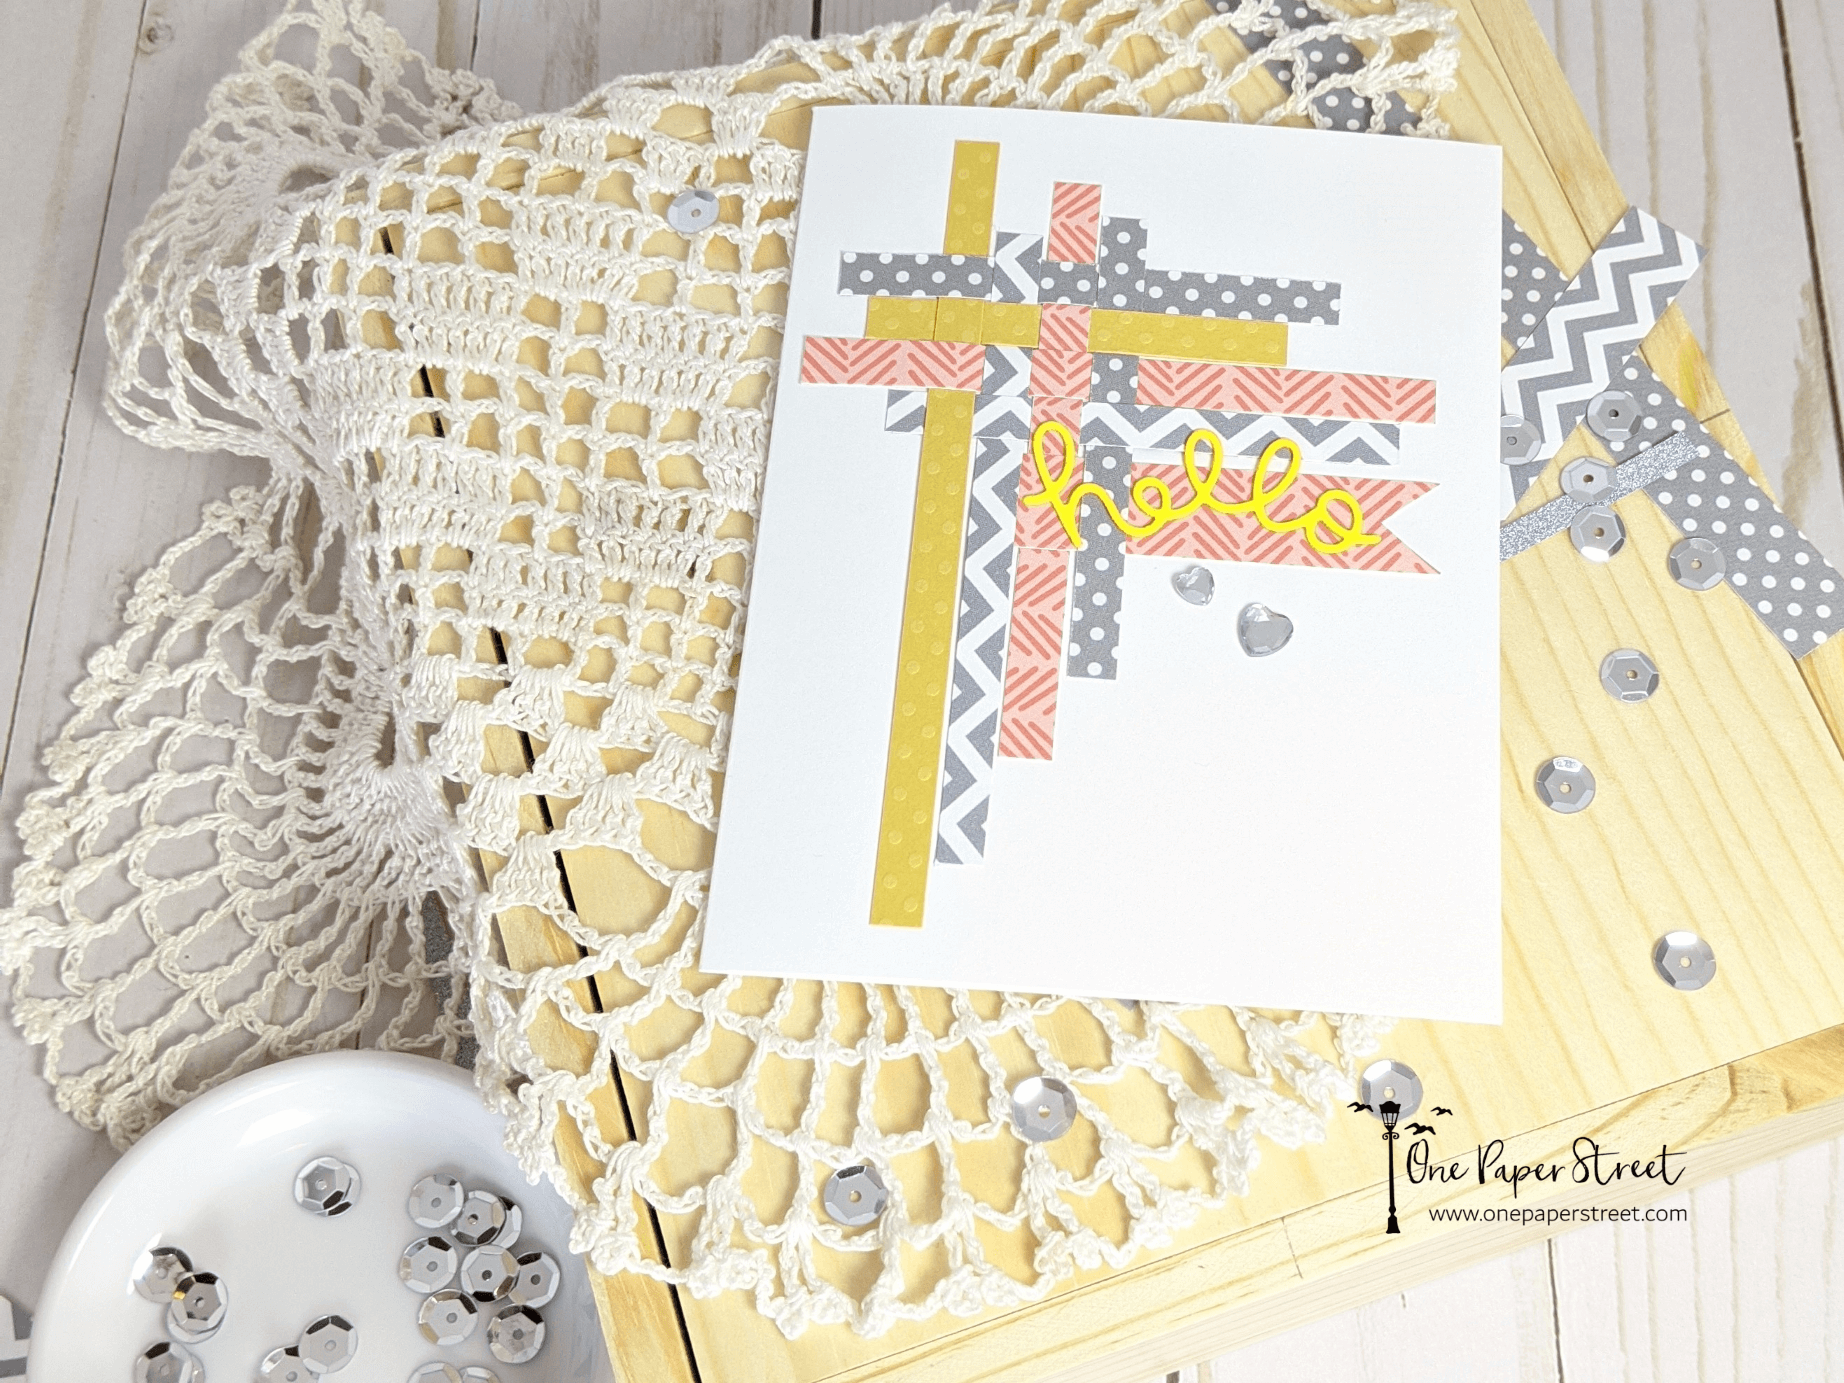
Step 4. Make a Washi Tape Banner
Much like you saw in step two above, I took a strip of Neenah Solar White cardstock that was about .75 inches in width and 2.5 inches long and laid a strip of pink patterned washi tape overtop of cardstock. I wanted my banner to be a little thicker than the woven design so I didn’t cut it in half. Instead, I trimmed the excess white paper and cut two little banner flaps into the cardstock. I wove it into the design, then secured it in place using more Scrapbook Adhesives mounting squares.
Step 5. Add the Lawn Fawn hello sentiment
Recently, I purchased the Lawn Fawn Magic Color Slider Die Set. I haven’t made a slider card yet, but it has this adorable little hello sentiment inside of the set, which I just fell in love with. I used a yellow foam sheet (also from a past project) and ran it through my Sizzix BIGkick machine to make the hello sentiment on the card. Liquid glue was a must for the sentiment because it was such a thin die. So, I went with Tombow MONO Aqua liquid glue.
Step 6. Add any embellishments
Lastly, I added some heart-shaped rhinestones just under the sentiment, and an interior insert to give the card base a little bit more stability.
I hope you found this fun and helpful! Please leave a comment below, and let me know what you thought! Be sure to check it out, and follow me on Instagram, Facebook or Pinterest for the latest updates!