Hey friends! Today’s post is a fun birthday card filled with watercolor balloons. I wanted to make this card with bright colors, and I wanted it to be a card that could be given to anyone. The hardest part was finding the design I wanted to paint. I made this using some watercolors, a Cricut Machine, and an Archival Ink Marker in the marker slot of my machine. It was pretty easy, so keep reading to find out just how I did it!
View the exact specifications of this project in the Cricut Design Studio.
Click here to watch the Watercolor Balloons YouTube Video here.
MATERIALS USED:
- Sakura Koi Watercolor Field 48 Color Sketch Set (Colors: #032, #024, #076, #145, #052, #114)
Sakura Pigma 50038 Micron Blister Card Ink Pen Set
ScotchBlue Painter’s Tape, Multi-Use, 1.88-Inch by 60-Yard, 1 Roll
Midnight Cricut Fine Point Marker – from: Cricut Antiquity Color Pen Set
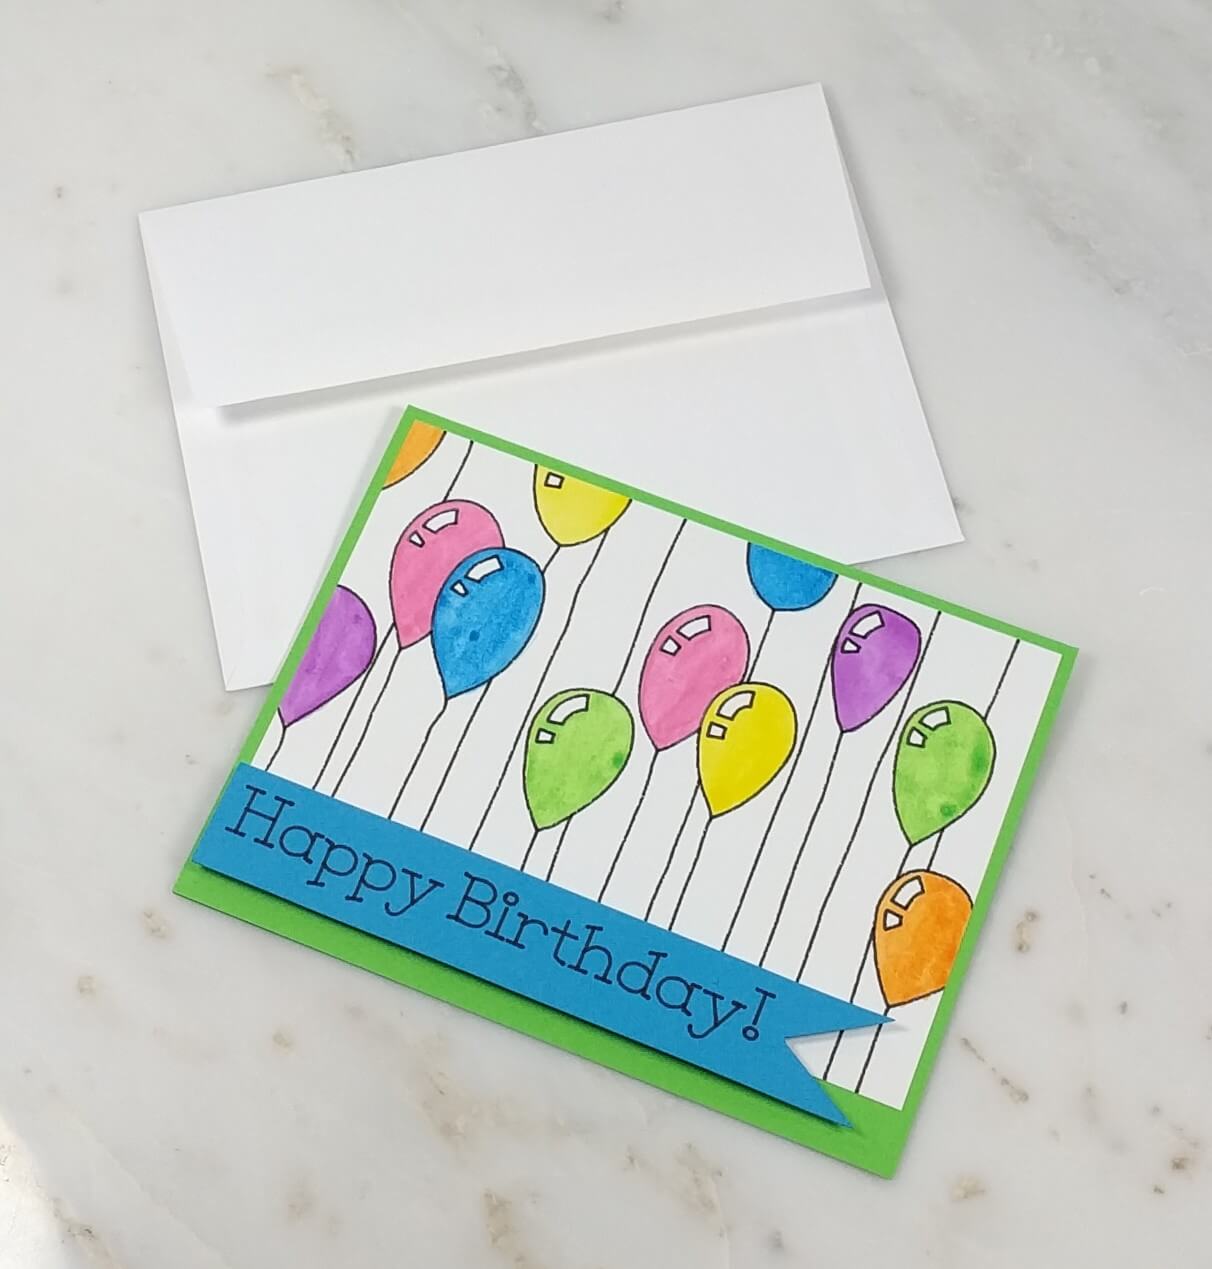
Solar White Cardstock – Interior Inserts (3.75’x 5′)
Canson XL Mix Media Pad, 7″X10″ Side Wire – Exterior design (6’x’5)
Cricut Explore Air 2 Machine
Cricut Adhesive Cutting Mat, Standard Grip
Cricut Basic Tool Set
Forever In Time 3D Pop Dots Square Dual-Adhesive Foam Mount, 1/4-Inch
Forever In Time 3D Pop Dots Square Dual-Adhesive Foam Mount, 1/2-Inch
- Scor-Pal Scor-Tape-1/8
- Scrapbook Adhesives Initially Repositionable Mounting Squares
- Round Watercolor Brushes (Sizes: 1,3,5)
- 2 cups of water ( 1 for clean, 1 for dirty)
- Paper towel
- A flat smooth surface
- Neon Blue Cardstock (6’x2.5′)
- Neon Green Cardstock (8.5’x5.5′)
CRICUT IMAGES USED:
- Balloons Overlay (Photo Fun – Celebrations cartridge)
- Squares (Basic Shapes cartridge)
- Banner (Bits and Pieces cartridge)
- Grown-Up Font
WATERCOLOR BALLOONS WALKTHROUGH:
Step 1.
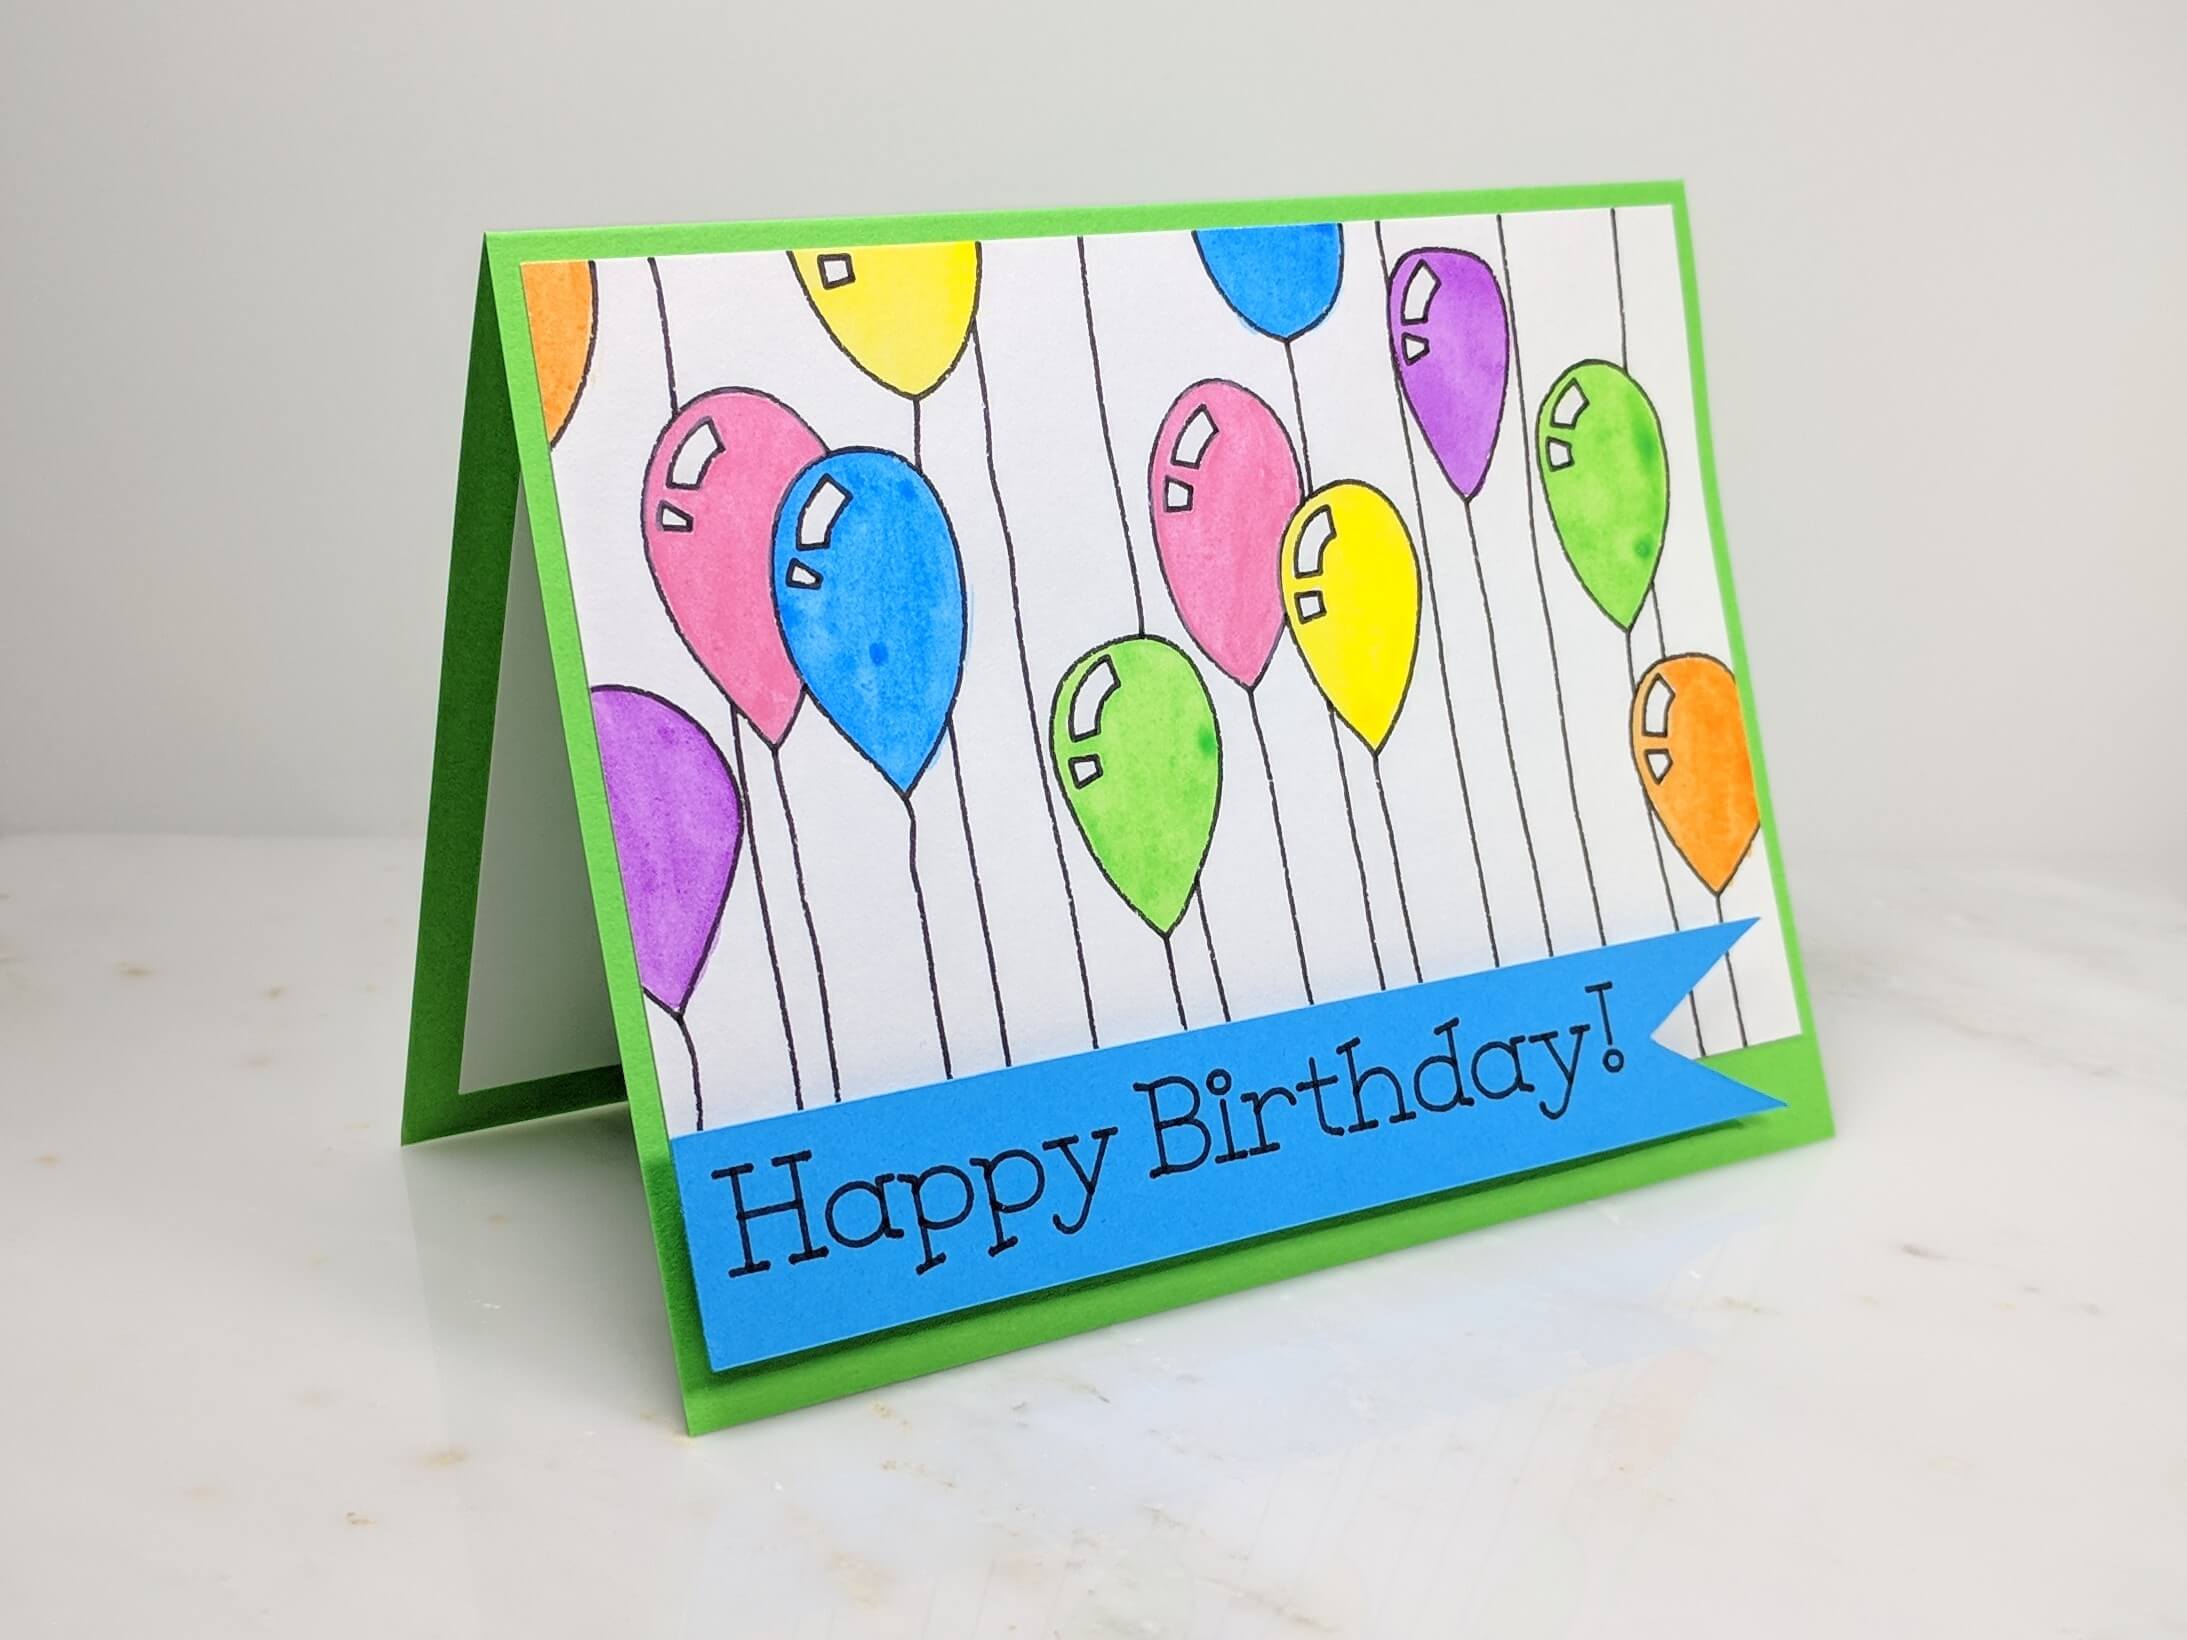
Whenever you are creating a card that is similar to this watercolor balloons greeting card, Start by picking out the image that you want to be the main focal point of the card. I chose a background filled with balloons because it felt festive, and I thought I could do a lot with it. This design came from the Cricut Design Space but you could also use a stamped image.
I removed the normal housing that would hold a Cricut marker in slot A of my Cricut Explore Air 2. Next, I used a Micron archival marker to draw the image, using my Cricut. To see the full process of how to use non-Cricut markers with your Explore Air 2, check out this post. If you are going to stamp your image instead, please avoid any water-based inks. I recommend Archival Ink. it has seemed to work best for me.
Step 2.
Once your image has been drawn or stamped onto watercolor paper or mixed media paper, tape it onto a smooth flat surface with painters tape. I like painters tape because I can still peel it off the paper later without too much damage. While taping it down, make sure it is tightly secured and is not showing any wrinkles.
Step 3.
Next, start painting your design. I give you 100% permission to use your artistic freedom in this step. You can add water to the paper before adding the paint to create, and this will create a wet on wet effect. Or, you can make the paint darker on one edge of the balloons to make it look like there are shadows falling on the balloons. I chose to use the Sakura Koi Watercolor Field 48 Color Sketch Set in the following colors; #032, #024, #076, #145, #052, #114. I really like how mine turned out, but if you want it to be more abstract than me, that’s A-OK! The choice is all yours.
Tip: Keep two water cups while you’re working with your watercolors. One cup for clean water, and one for dirty water.
Step 4.
Once you’re done painting and the paper is completely dry, you may pull the tape off. If your paper is kinda warped or if you need to flatten it out, place a heavy book on top of it and leave it alone for a few days. The weight of the book will help to flatten it.
Step 5.
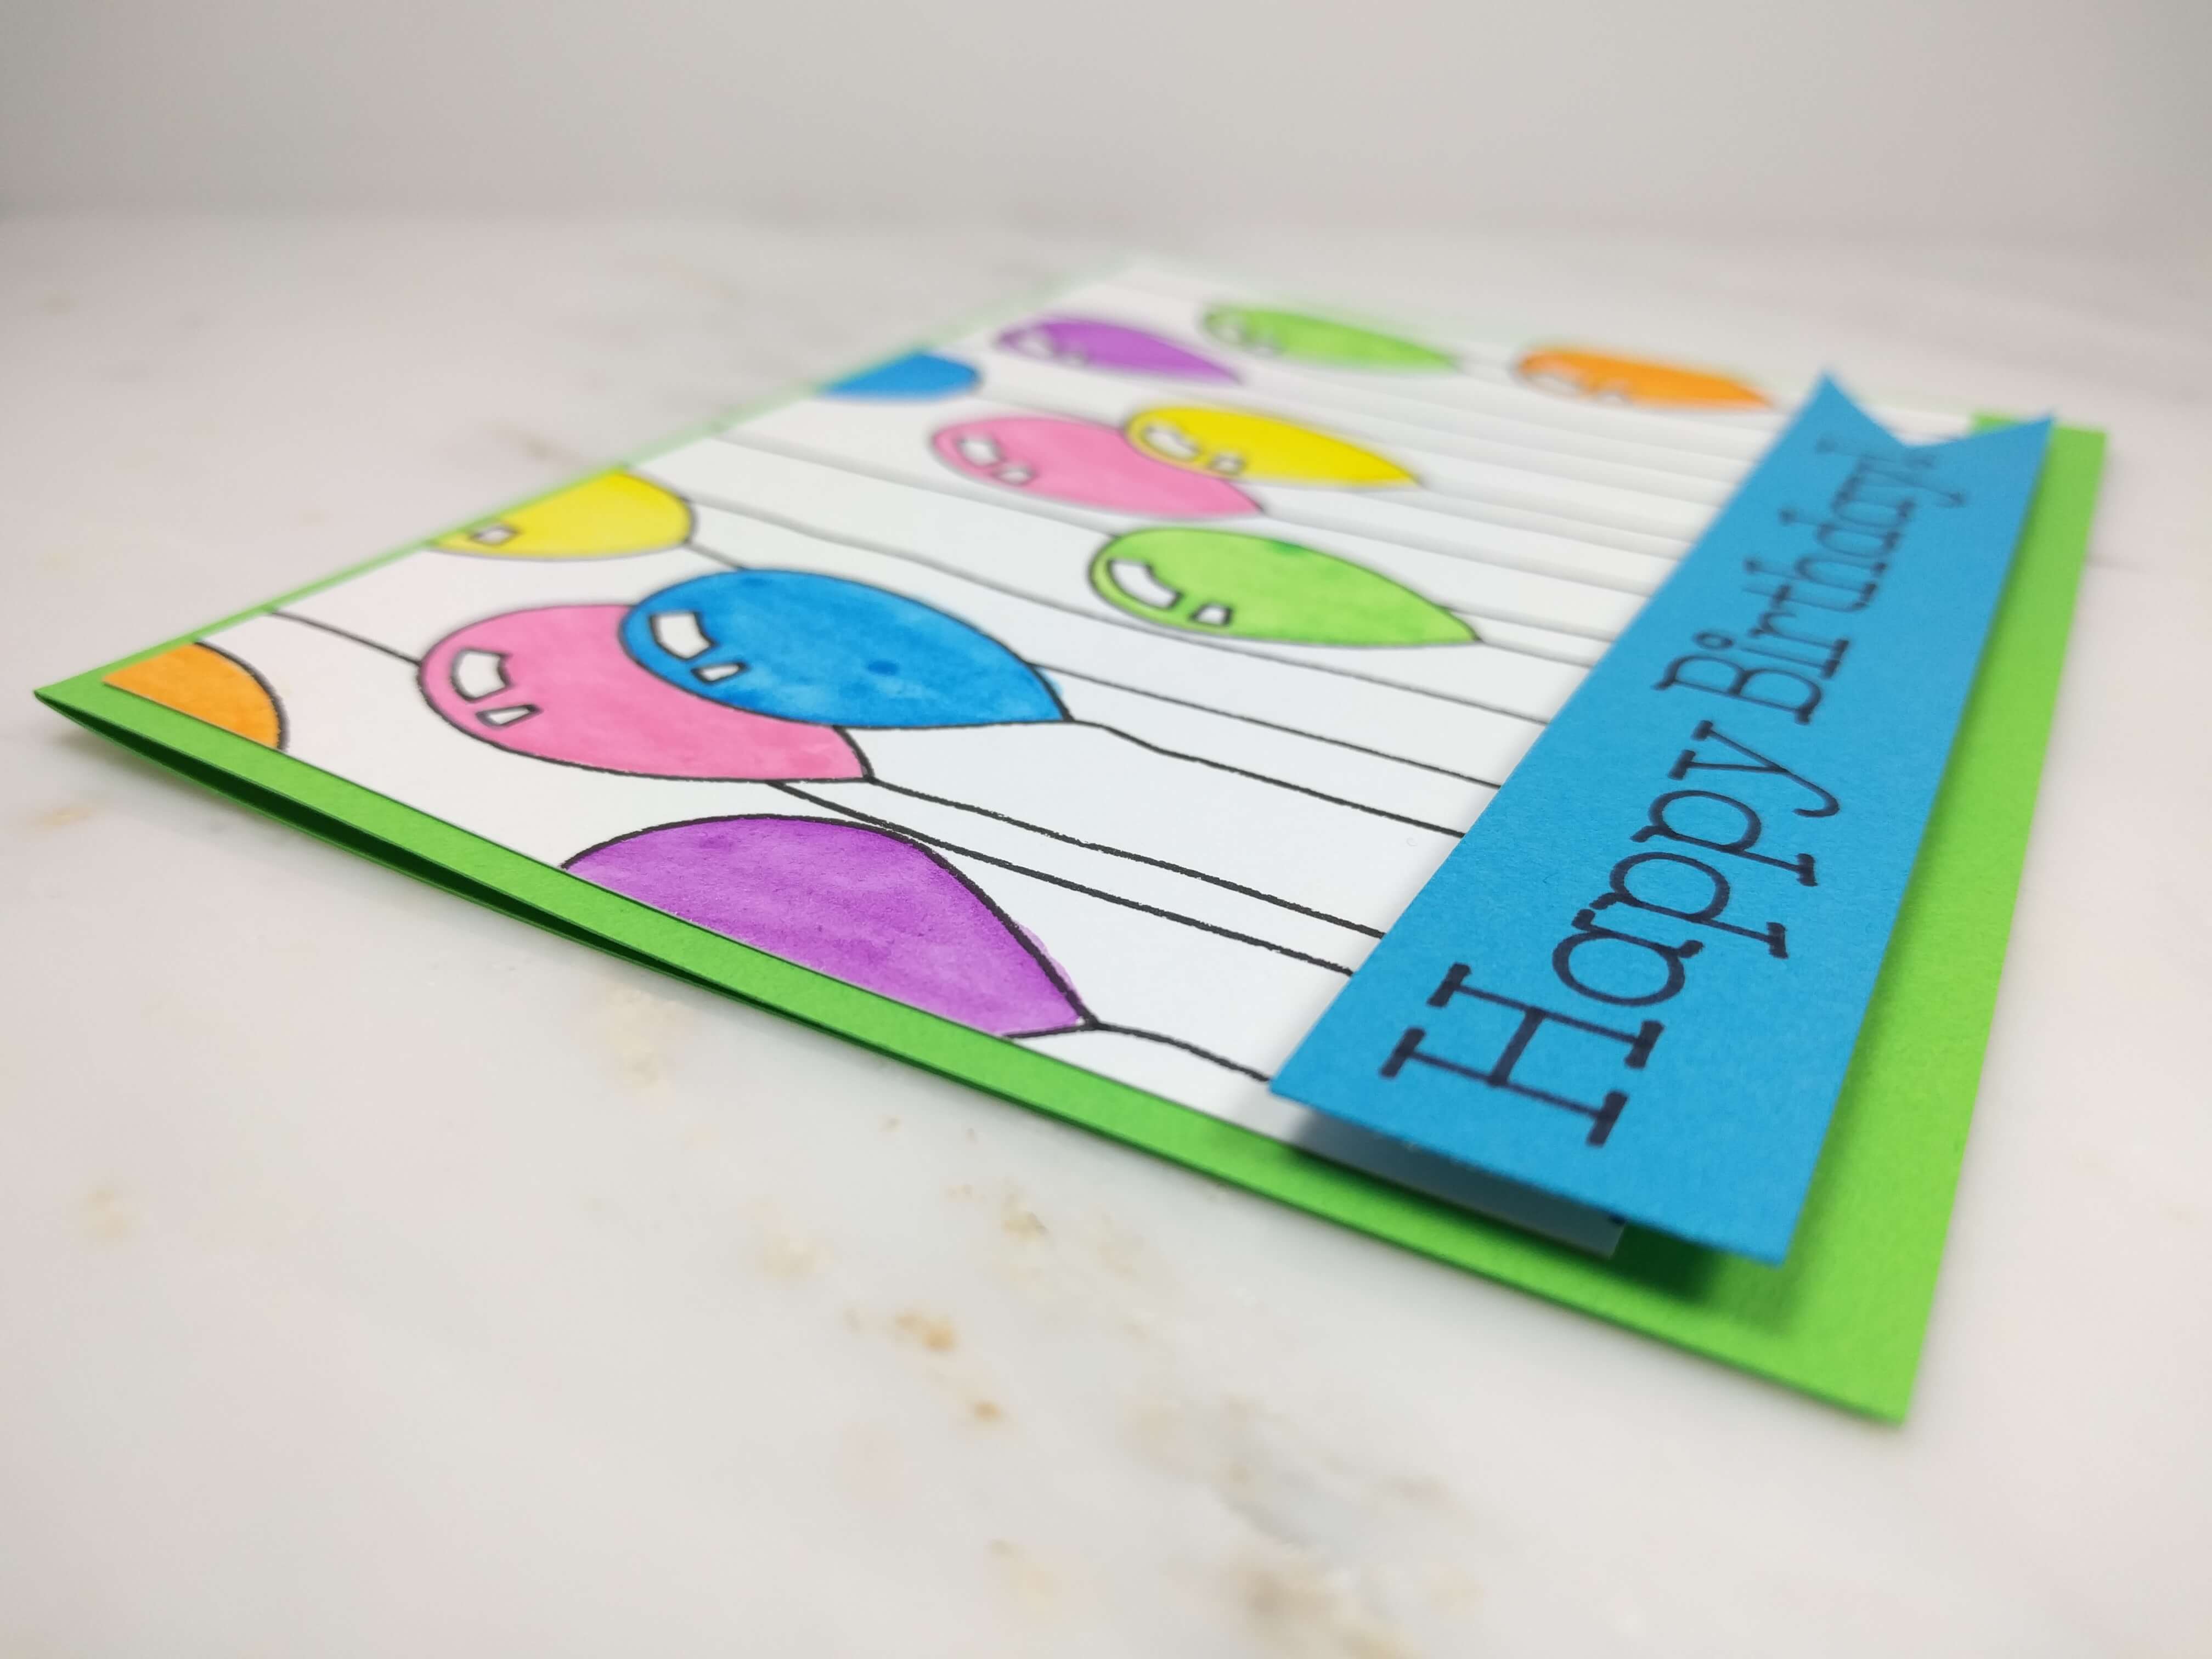
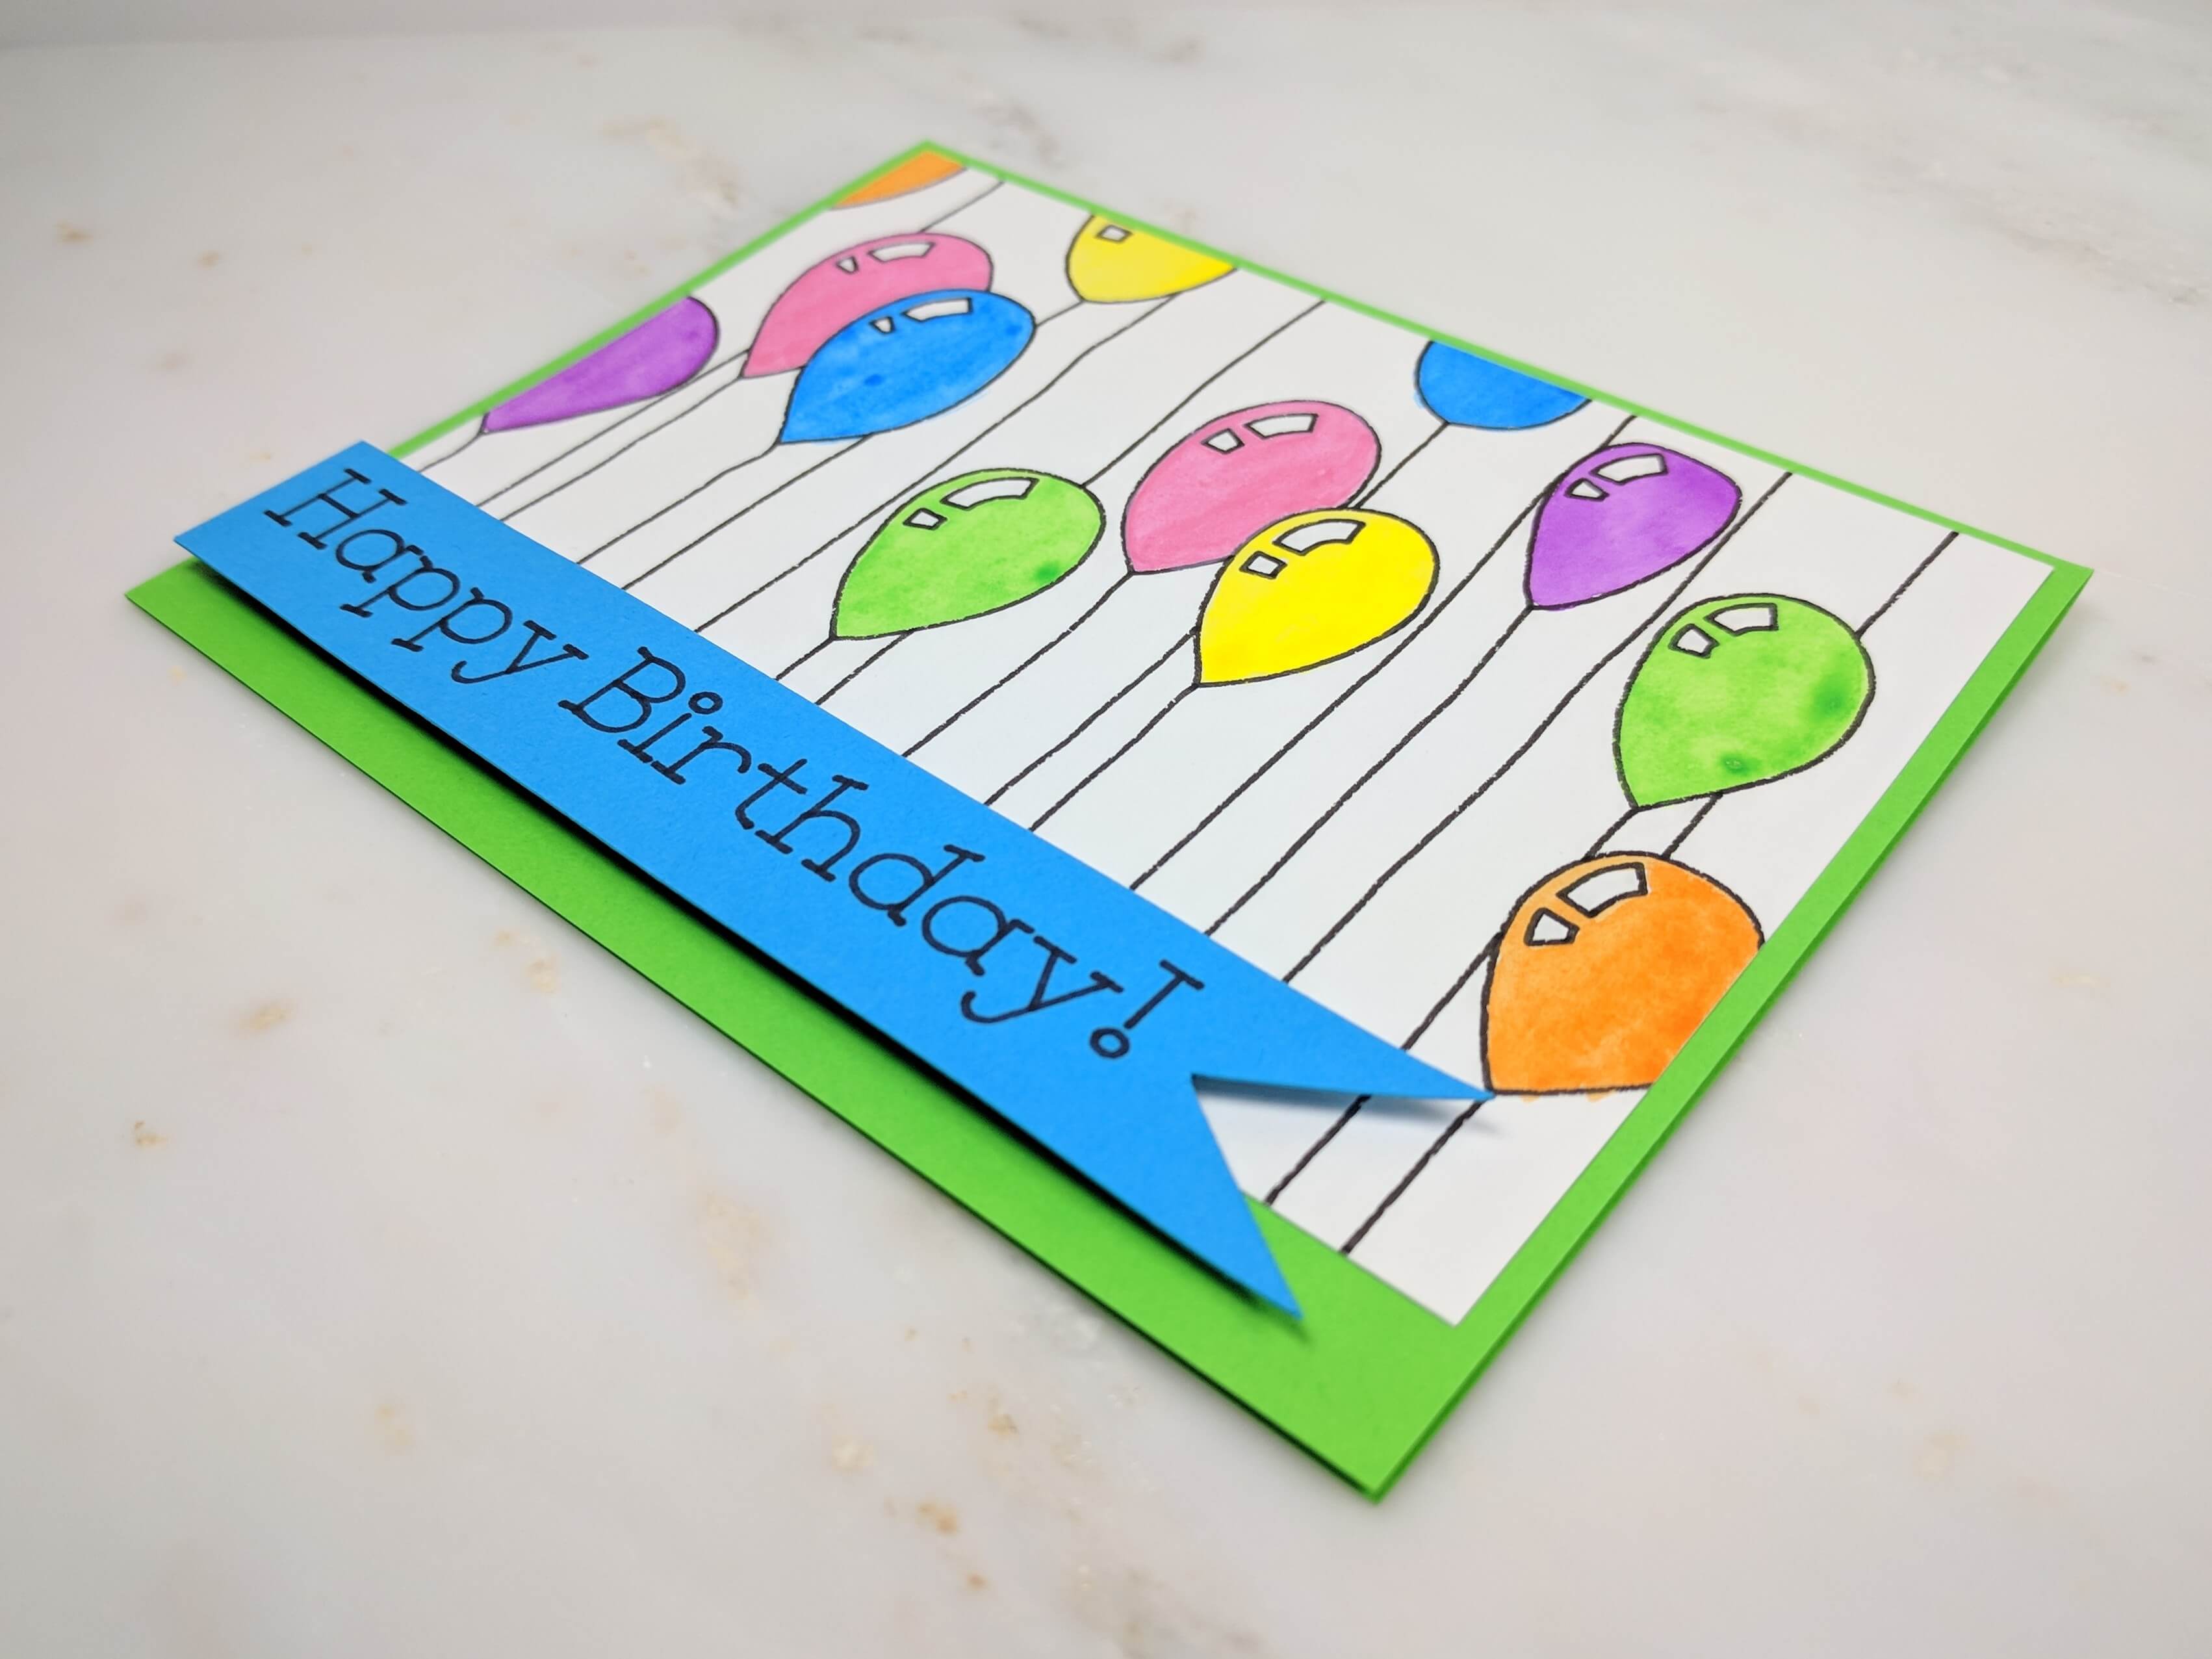
When you’re ready to adhere the design to the card base, trim a sheet of cardstock to be (5.5′ x 8.5′) I used a sheet of neon green paper for my base. Adhere the watercolor design to the cardstock. Use tape that will hold, even if the watercolor design tries to curl and pull away from the card base. I recommend using scor-tape. When I work with watercolors, I find that normal mounting squares won’t suffice.
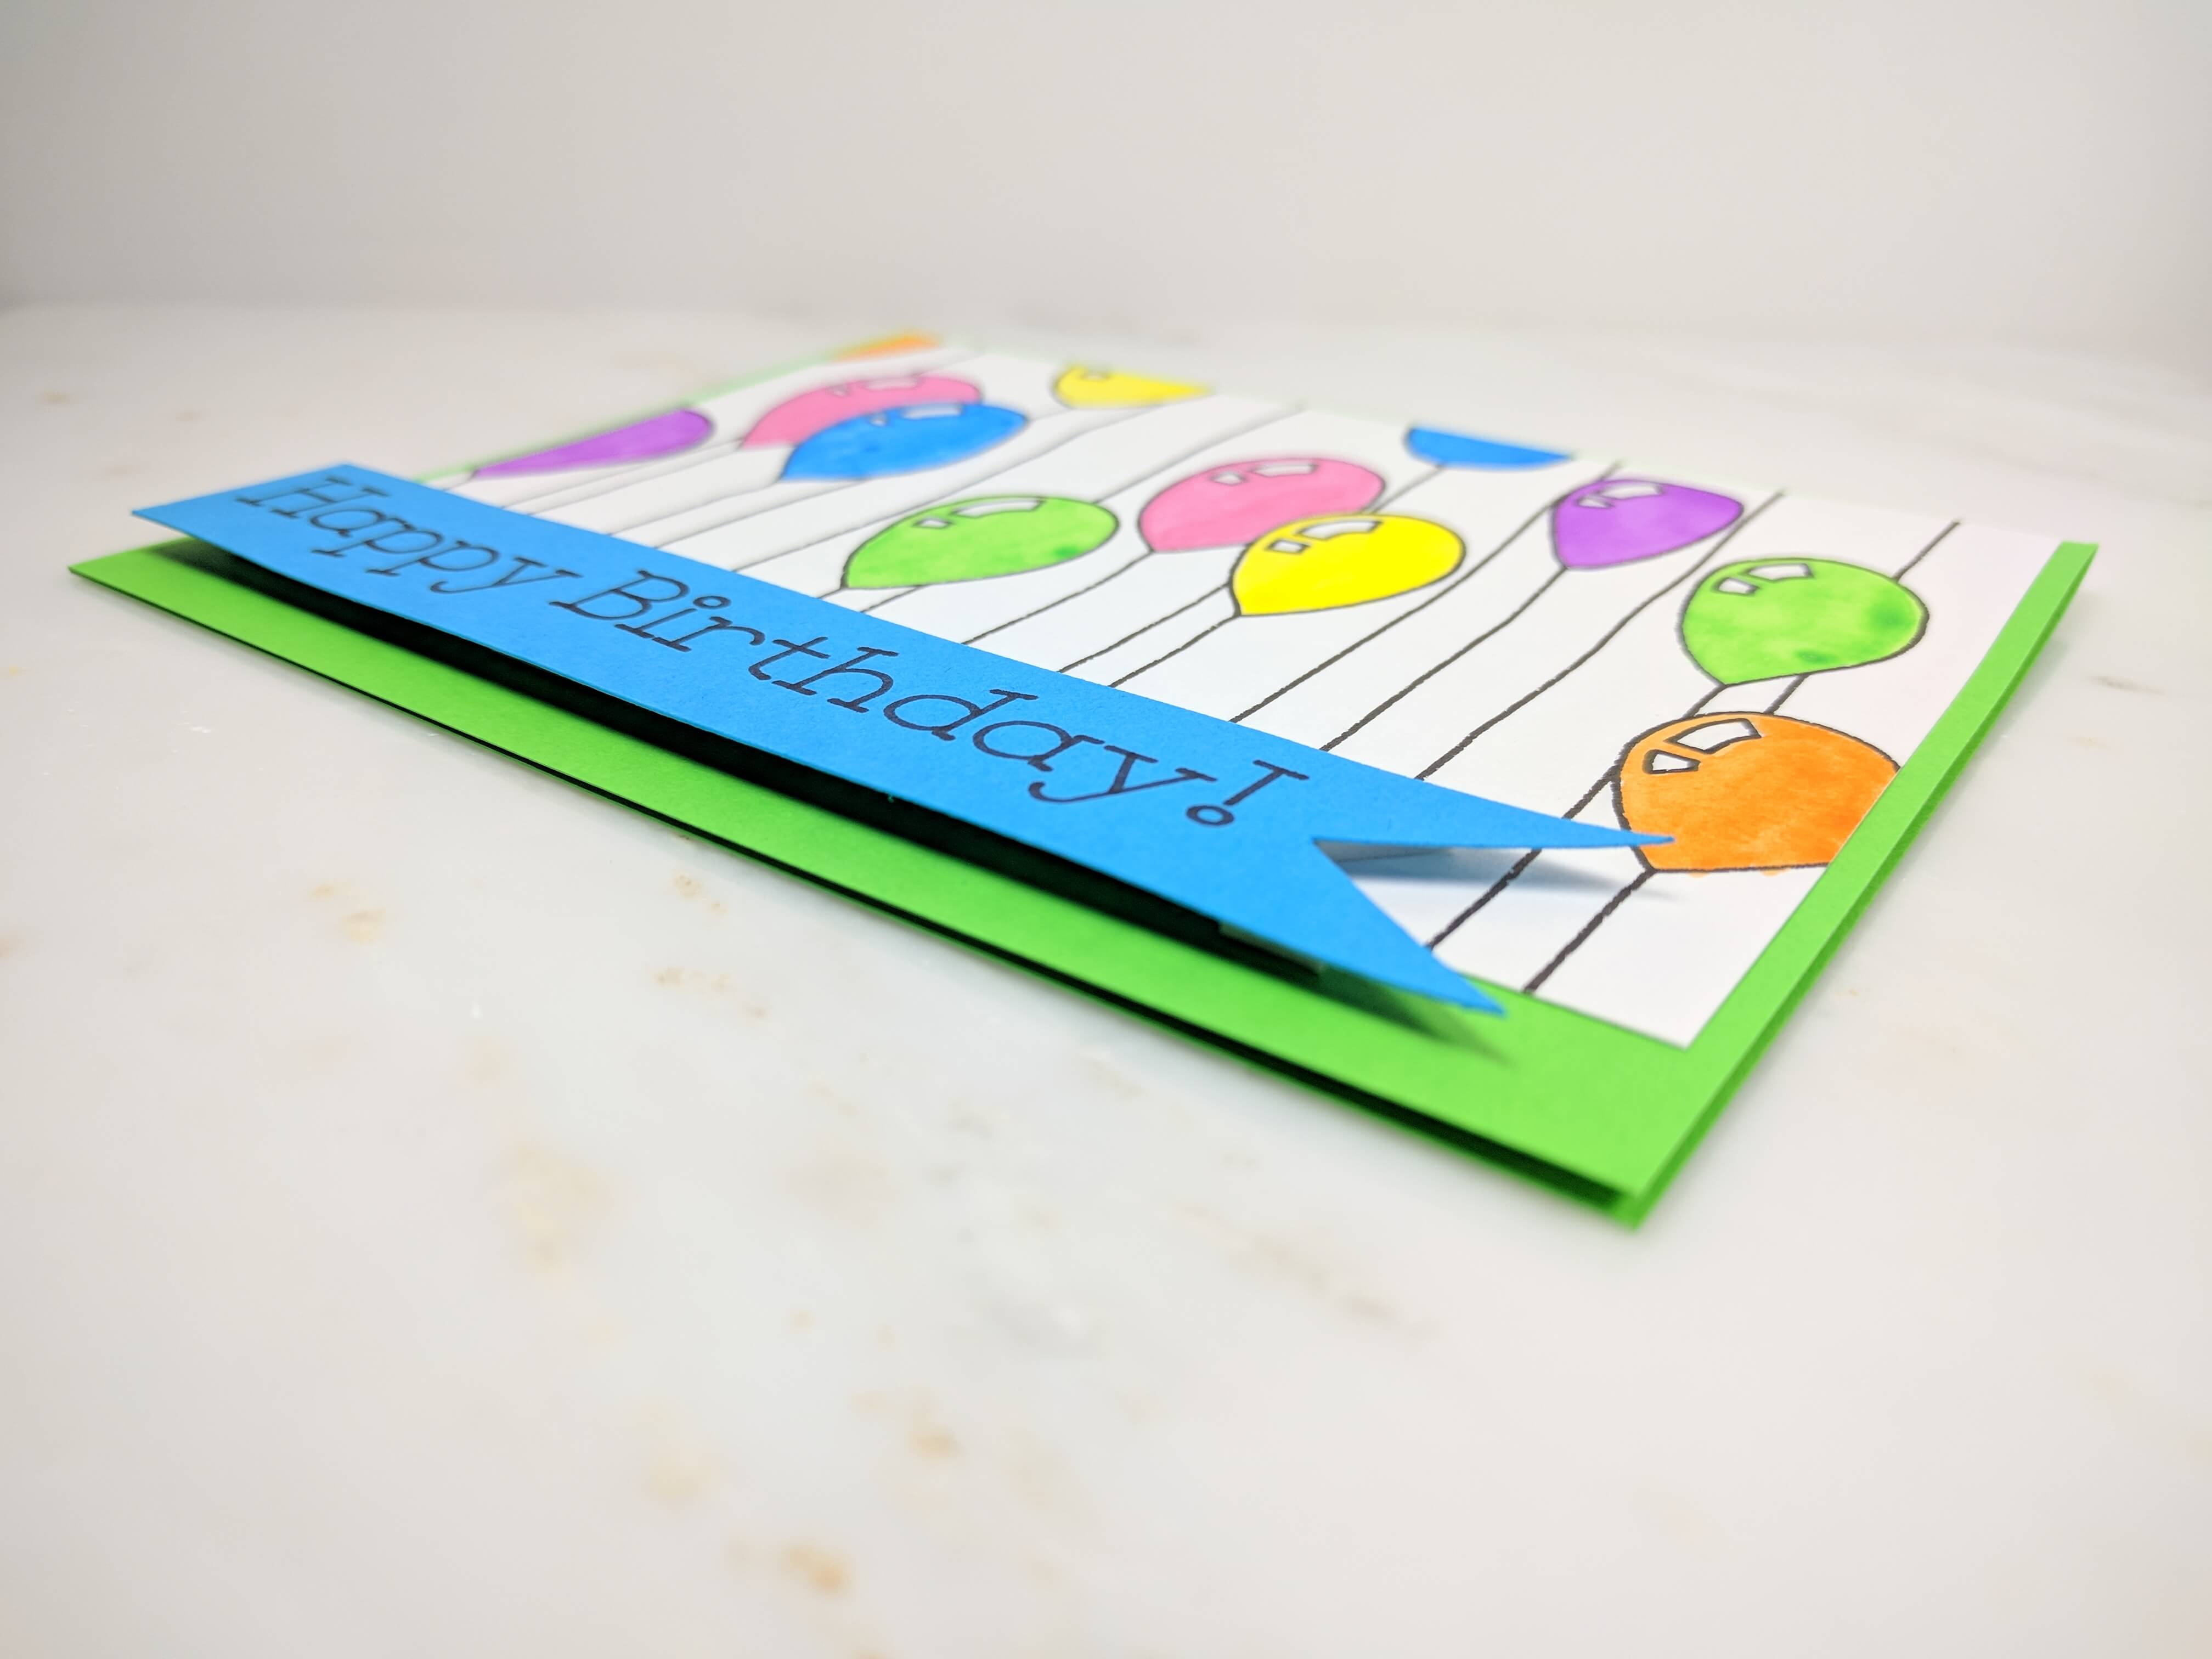
Next, design your banner with your sentiment. I used my Cricut Machine to make the sentiment. I chose neon blue cardstock since it matched the tone of all the other bright colors. I also used some 3D tape to make it pop off the card. I like to use a mix of 1/4 inch 3D squares and 1/2 inch squares to make sure I have good coverage. Lastly, place an interior insert inside the card using mounting tape, so that you can easily write a message on the inside.
Thanks for stopping by! I hope you enjoyed this Watercolor Balloon tutorial. If you’d like to find additional watercolor tutorials, click here.