
Hey Everyone! It’s nearly time to send out Christmas cards, and I’m wrapping up some of my final designs! I sort of stumbled into the idea for today’s card. I was at the craft store and found this snowman stamp and die set from Art Impressions on clearance, and just had to grab it! This design would be pretty easy to replicate, even if you didn’t have a snowman so try it out and let me know how you do!
Watch the Warm Winter Wishes YouTube video tutorial here.
MATERIALS USED:
Recollections White Heavyweight (4.25’x11’)
White Cardstock (for stamped snowman & snowflakes)
Mint Textured Cardstock (5.25’x2.25’)
Pink Patterned Cardstock (4’x2.5’)
ColorBox Wicked Black Archival Ink
Soft Brown Ink Pad-From: Hero Arts AF362 Tami’s Mint Chip Layering Stamp Pad Set
Clear Stamping Block-From: Inkadinkado Clear Small And Medium Blocks
Bright Pink Sequin-From: 5mm Mix 15 Colors Rainbow Cup Sequin
Chromatix Alcohol Markers – Mint, Red, Bright Pink, Soft Pink (I do not recommend. These markers dry out, so if I had to do it over again, I would buy Copics)
Snowman Stamp & Die Set from Art Impressions
Sizzix BIGkick Machine with Extended Multipurpose Platform, Periwinkle
Scrapbook Adhesives Initially Repositionable Mounting Squares
Forever In Time 3D Pop Dots Square Dual-Adhesive Foam Mount, 1/4-Inch
Feather No.55 Switch-Blade Shear, 5.5 Inch
WALK THROUGH:
I started this card with my new snowman stamp and some ColorBox archival ink. I chose archival ink instead of pigment ink because I’m not planning to emboss anything today and archival ink is quick to dry. I then grabbed the Hero Arts Soft Brown layering ink to stamp the snowflakes. Even though I’m not planning to layer my stamped design, this is still a great ink pad to work with.
Tip: If you’re planning to make several small snowflakes, try putting more than one snowflake stamp on a stamping block to save time.
With all the stamping complete, it was now time to position the dies on the paper with their matching stamps so that I could run them through the die cutting machine. I use a BIGkick machine from Sizzix to cut the designs. I’ve had it for years, and it’s an excellent, fast way to embellish a project. I secured everything with washi tape, and then ran the dies through the machine.
Once that was done, I could start coloring the snowman. I used alcohol markers, because I really like how the strokes blend together to hide any darker areas. I bought Chromatix markers a while back, because they were on sale, and I was on a budget. Over the last several months many of them have dried out and are unusable, therefore I would not recommend this brand to readers. I would instead suggest you look into Copic Markers if you are looking for a reliable alcohol marker brand.
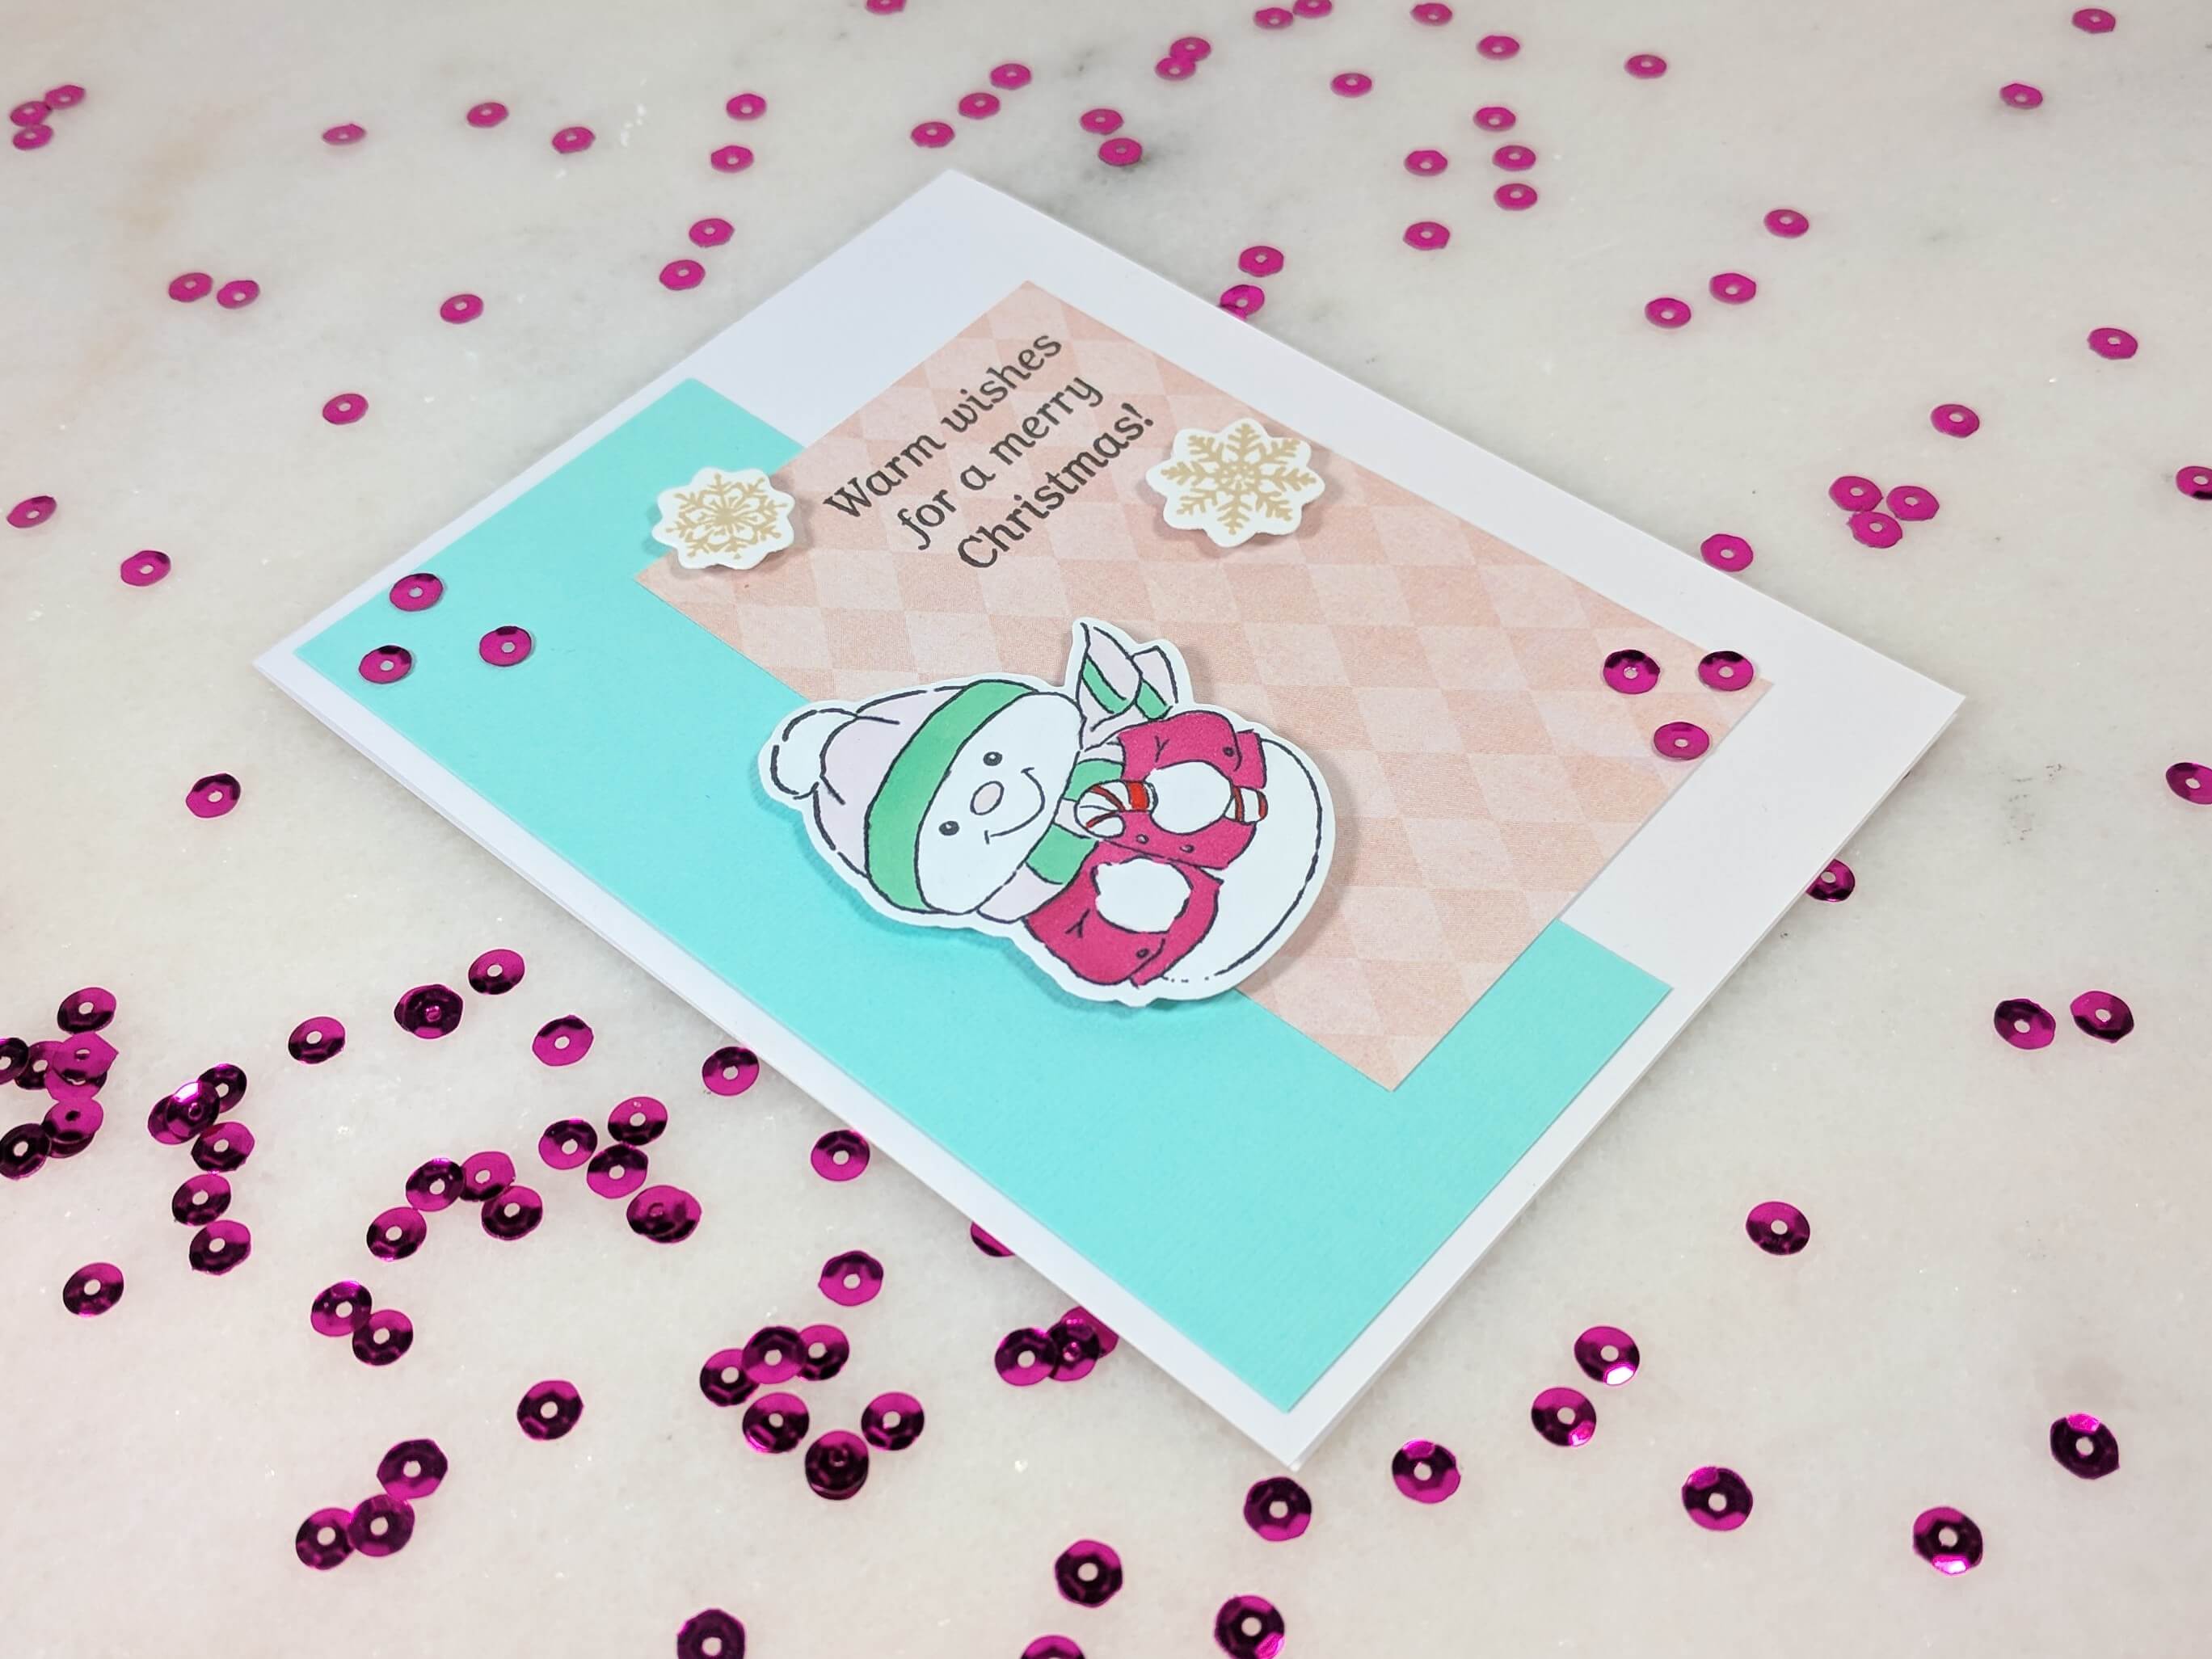
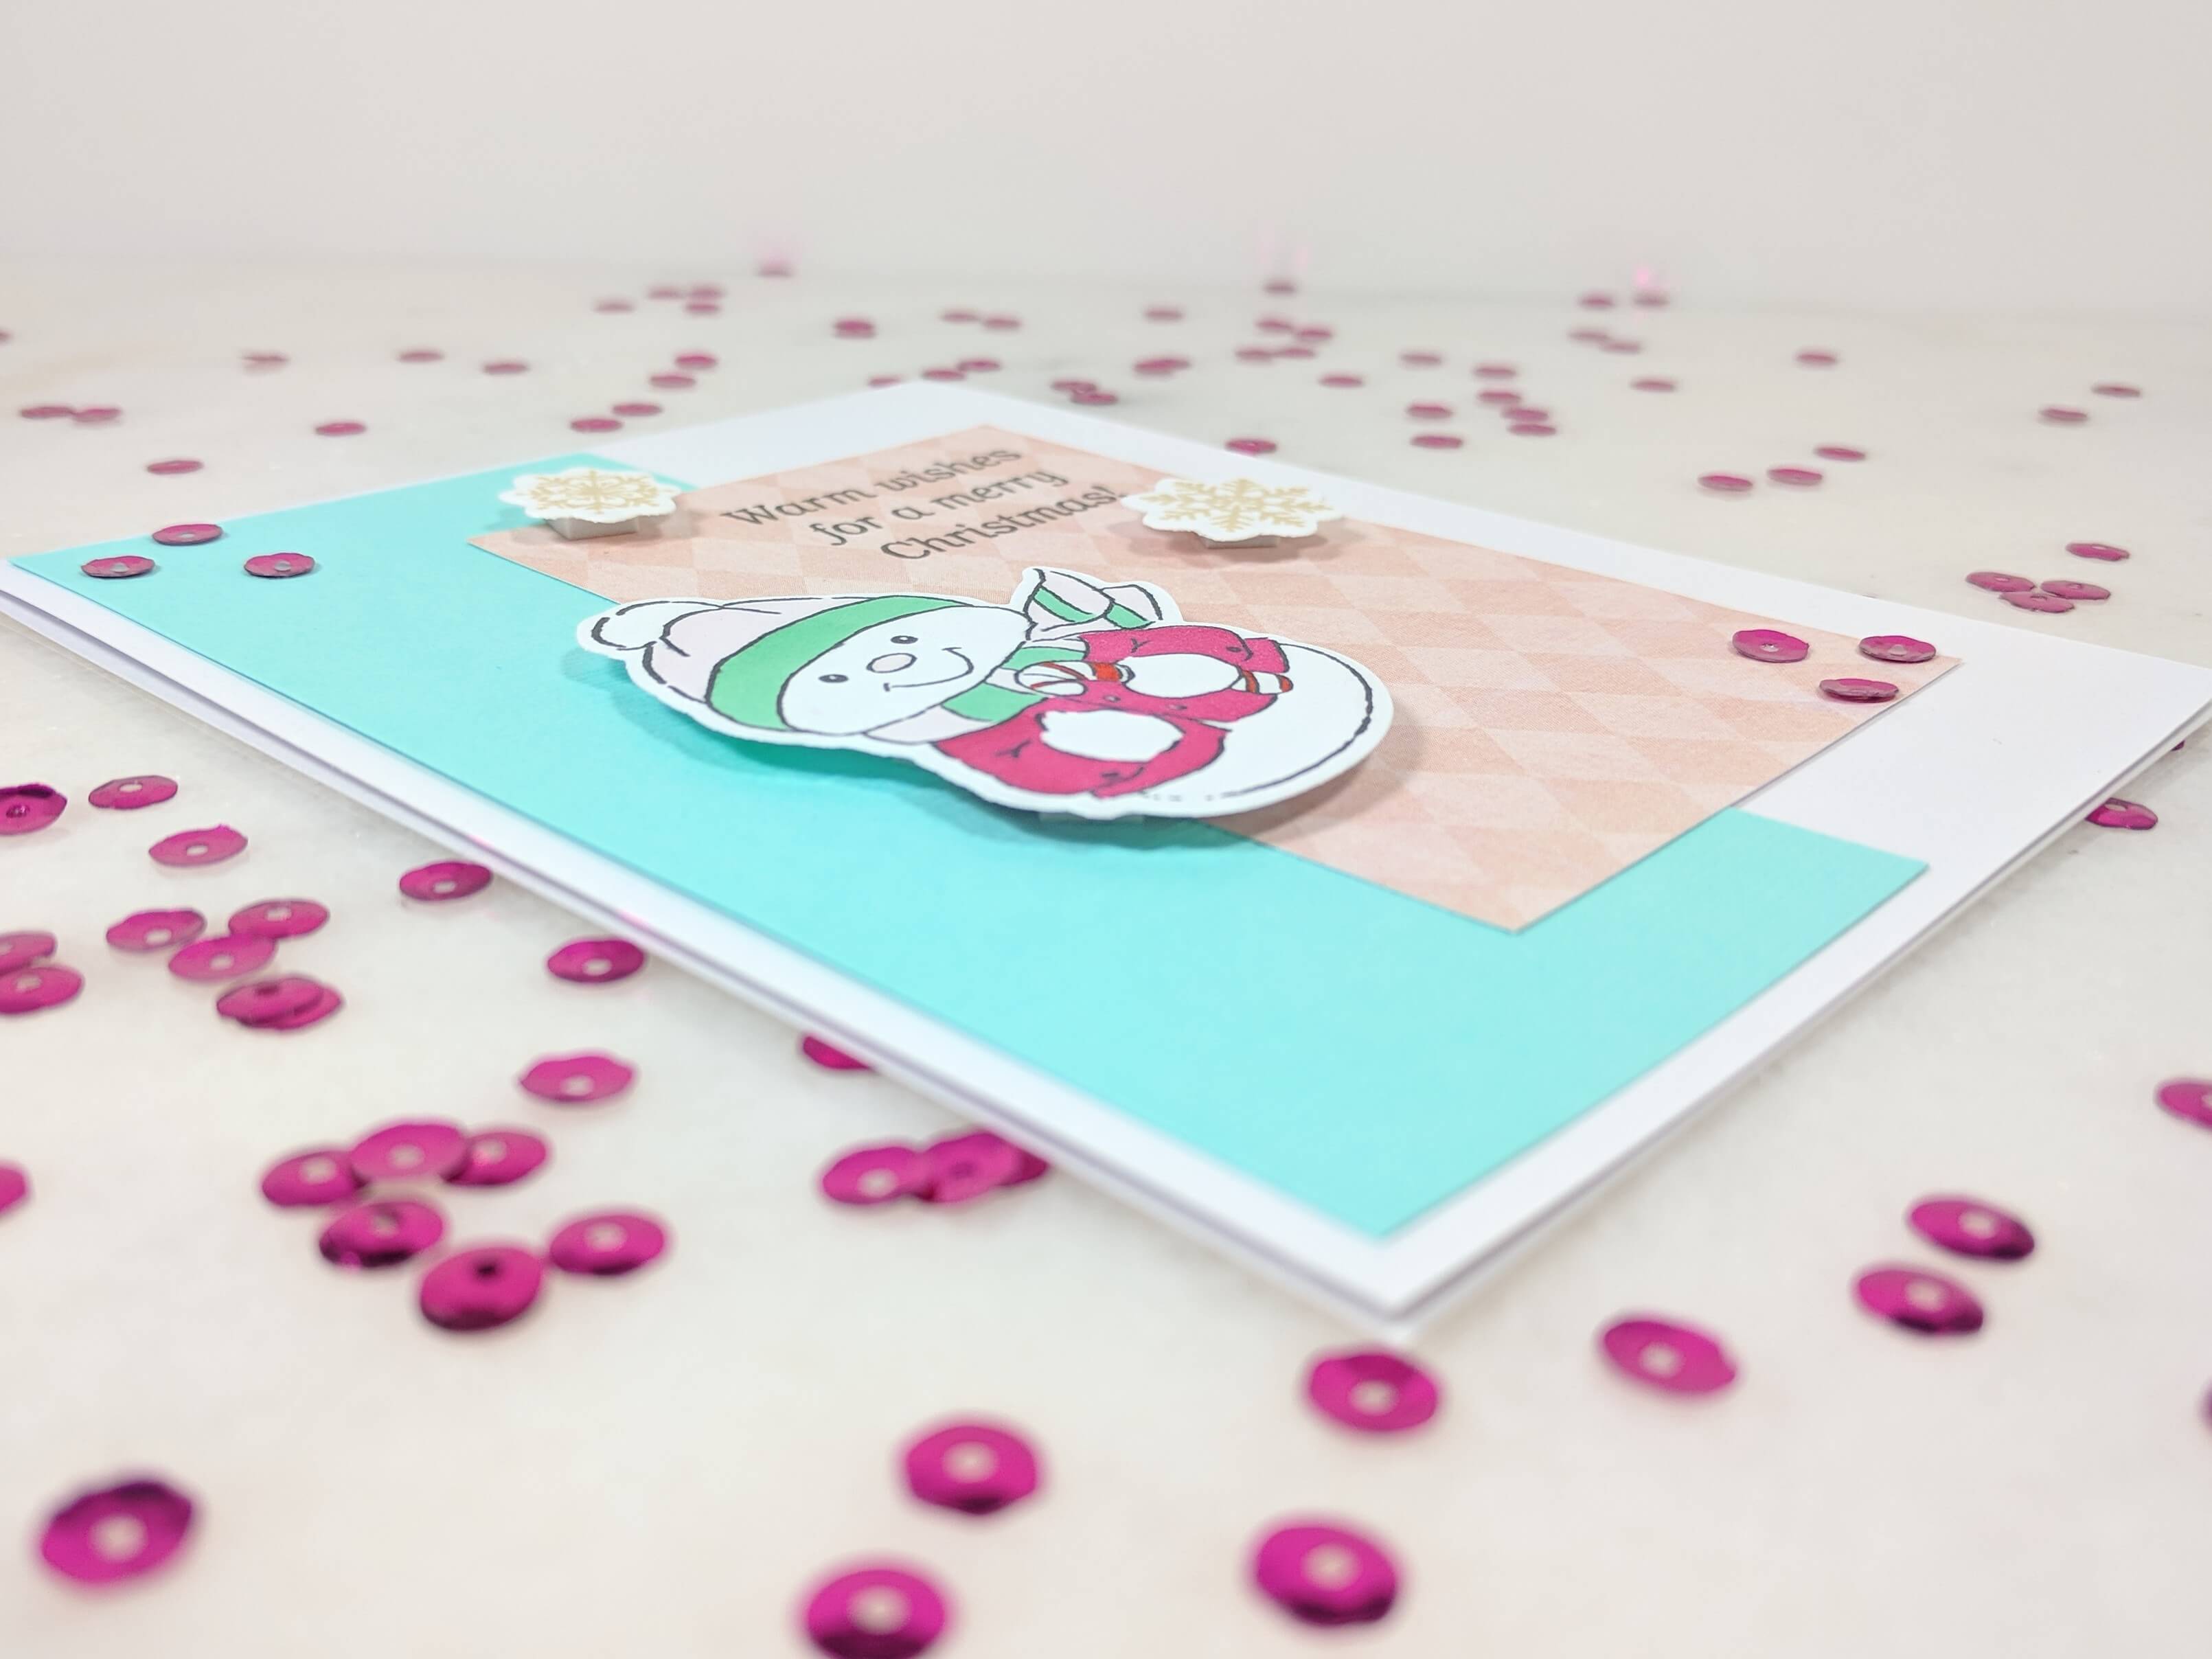
Once the coloring was finished, I simply took my mint cardstock, and pink patterned cardstock and placed it on my card base with the pink overlapping the mint. After that, I positioned the snowman and snowflakes near the sentiment on the pink cardstock. The sentiment reads “warm wishes for a merry Christmas”. I had originally stamped the pink cardstock for another project, but decided to use it here instead!
The final step in the process was to lay down the sequin. I used bright pink sequin and dipped it in tacky glue before laying it down. Other types of glue will work fine, I just happened to have tacky glue handy. After placing the sequin, make sure you let it dry. After that, the only step left is to send it off to your family and let them enjoy your handy work!
This blog uses affiliate links when possible. If you choose to make a purchase through one of these links, I may receive a small commission (at no cost to you). I don’t make recommendations lightly, and only link to products that I know and trust. Thank you for your support.
1 comment
Interesting new baby card friend. These variations fit nicely in the article. Appreciate you for sharing this beautiful post.