
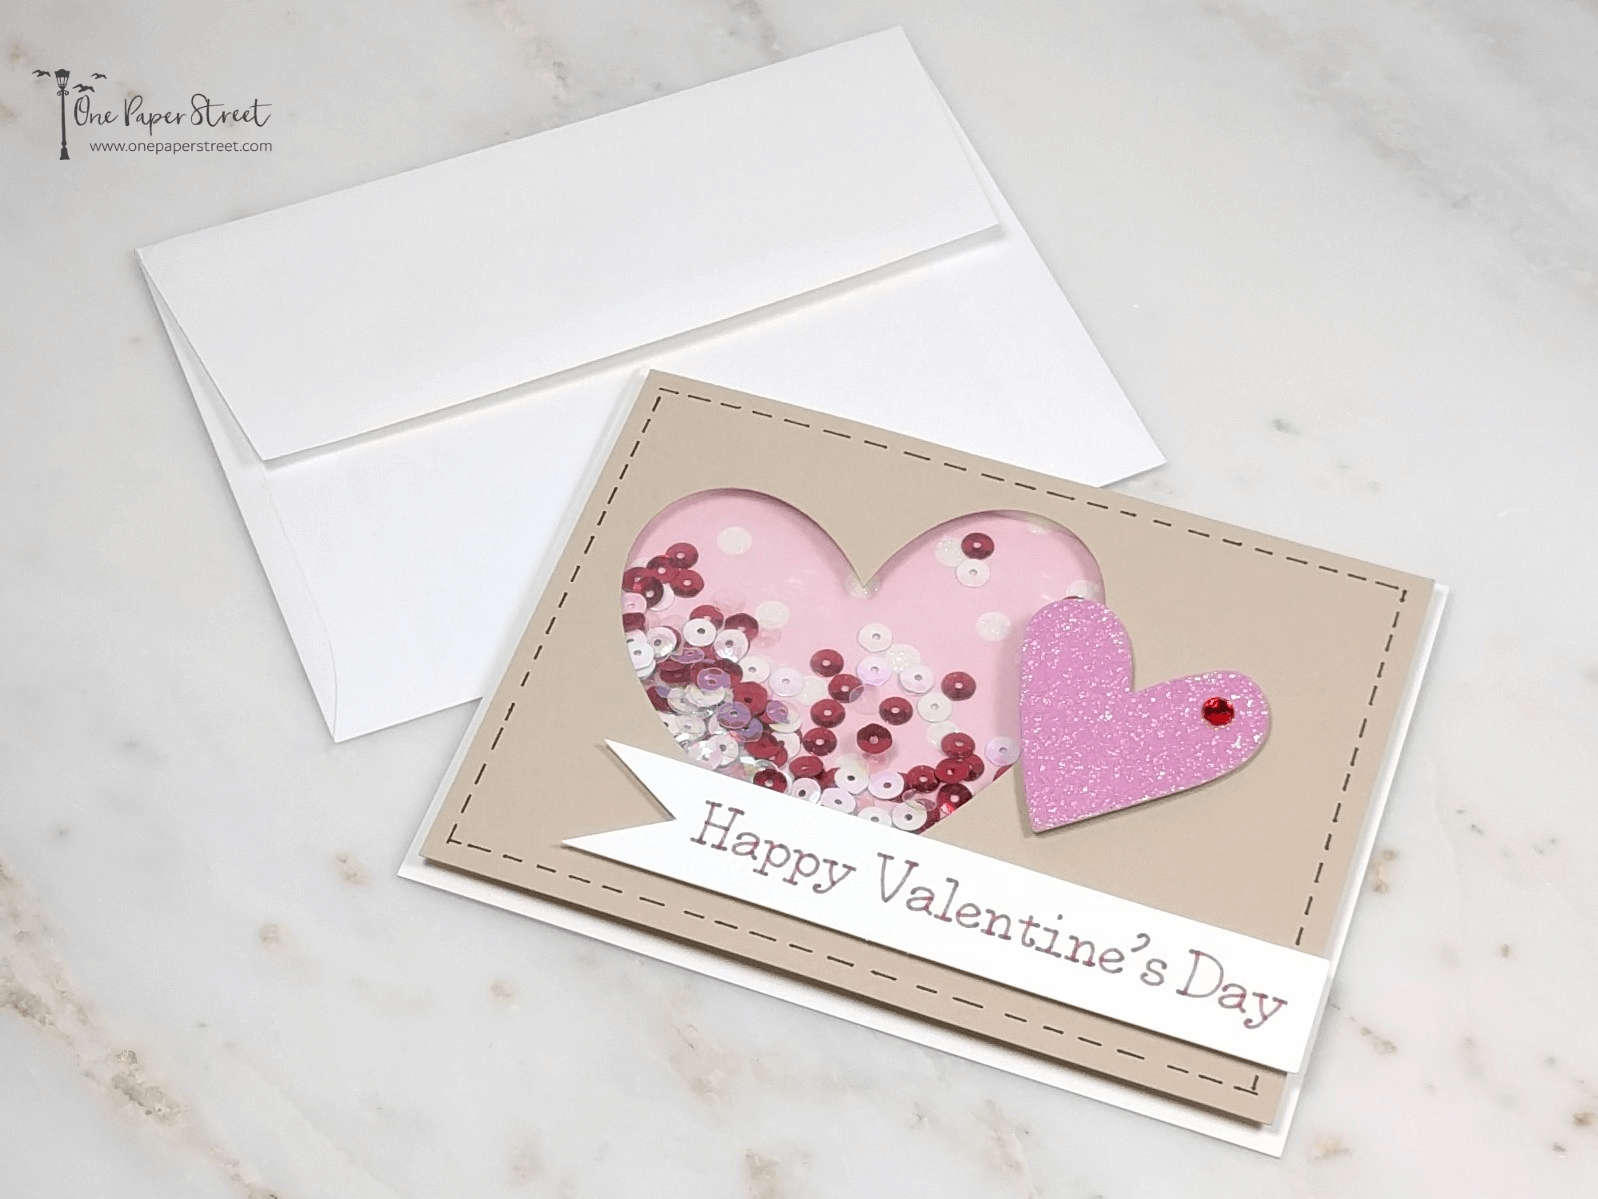
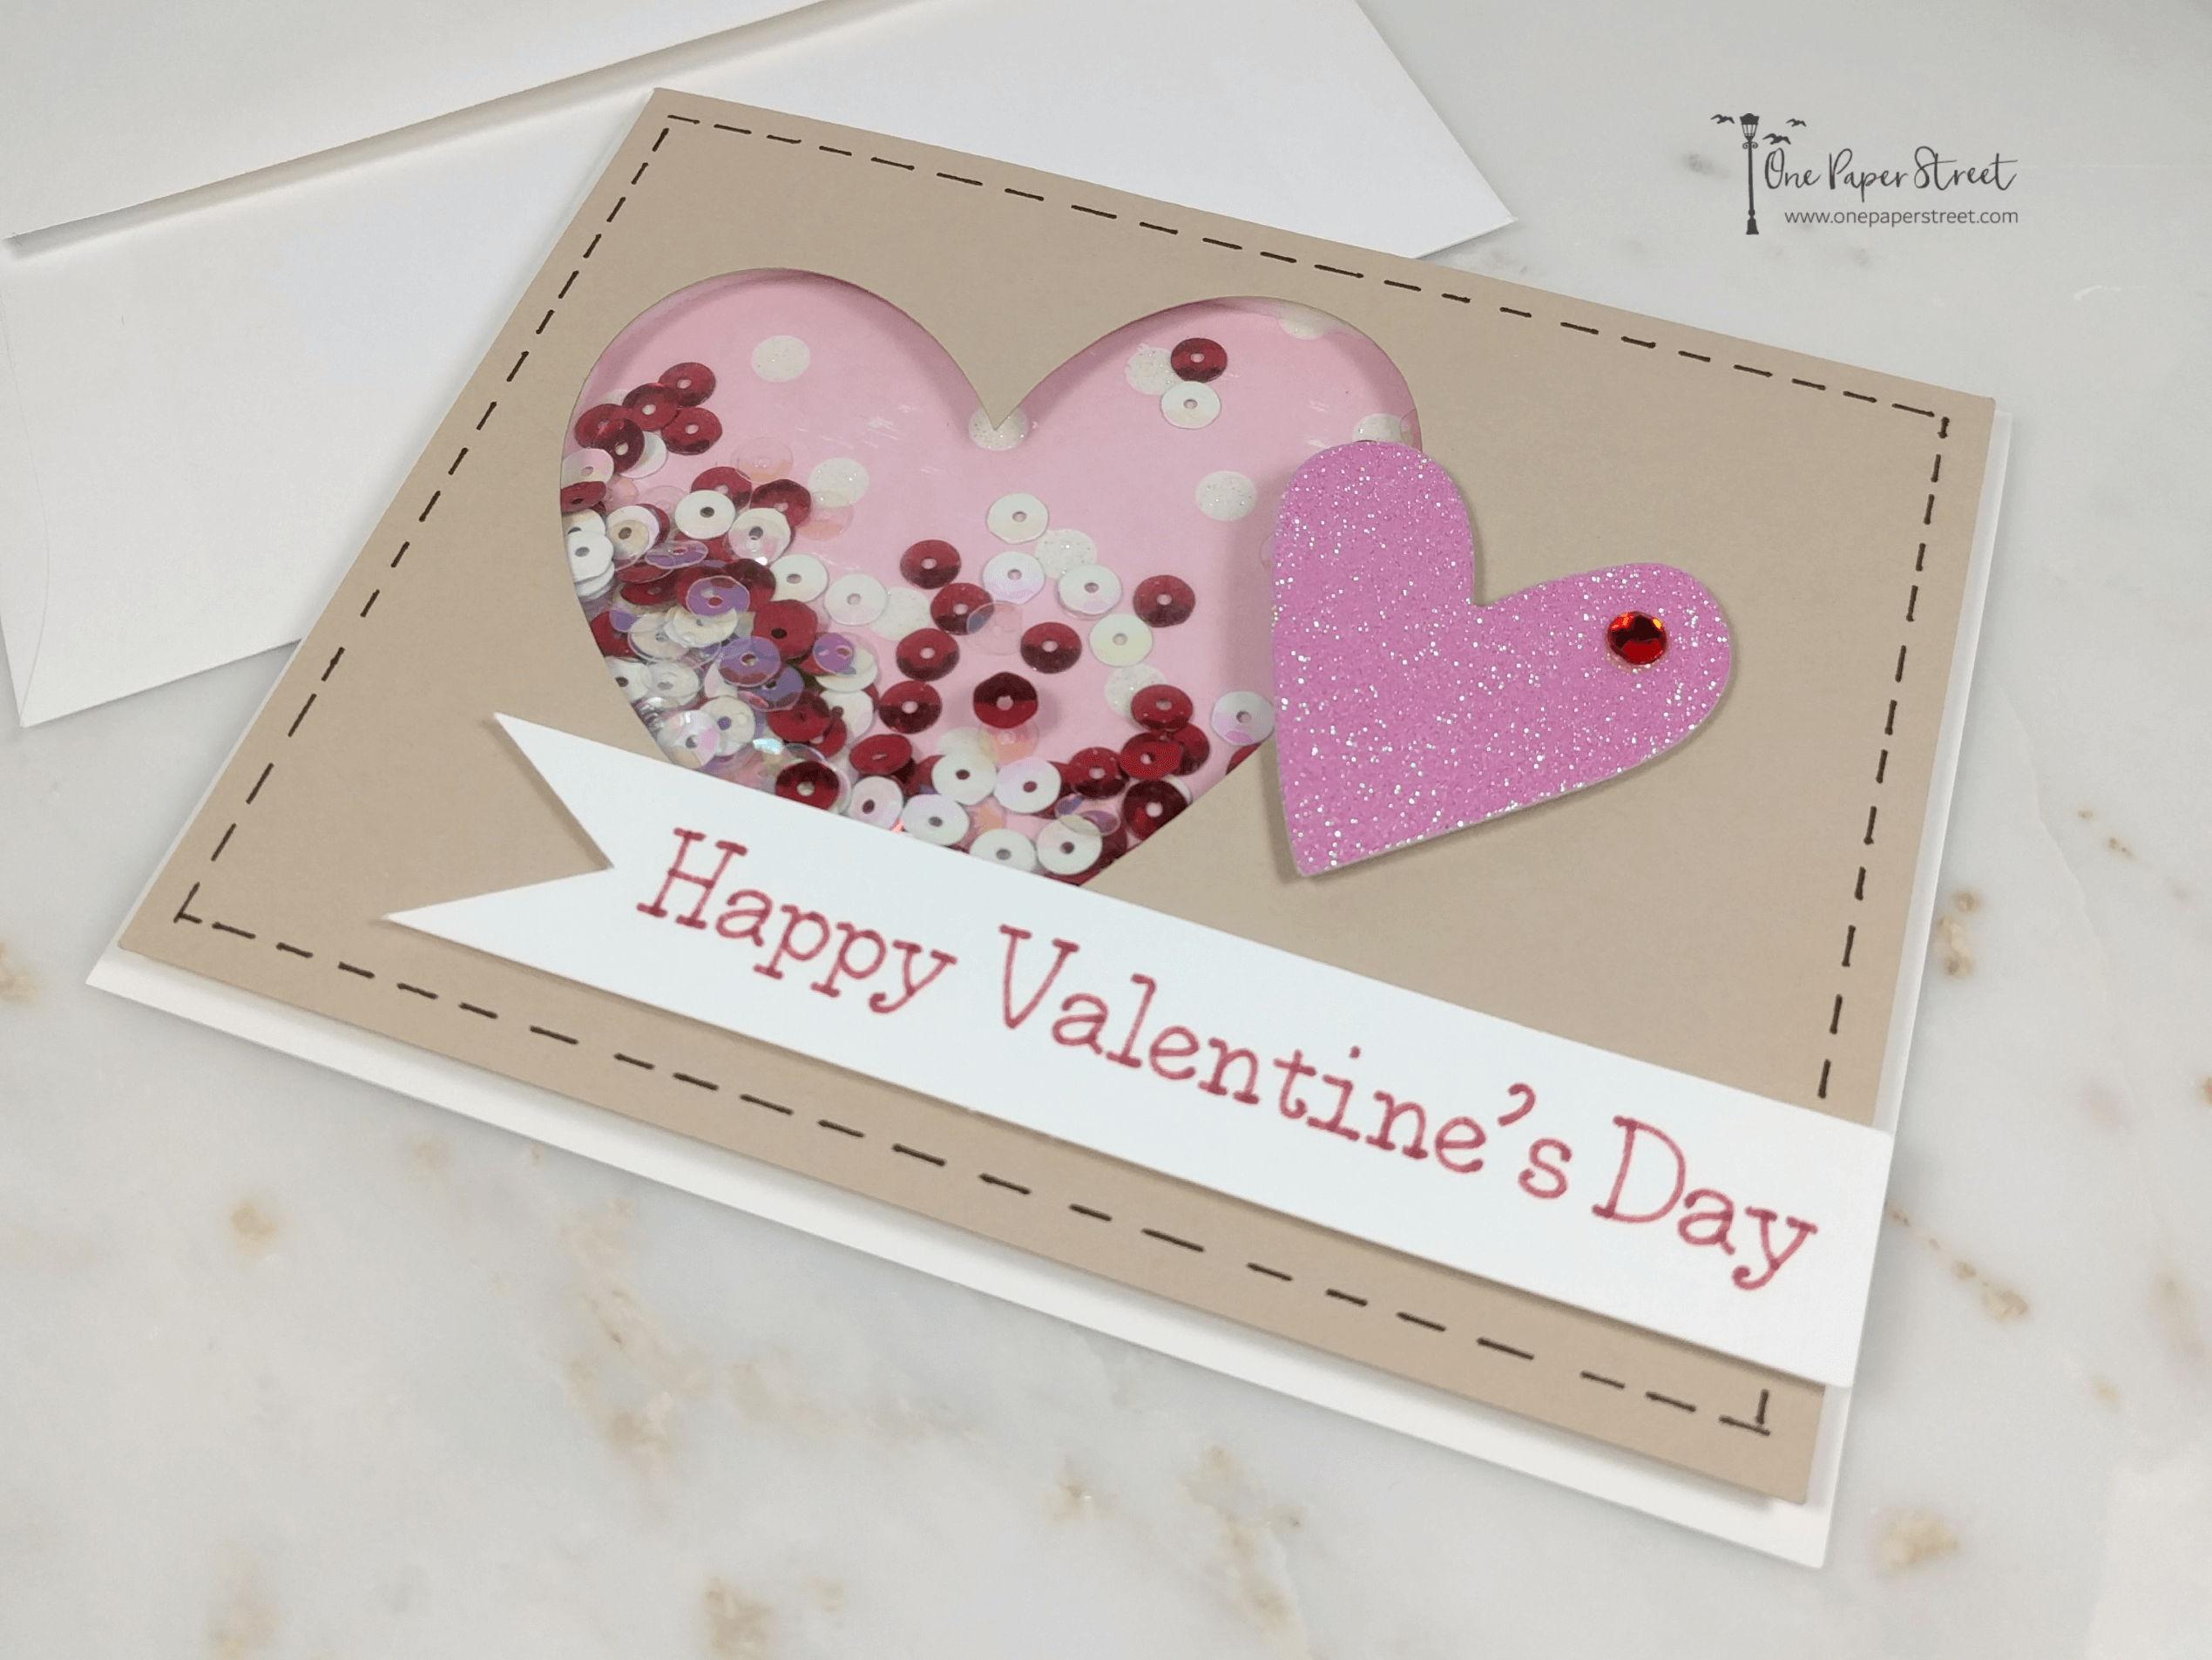
Hey friends! Hope you’re having a great week! Today’s card is a super fun Valentines day shaker card. I’d been racking my brain for a slightly more advanced card design that I’ve done previously, with a twist. I didn’t want to buy any more supplies than I already owned! I’ll admit that this card has a few more steps than my typical design, but it was so much fun to make! I also felt like I was able to capture the signature clean and simple (CAS) style that I love so much. This Cricut tutorial will walk you through all the steps I used to make the card and show you how to replicate it with your own supplies. So keep reading to find out how I did it!
Watch the Valentine’s Day shaker card YouTube video here.
Materials Used:
This blog may use affiliate links when they’re available. If you choose to make a purchase through one of these links, I may receive a small commission at no cost to you. I don’t make recommendations lightly, and will only link to products I know and trust.
- 05 Micron Blister Card Ink Pen Set – Sakura Pigma [Amazon]
- Cricut Explore Air 2 Machine [Cricut] [Amazon]
- Adhesive Cricut Cutting Mat, Standard Grip [Scrapbook.com] [Cricut] [Amazon]
- Basic Tool Set – Cricut [Amazon]
- Ultimate Fine Point Pen Set – Cricut [Cricut] [Amazon]
- 12×12 Scoring Board – EK Tools [Amazon]
- No.55 Switch-Blade Shear, 5.5 Inch – Feather [Amazon]
- Fiskars Recycled Bypass Trimmer, 12 Inch [Amazon]
- Omnigrid 4-6-12-Inch Marking Ruler Trio [Amazon]
- Trim Slant Tip Tweezers [Amazon]
- 5mm Mix 15 Colors Rainbow Cup Sequin [Amazon]
- Sticro 5 Sizes Self-adhesive Rhinestone Sticker 4950 Pieces [Amazon]
- Essentials 20 Colors Cardstock Paper – Recollections [Amazon]
- Neenah Classic Crest Solar White 80lb Cardstock [Scrapbook.com] [Amazon]
- Craft Specialties Double Sided White Foam Tape – 1/2″ X 36 Yards – 1/16″ Thick [Amazon]
- Scor-Pal Scor-Tape – 1/8″X27 Yards [Amazon]
- Scrapbook Adhesives Initially Repositionable Mounting Squares [Scrapbook.com] [Amazon]
- Grafix Acetate Pad, Clear [Amazon]
Materials not pictured:
- Polka dot patterned cardstock
- Pink glittery cardstock
Cricut Images Used:
- 2 Standard Hearts
- 1 Standard Square
- Banner (Bits & Pieces cartridge)
- Be Happy Font
View the exact specifications of this project in the Cricut Design Studio.
Valentines Day Hearts Shaker Card Walkthrough:
Step 1.
Start by opening up this project in the Cricut Design Space. This will give you all the dimensions you’ll need to plan your die cutting sizes. Pick out all of your cardstock colors then create your card base. Your base will be a piece of 5.5 x 8.5 cardstock. Score the paper and fold it in half to make a top opening 5.5×4.25 inch A2 sized greeting card.
Tip: Don’t use your Cricut to make your card base. If you are using a sheet of 8.5 x 5.5 sheet of paper, you’ll likely just end us waisting paper. The 5.5 x 4.25 square that I use in my project is simply for scale.
Step 2.
Use the instructions in the Cricut Design Space to cut out the tan background, the small pink heart and to draw and cut out the banner. I used the Indian Red Cricut marker when I was creating the banner. Creating this design with a Cricut machine also makes it really easy to replicate the design. You can set the draw/cut settings to create as many banners as you need, as long as they fit on a sheet of 12×12 cardstock. 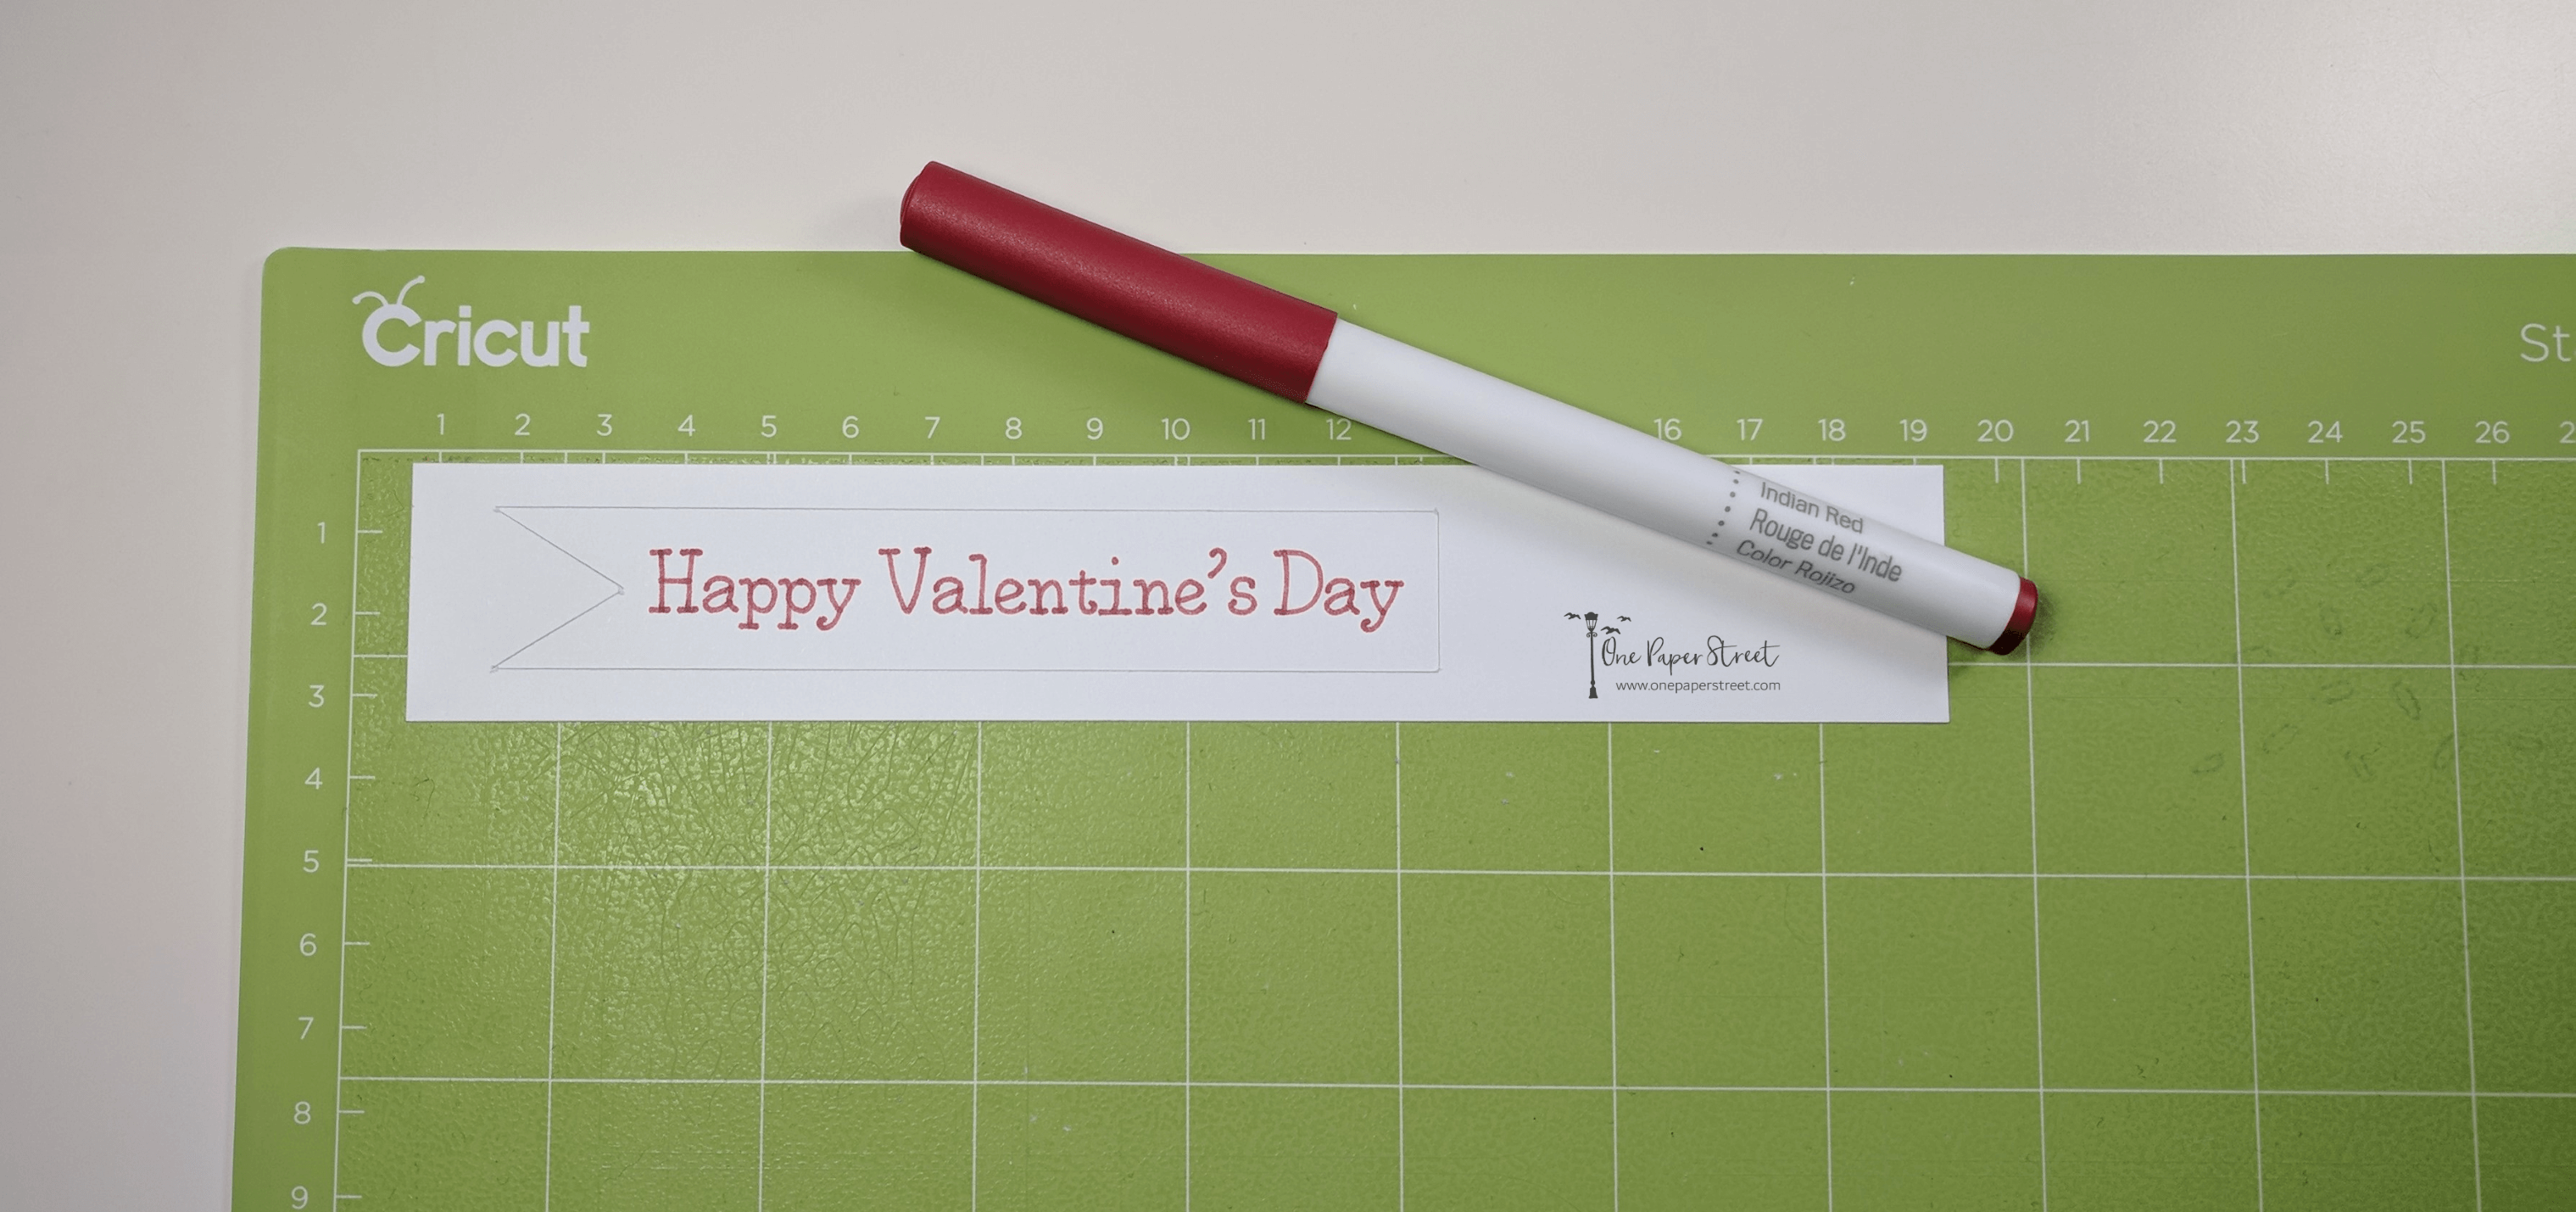
Tip: Still learning how to work your Cricut machine? See my Cricut machine tips and tricks article here.
Step 3.
Next, cut a sheet of acetate about 3.75 x 3.75 inches wide. This should fit perfectly behind the heart-shaped window that our Cricut created for us. Adhere it to the back of the tan cardstock using mounting tape. Allow it to completely cover the space where the heart has been cut out.
Once the acetate is secure, line the back of it with strips of double-sided 3D foam tape. Make sure each piece is touching closely so no sequin falls out. If you take the protective covering off the back of the 3D foam tape before you adhere it to the card, you’ll find that it has more flexibility and is easier to maneuver. Lastly, use a powder tool to remove any static on the acetate, and to run along the sides of the foam tape to remove any unwanted adhesive.
Tip: I recommend using 2 layers of foam tape behind the acetate to ensure that your sequin has enough space to move around.
 Step 4.
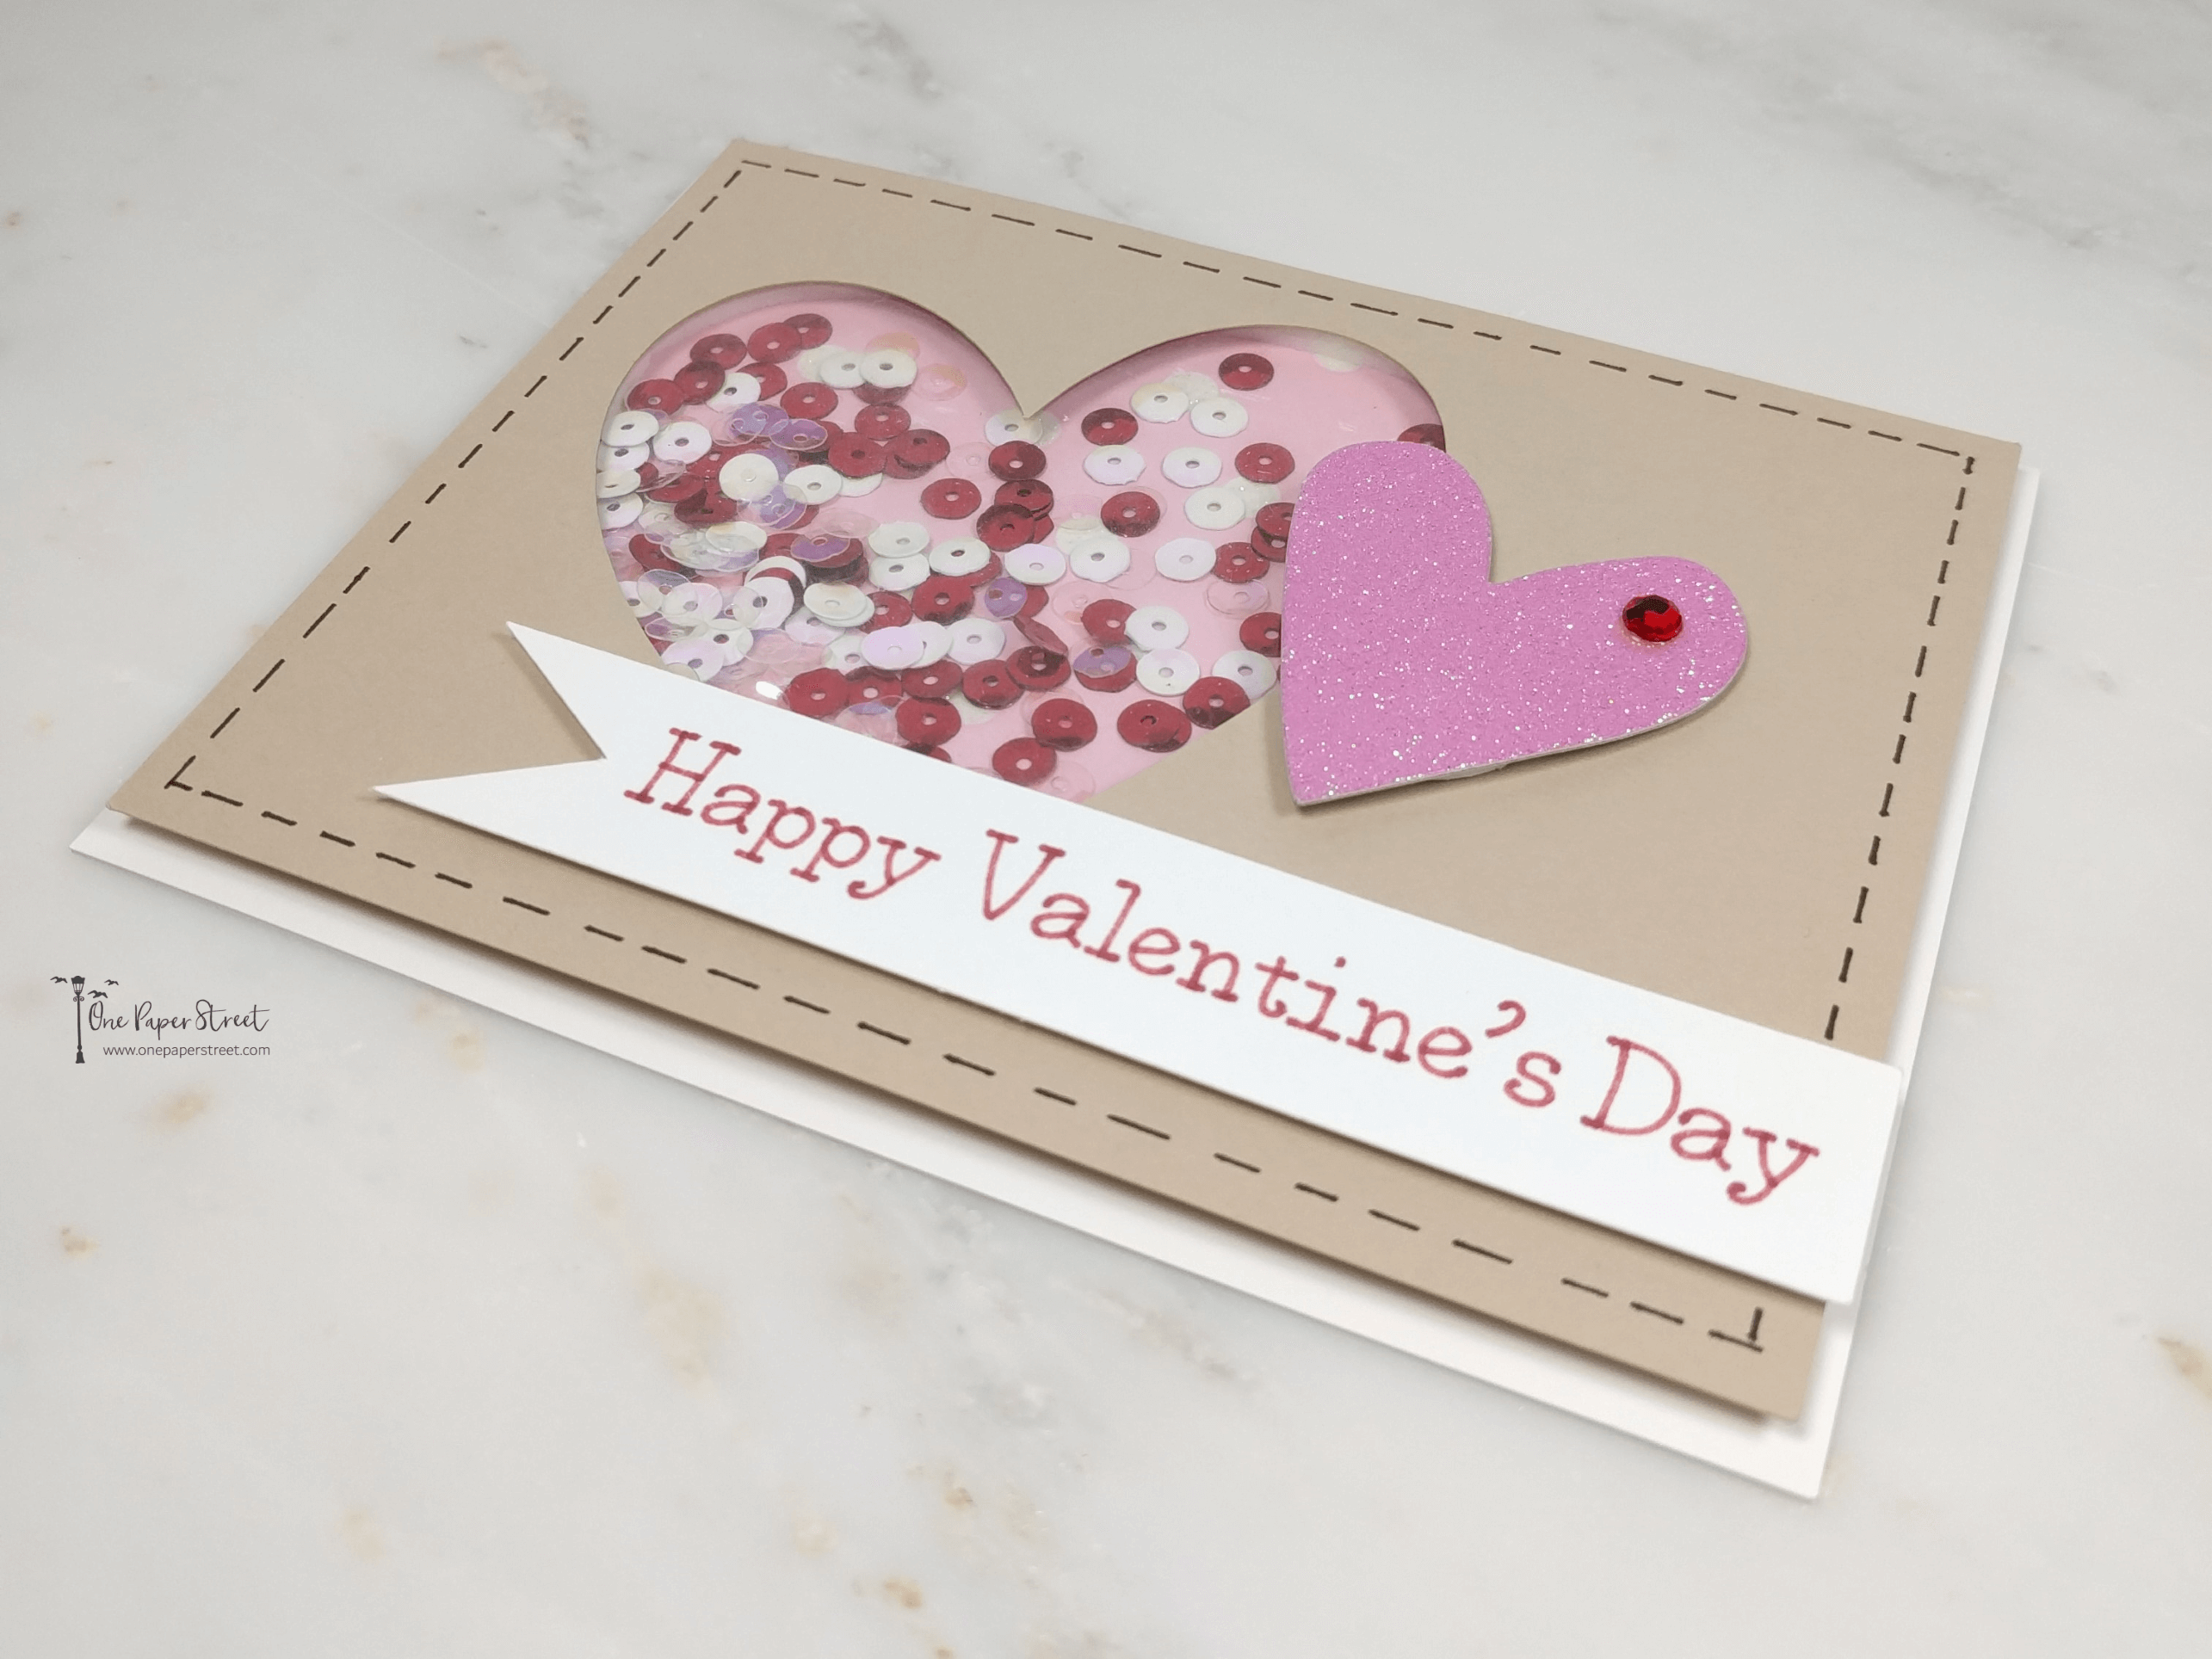
And now for the most exciting part, add the sequin to the acetate window you’ve created! I suggest adding a few colors of sequin in together to accent each other nicely. I used clear iridescent, white and red sequin. If you’re having trouble figuring out how much to put in, use a 1/4 teaspoon to measure it out, then just add more as needed.
Close the heart window by placing whatever patterned cardstock you’ve chosen for your background. I used a sheet of polka-dotted pink cardstock that was about 3.5×3.5 inches in size. Trim off any excess pink cardstock before adding the design to the card base.
Step 5.
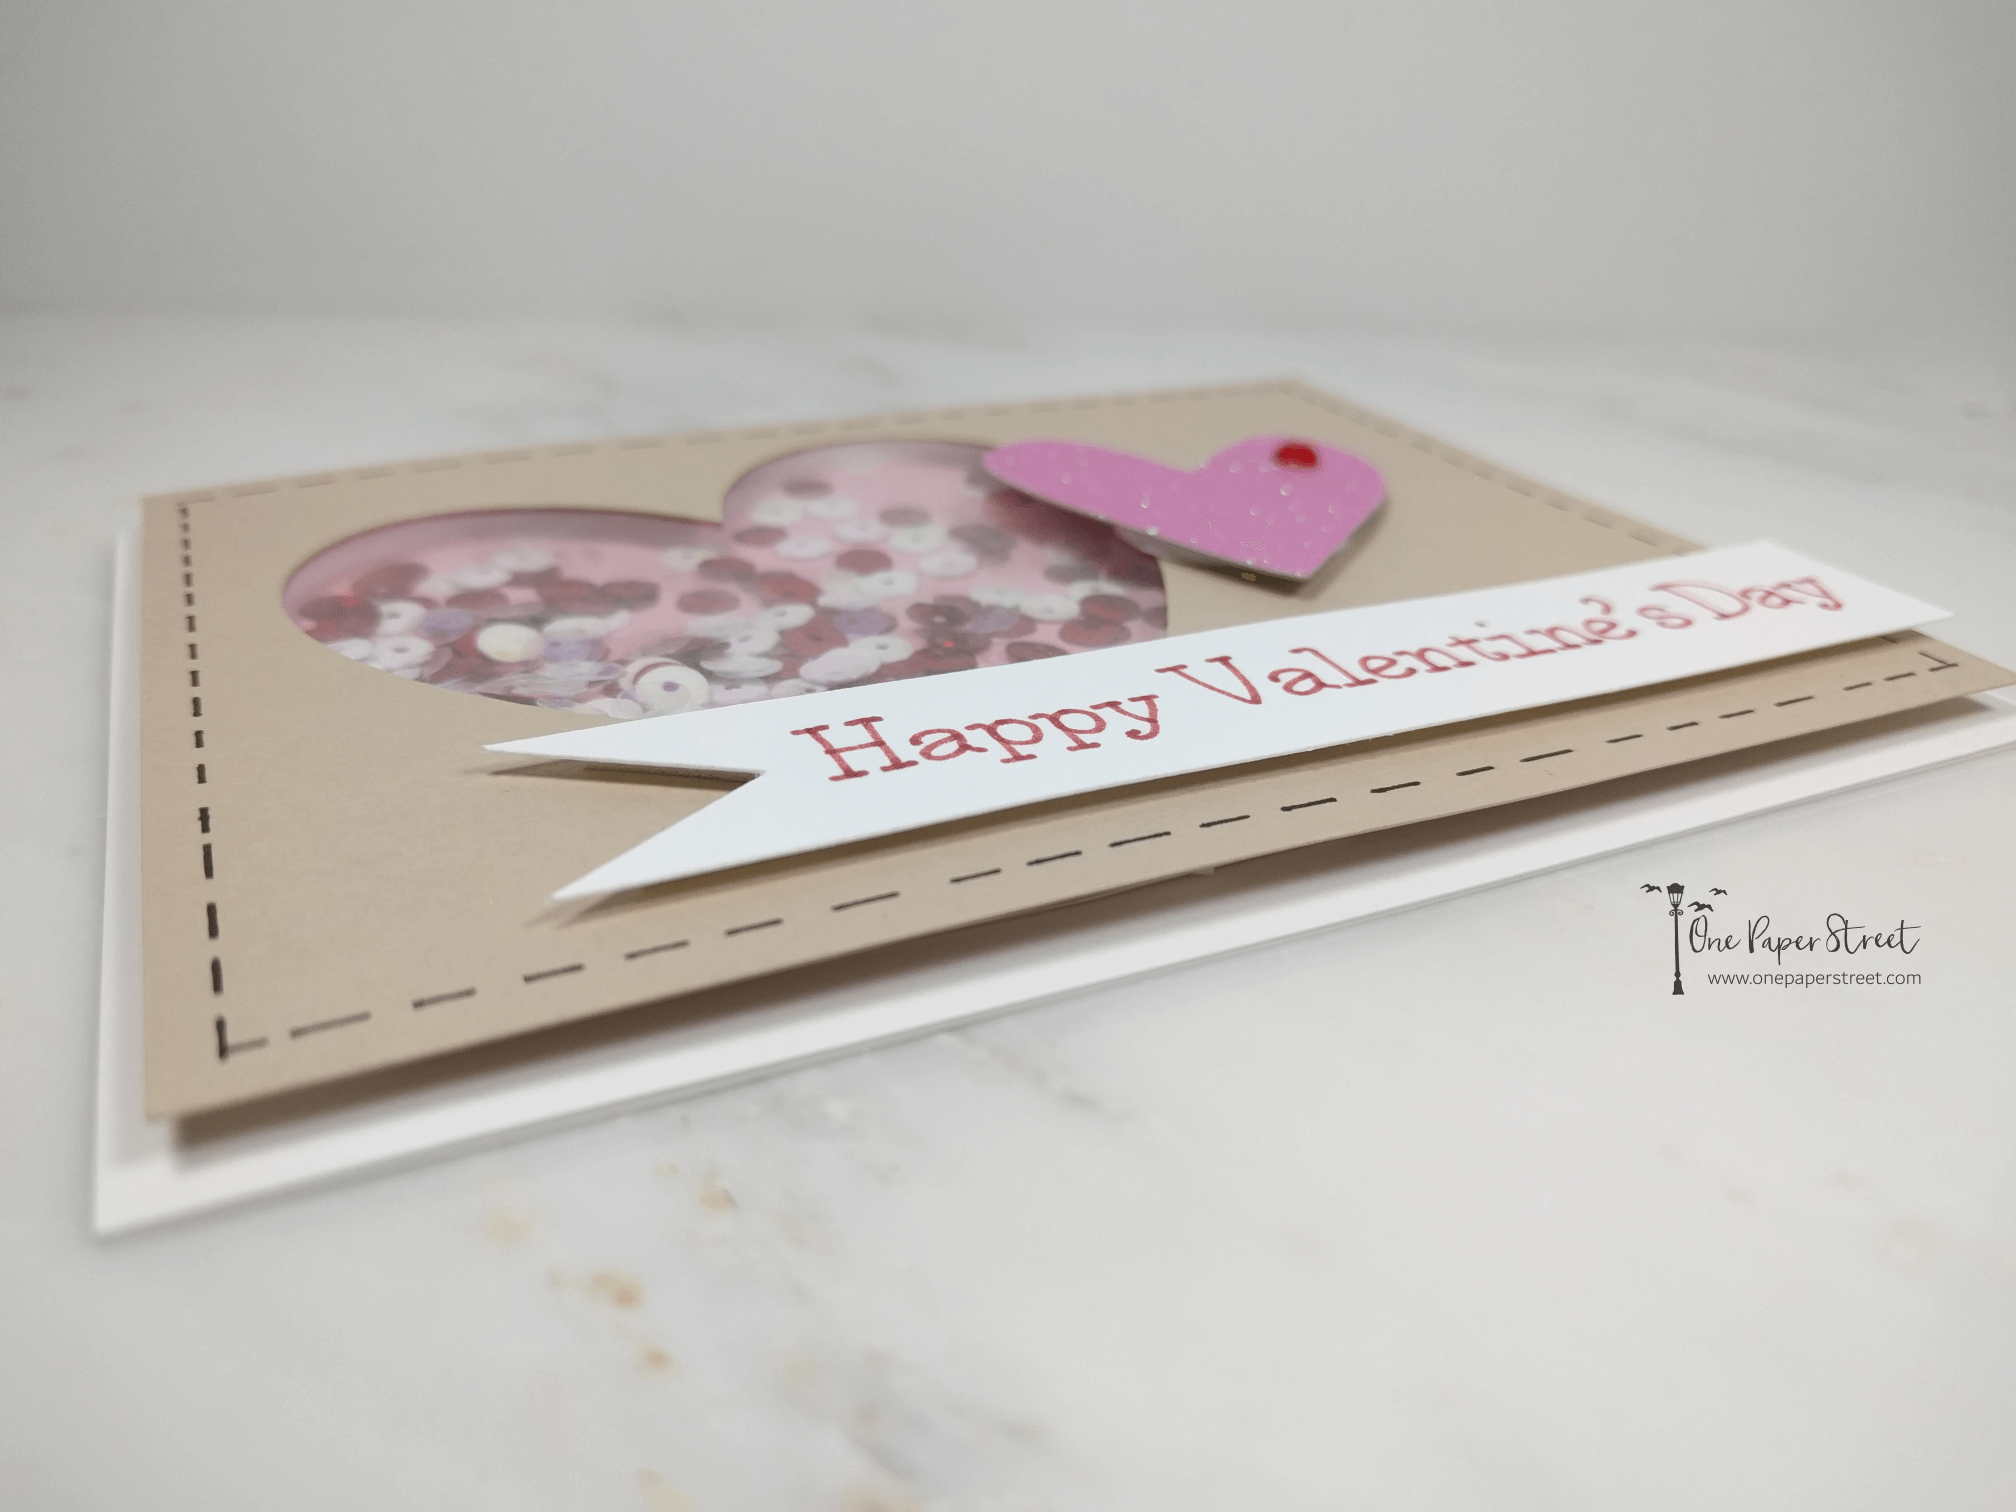
For the final steps of this Valentine’s day shaker card, add some 3D foam tape to the back of the tan cardstock and apply the shaker design to the card base. Once that’s added to the base, adhere the glittery heart and the banner using more 3D foam tape. This will really make it pop off the page. I also added a red rhinestone that matches the color of the red sequin on the right-hand side of the pink heart.
5 comments
Is there a video on instructions to put this card together?
Hey Susan! Thank you for your interest in this card. I will actually be posting a video for this card in a couple days. I will send it your way as soon as it’s finished!
Hey Susan! The video is now live. You can find it here. https://youtu.be/wS_EJdjc5SI
Hello, is this project no longer available? It’s showing up as private when I try to open in design space. Thank you.
Hey Jackie, Thank you so much for reaching out. The settings must have been changed when Cricut converted from an online platform to a desktop/mobile app. I just updated the link. Can you confirm that you can open the project now?