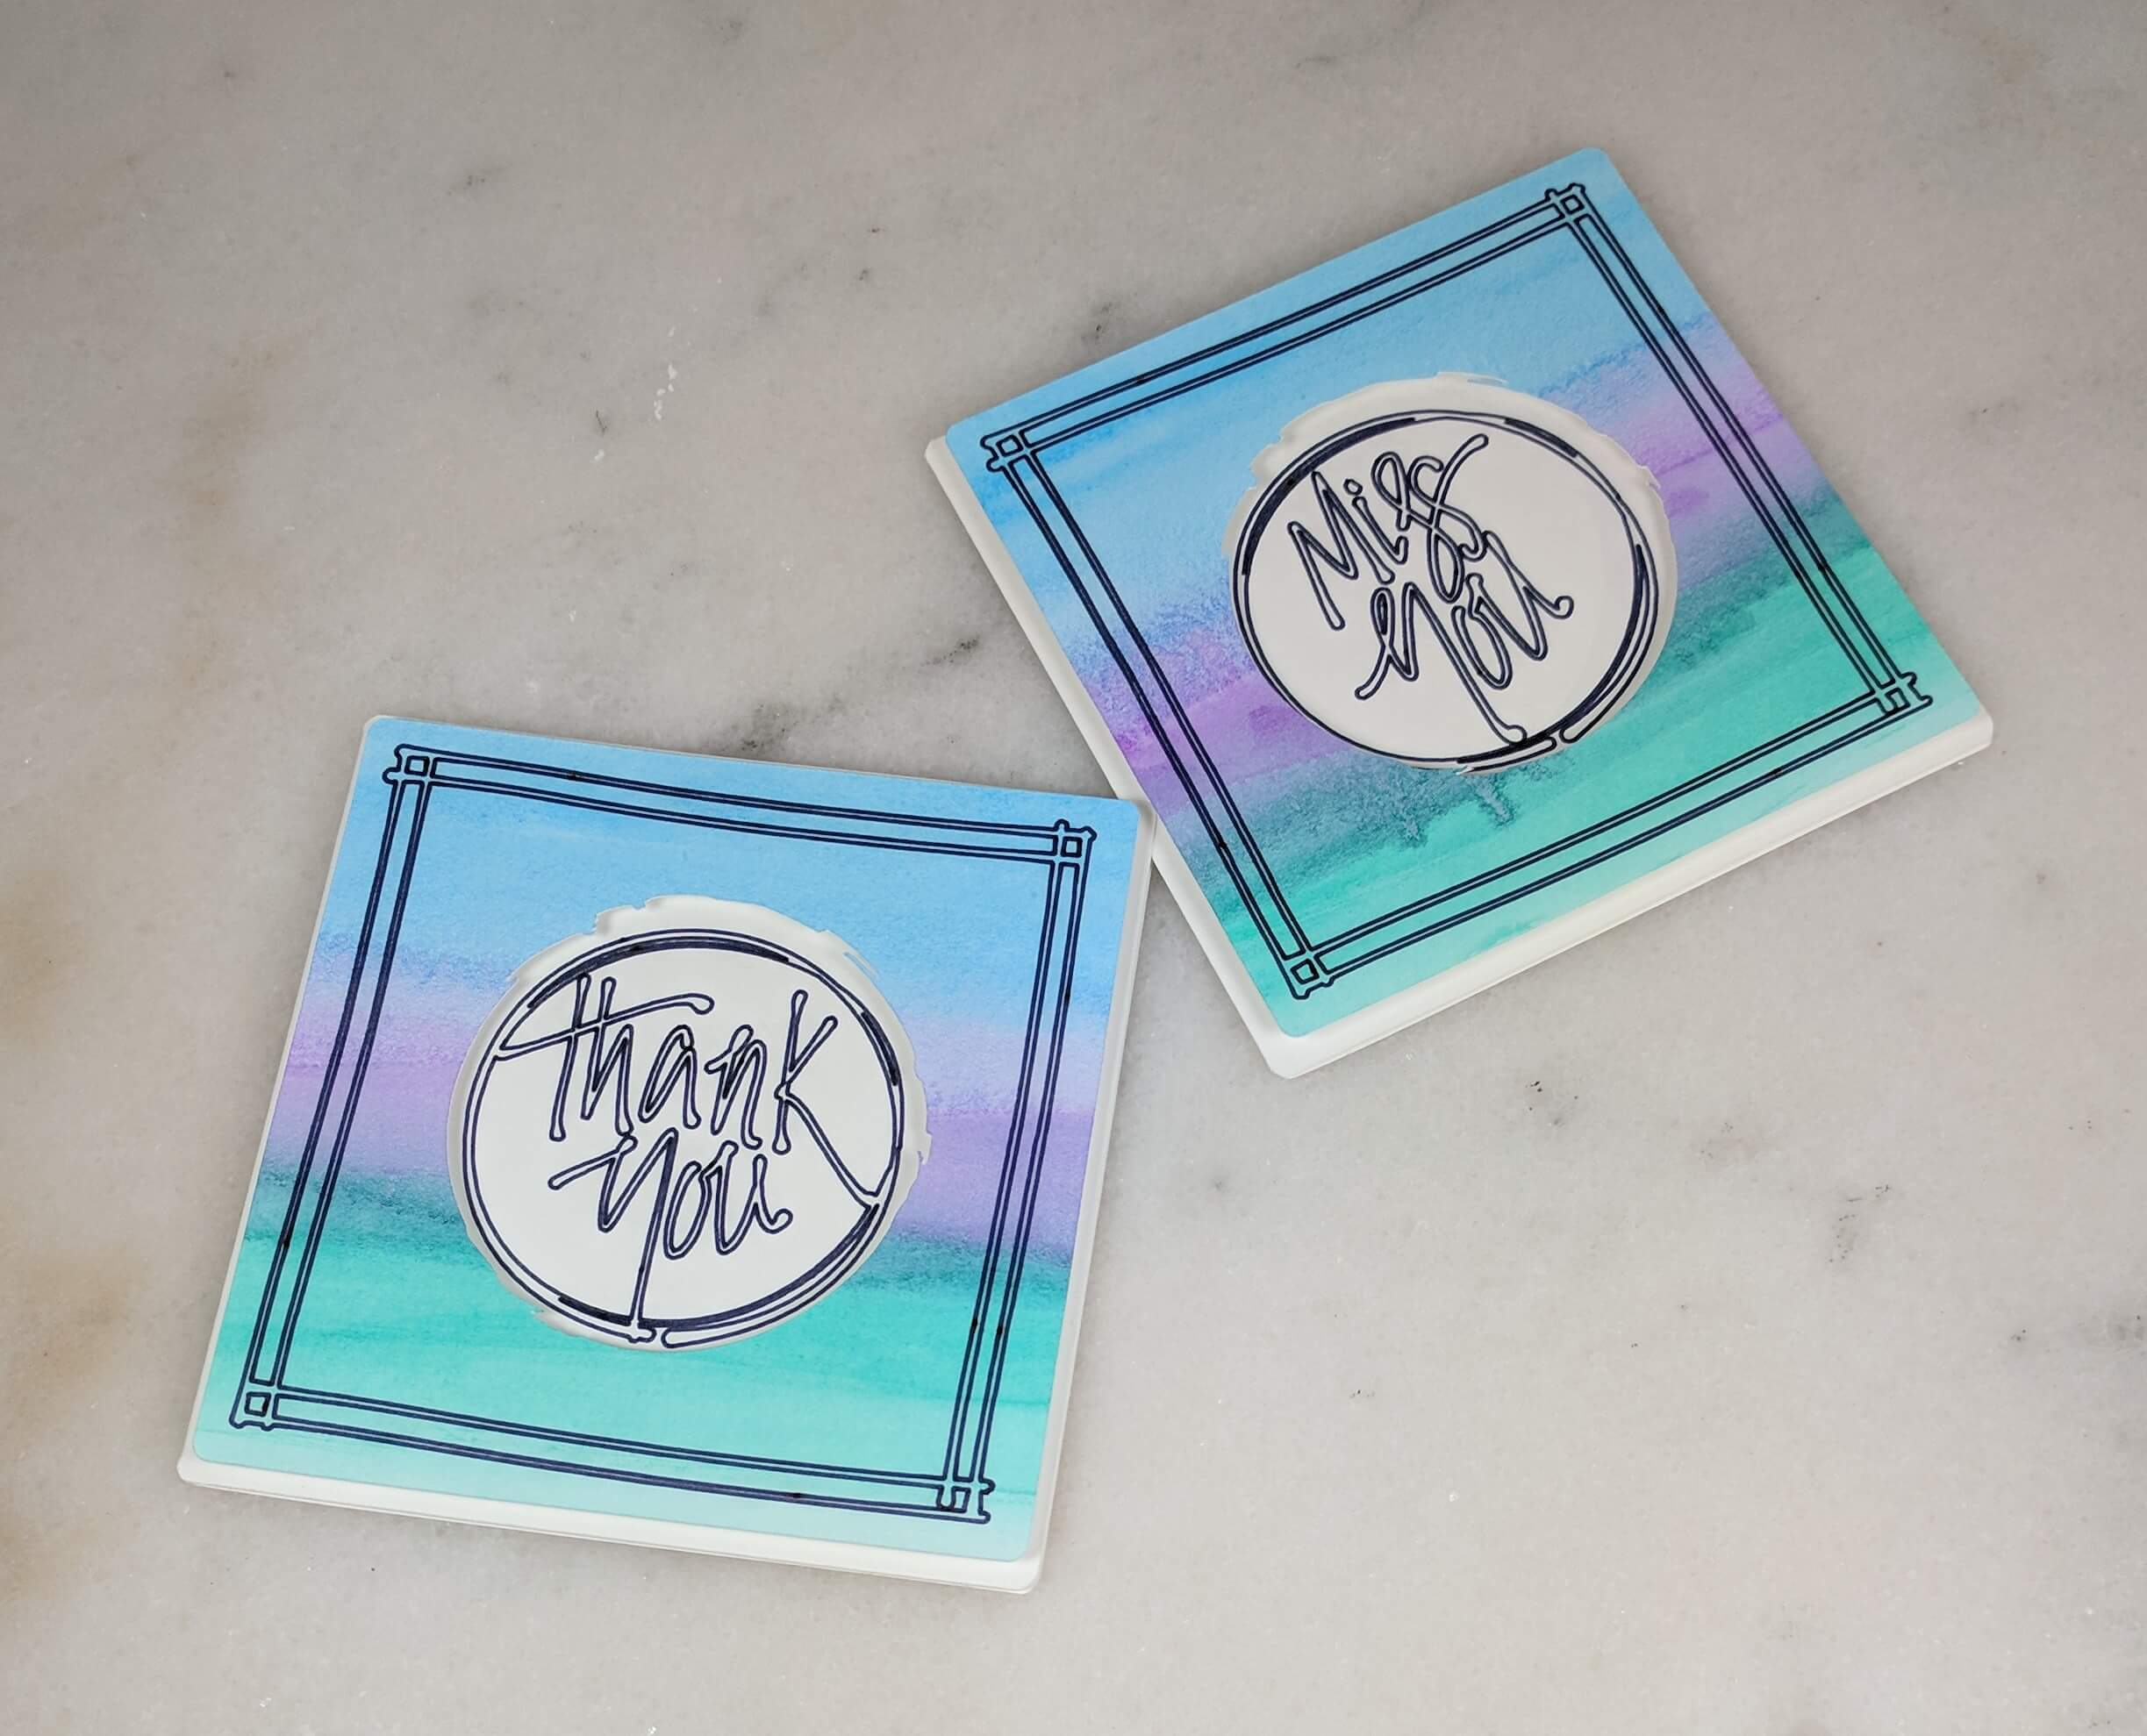
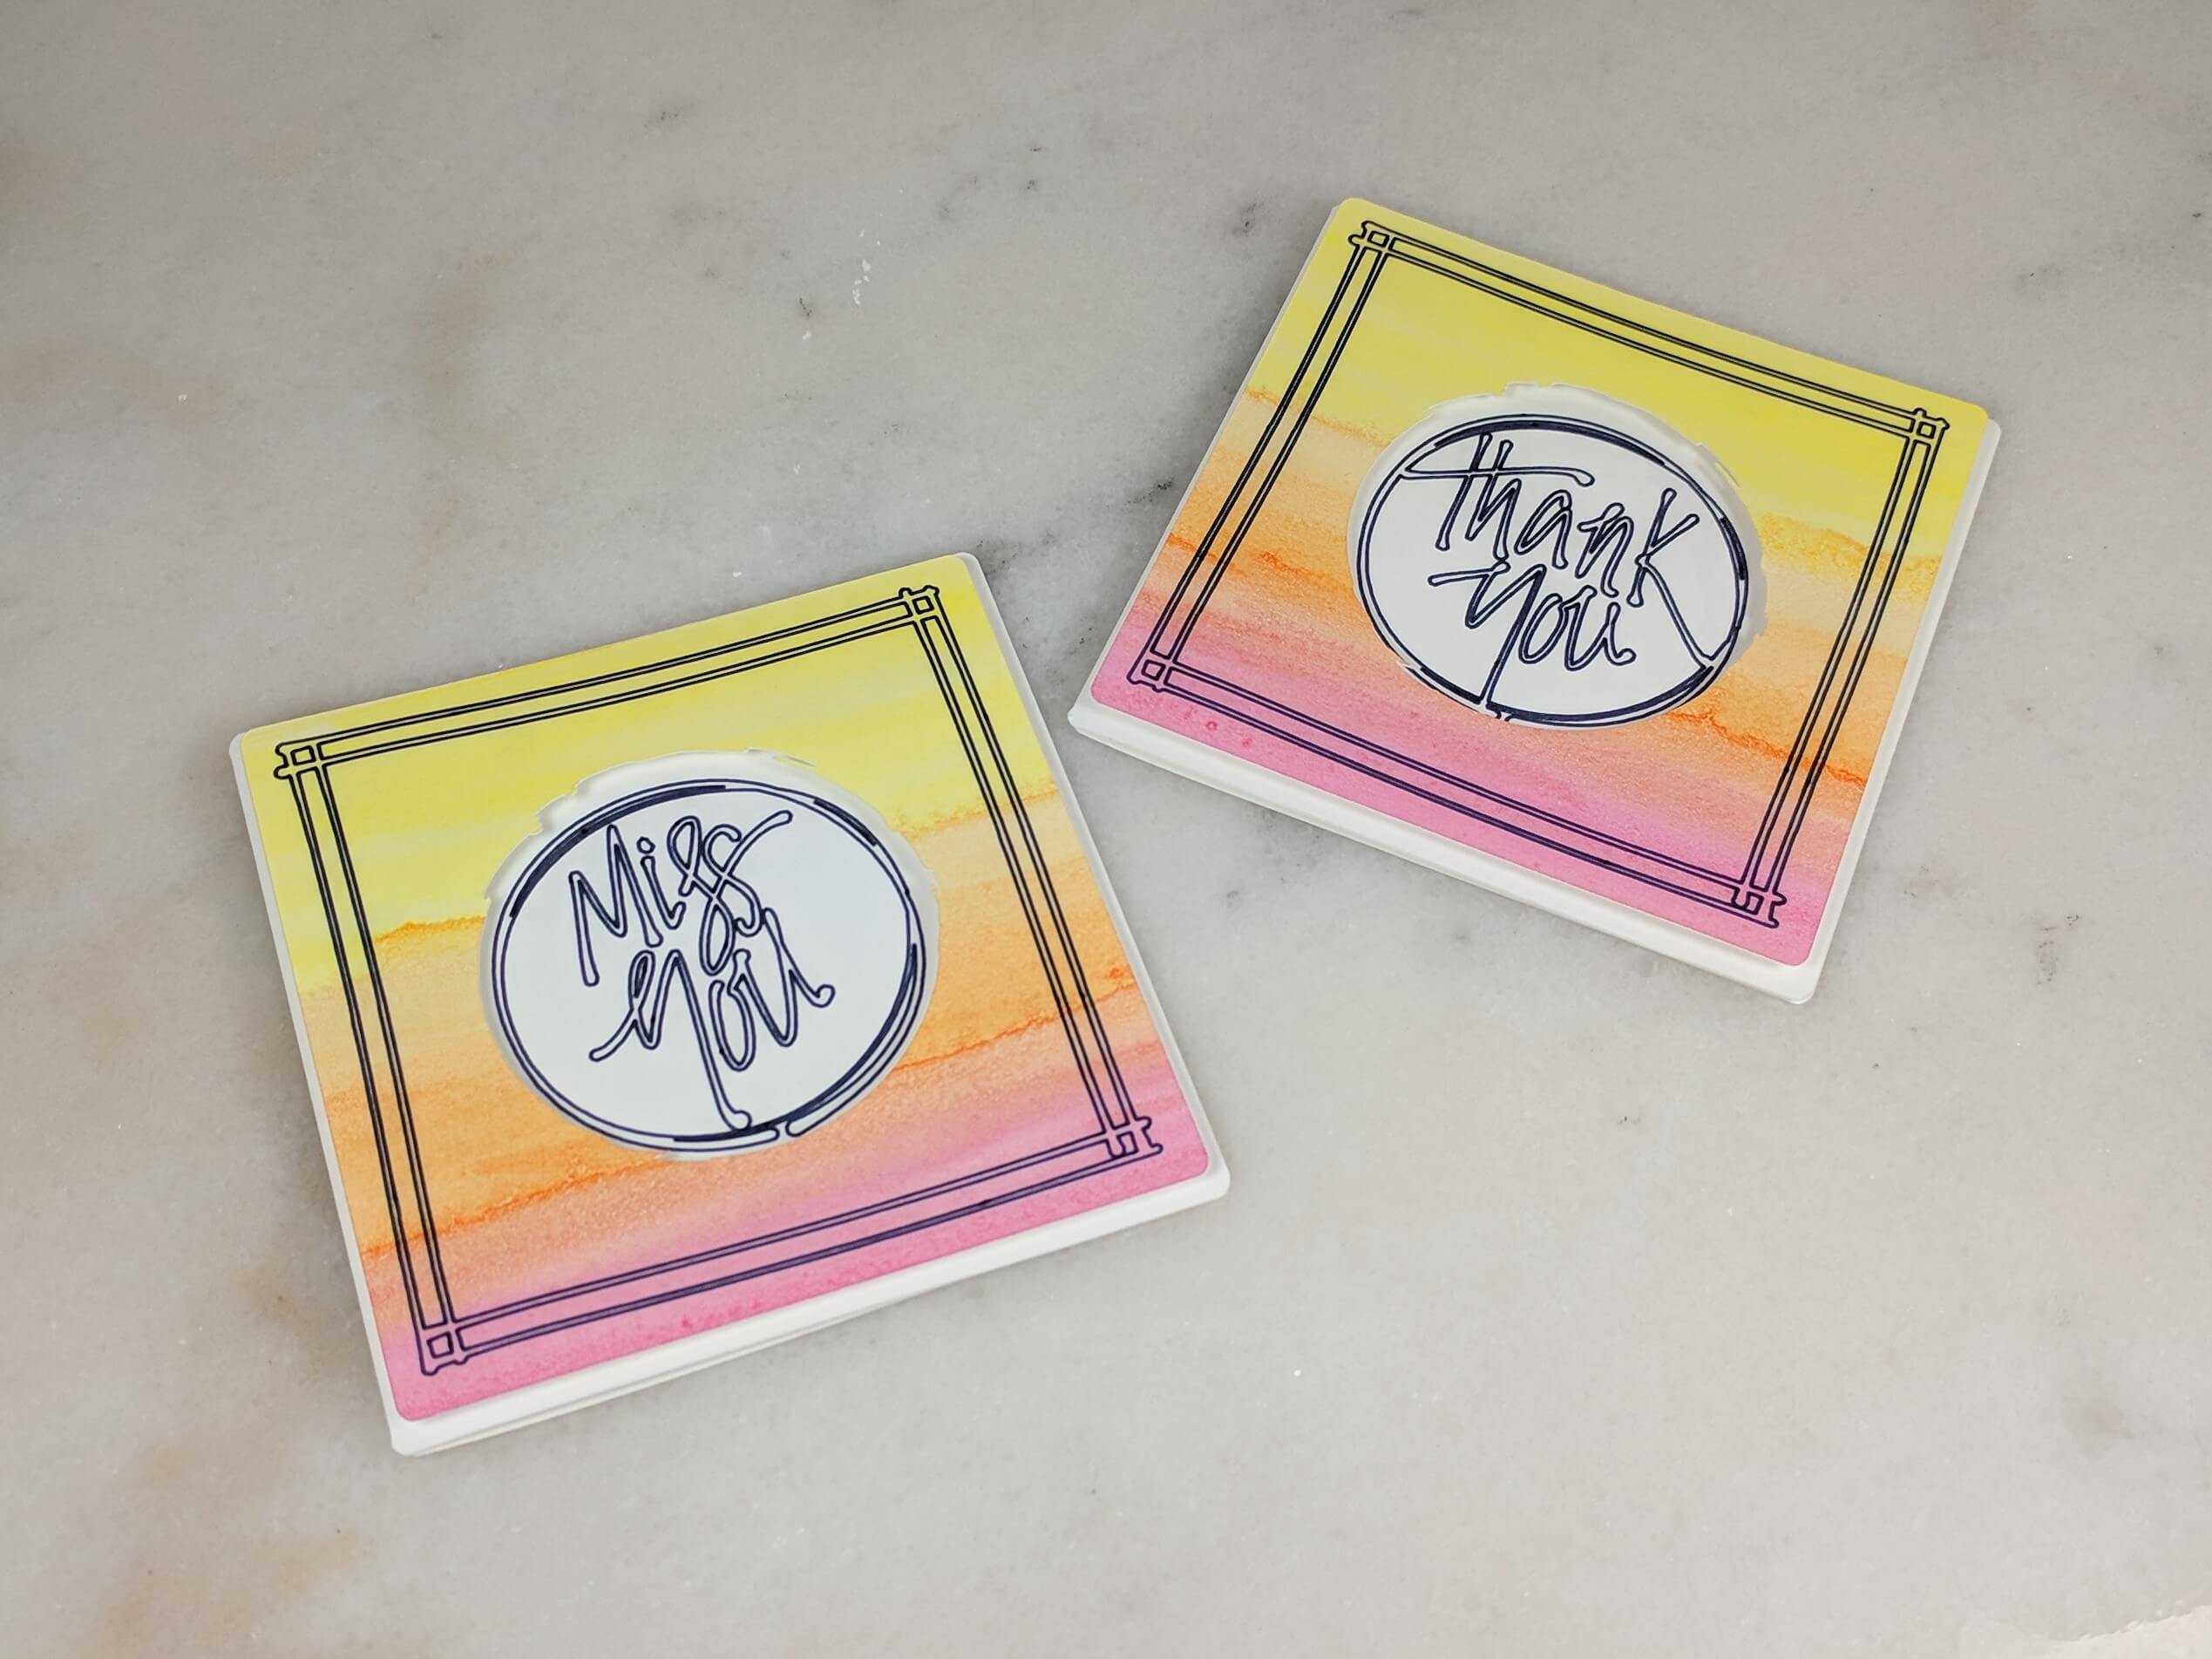
Do you need an easy yet creative watercolor idea? Then this simple and fun technique of using gravity to create a unique greeting card design is perfect for you! With just some basic supplies, you can create beautiful watercolor results. Read on to learn step-by-step how to create cards using this watercolor technique.
Easy Watercolor Idea – Materials Used
- Cricut Explore Air 2 Machine [Cricut] [Amazon]
- Adhesive Cricut Cutting Mat, Standard Grip [Scrapbook.com] [Cricut] [Amazon]
- Basic Tool Set – Cricut [Amazon]
- Scoring Stylus – Cricut [Amazon]
- Ultimate Fine Point Pen Set – Cricut [Cricut] [Amazon]
- Mix Media Pad – Canson XL [Amazon]
- Sakura Koi Watercolor Field 48 Color Sketch Set [Amazon]
Colors Used: Lemon Yellow #052, Permanent Orange # 024, Quinacidone Rose #032, Cerulean Blue #145, Purple #176, Viridian Hue #092 - ScotchBlue Painter’s Tape – 1.88-Inch by 60-Yard [Amazon]
- Golden Fleece Synthetic, Flat, 1 inch [Cheap Joe’s Art]
- Neenah Classic Crest Solar White 80lb Cardstock [Scrapbook.com] [Amazon]
- Trim Slant Tip Tweezers [Amazon]
- Scrapbook Adhesives Initially Repositionable Mounting Squares [Scrapbook.com] [Amazon]
- 1/2-Inch Forever In Time 3D Pop Dots Square Dual-Adhesive Foam Mount [Scrapbook.com] [Amazon]
- No.55 Switch-Blade Shear, 5.5 Inch – Feather [Amazon]
Cricut Images Used:
- Thank You Card (Maker-Party & Events cartridge)
- Miss You Card (Maker-Party & Events cartridge)
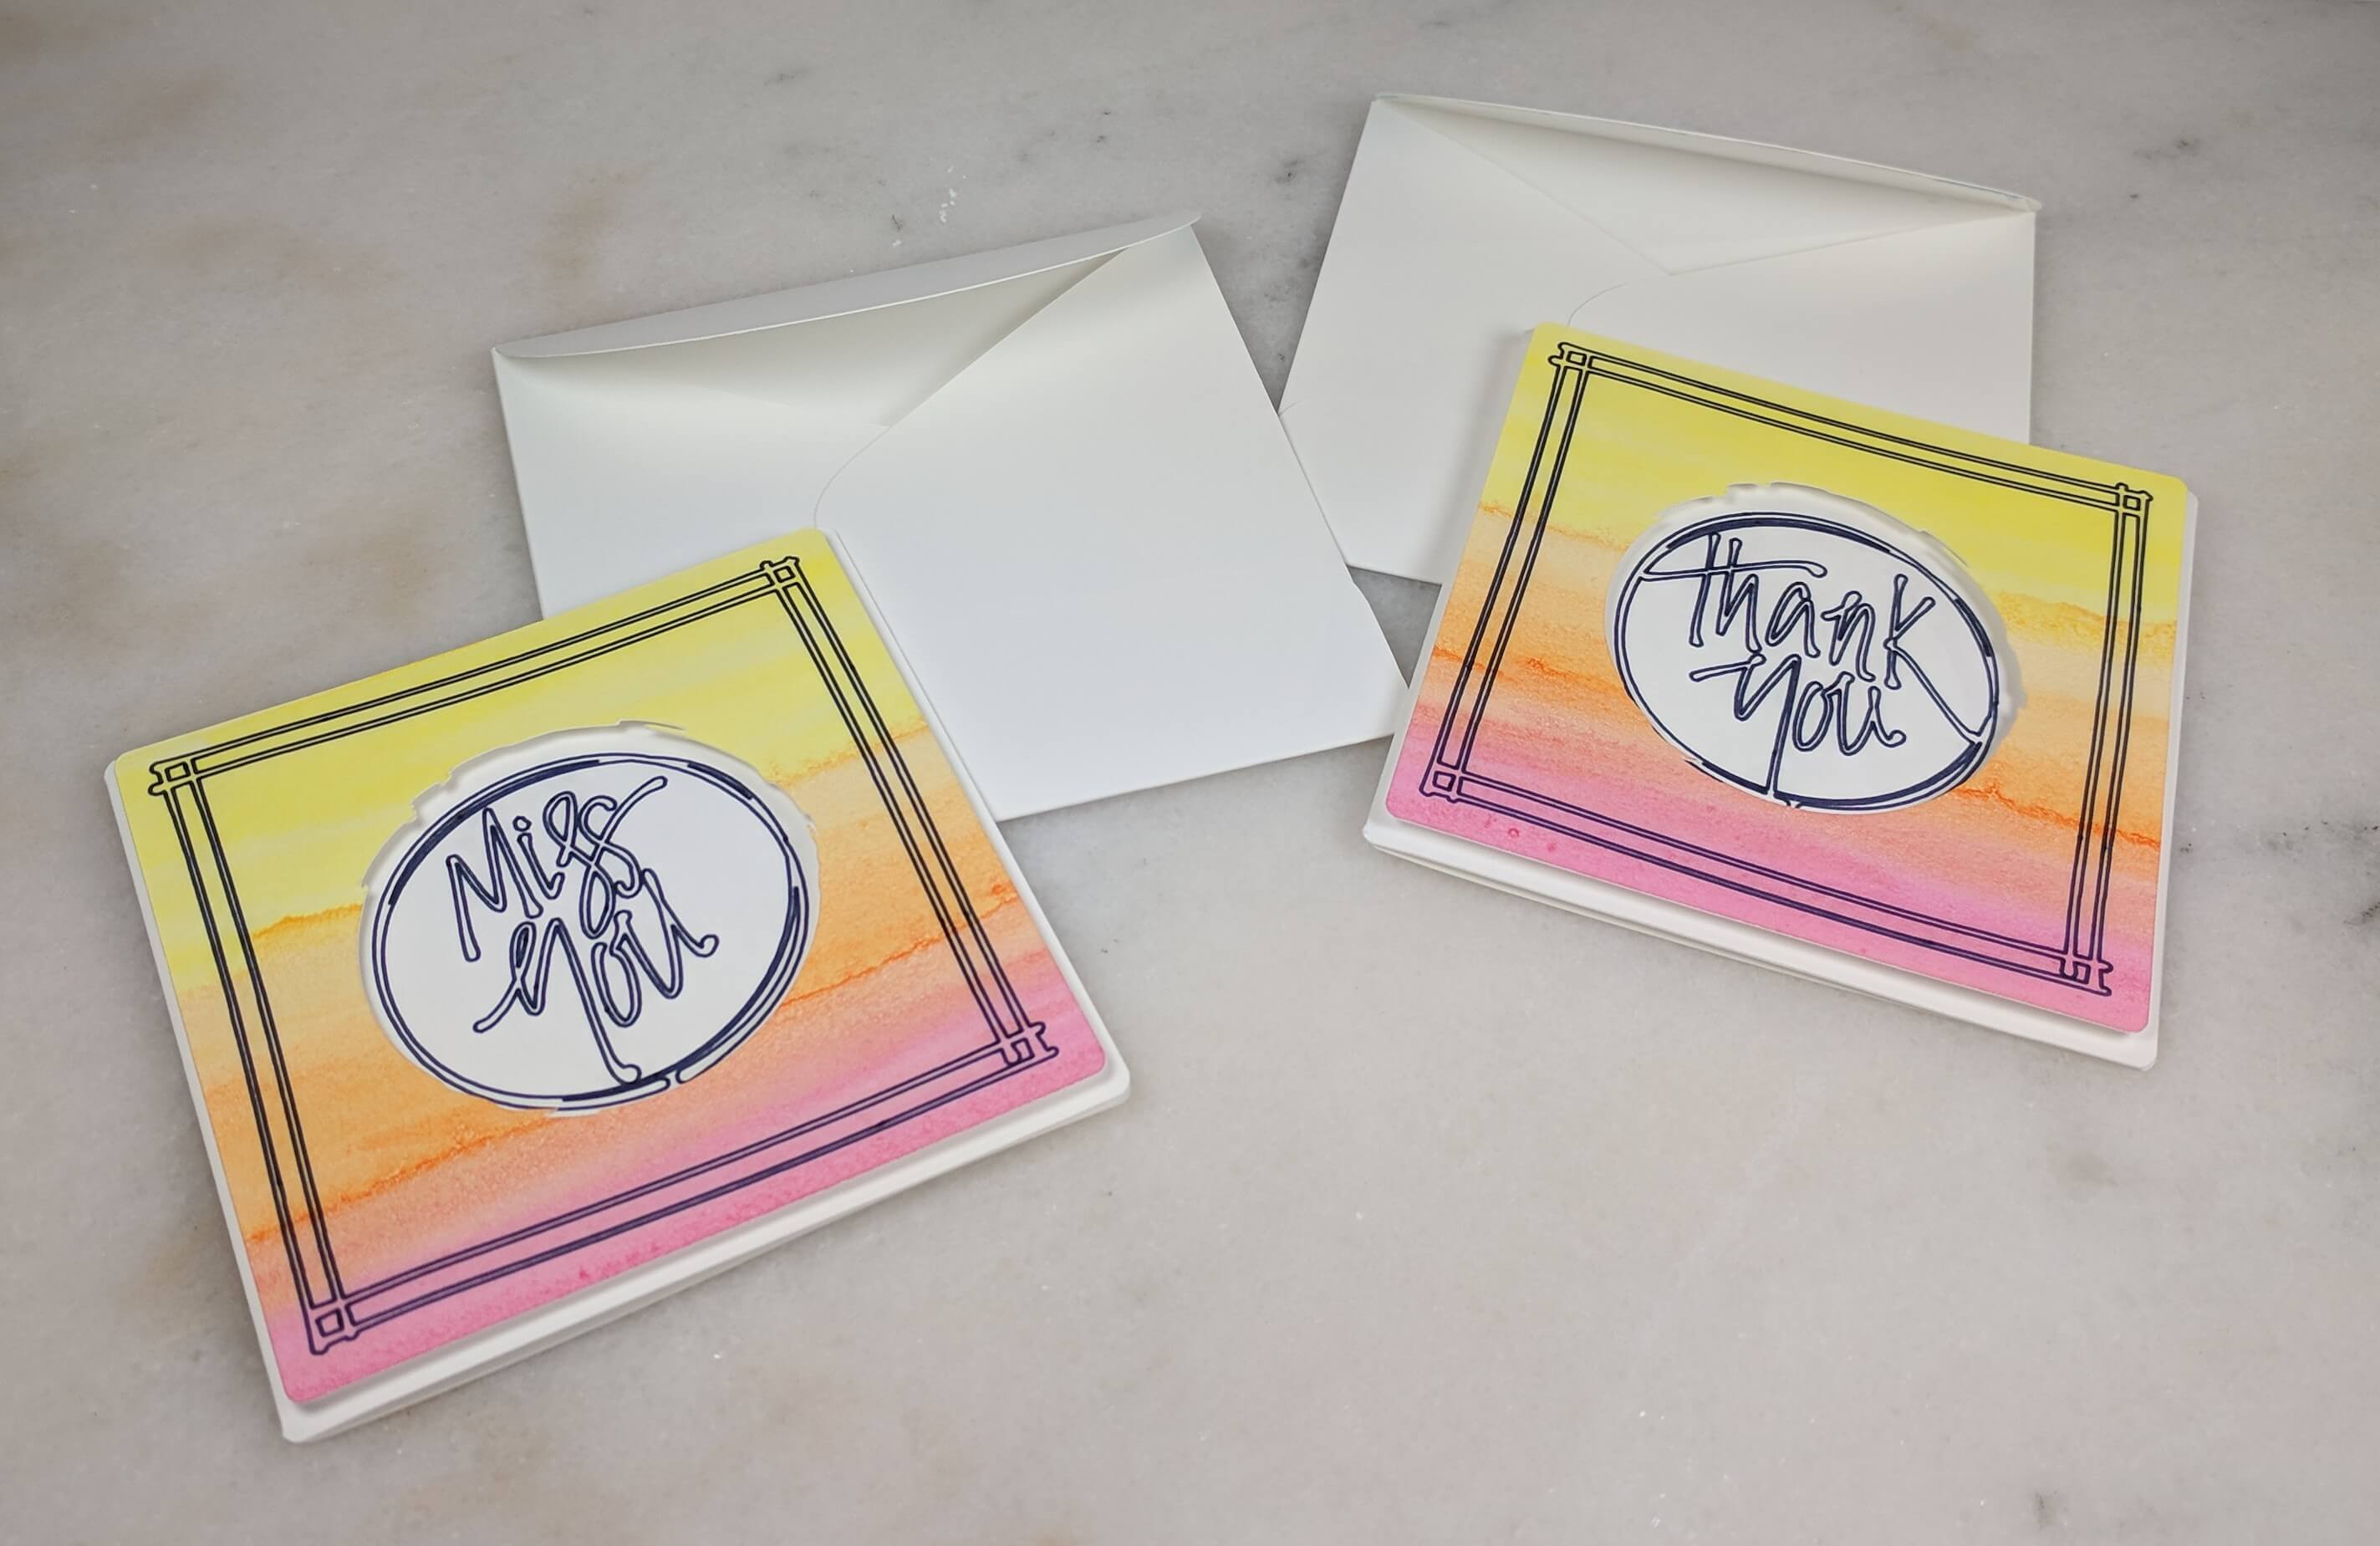
- Envelope (Tags, Bags Boxes & More 2 cartridge)
Easy Watercolor Idea Tutorial:
Step 1. Tape your watercolor paper to a flat surface
This user easy watercolor idea can make two cards depending on their size. Grab a 7″X10″ sheet of watercolor paper and tape it onto a smooth, hard, flat surface that you can tip or move around. I went with an 8×10 piece of chipboard. And remember to use tape that won’t rip the paper when you remove it. I love using ScotchBlue Painter’s Tape. The most important thing is to keep that paper secure while you paint, so it doesn’t move around.
Step 2. Choose your paint colors.
Alright, let’s pick out your three paint colors. We’re going to be placing them right next to each other so they blend together a little. So try to choose shades that won’t look muddy when mixed together.
A good rule of thumb is to think of the rainbow. Colors that blend well will be closer together on the rainbow, while those that don’t will be further apart. If you’re unsure about the colors you chose, just test them out of a piece of scrap paper. Once you’re ready, mix your paint with some water on a mixing palette. Don’t have a palette? No problem, just use a disposable plate. And that’s it! You’re ready to dive into this easy watercolor project.
 Looking for watercolor birthday card ideas? Check out this watercolor birthday balloons card.
Step 3. Apply your paint to the watercolor paper.
Load your brush up with the paint and water mixture, and start swiping your darkest color across the bottom of your page. Make it about 10 inches long and 2 inches wide. Play around with your brush, moving it back and forth to add some texture to your design. Before the first color dries, head about 1.5-2 inches above and start painting the next layer. As you get closer to the first layer, let your brush blend the two colors together. Then, tip up your painting surface and let gravity pull the top color down, creating a vein-like effect on the page.
Repeat the same process for the top layer, but make it a little shorter, about 2 inches. Once you’re finished, set your easy watercolor creation aside and let it fully dry. Wait until the paint is completely dry to pull the tape off.
Step 4. Add your sentiment and any accents.
With your watercolor project complete and dried, it’s time to trim down your paper as desired. This will allow you to fit it on a card base and add any stamped designs or sentiments that you would like to add. I chose to run the watercolor design through my Cricut machine to allow the machine to draw and cut the design I had created. But that is optional.
If you use a Cricut machine, adhere your watercolor paper to your Cricut mat and make sure it is very secure. Add some washi tape if you’re worried it won’t stick to the mat. Your watercolor paper will have warped slightly from the paint, so be mindful as you secure it. Feed it through the machine following its instructions. Once you’ve cut and drawn the desired images, eject the mat from the machine and peel them off of the mat.
Step 5. Assemble the Watercolor Card
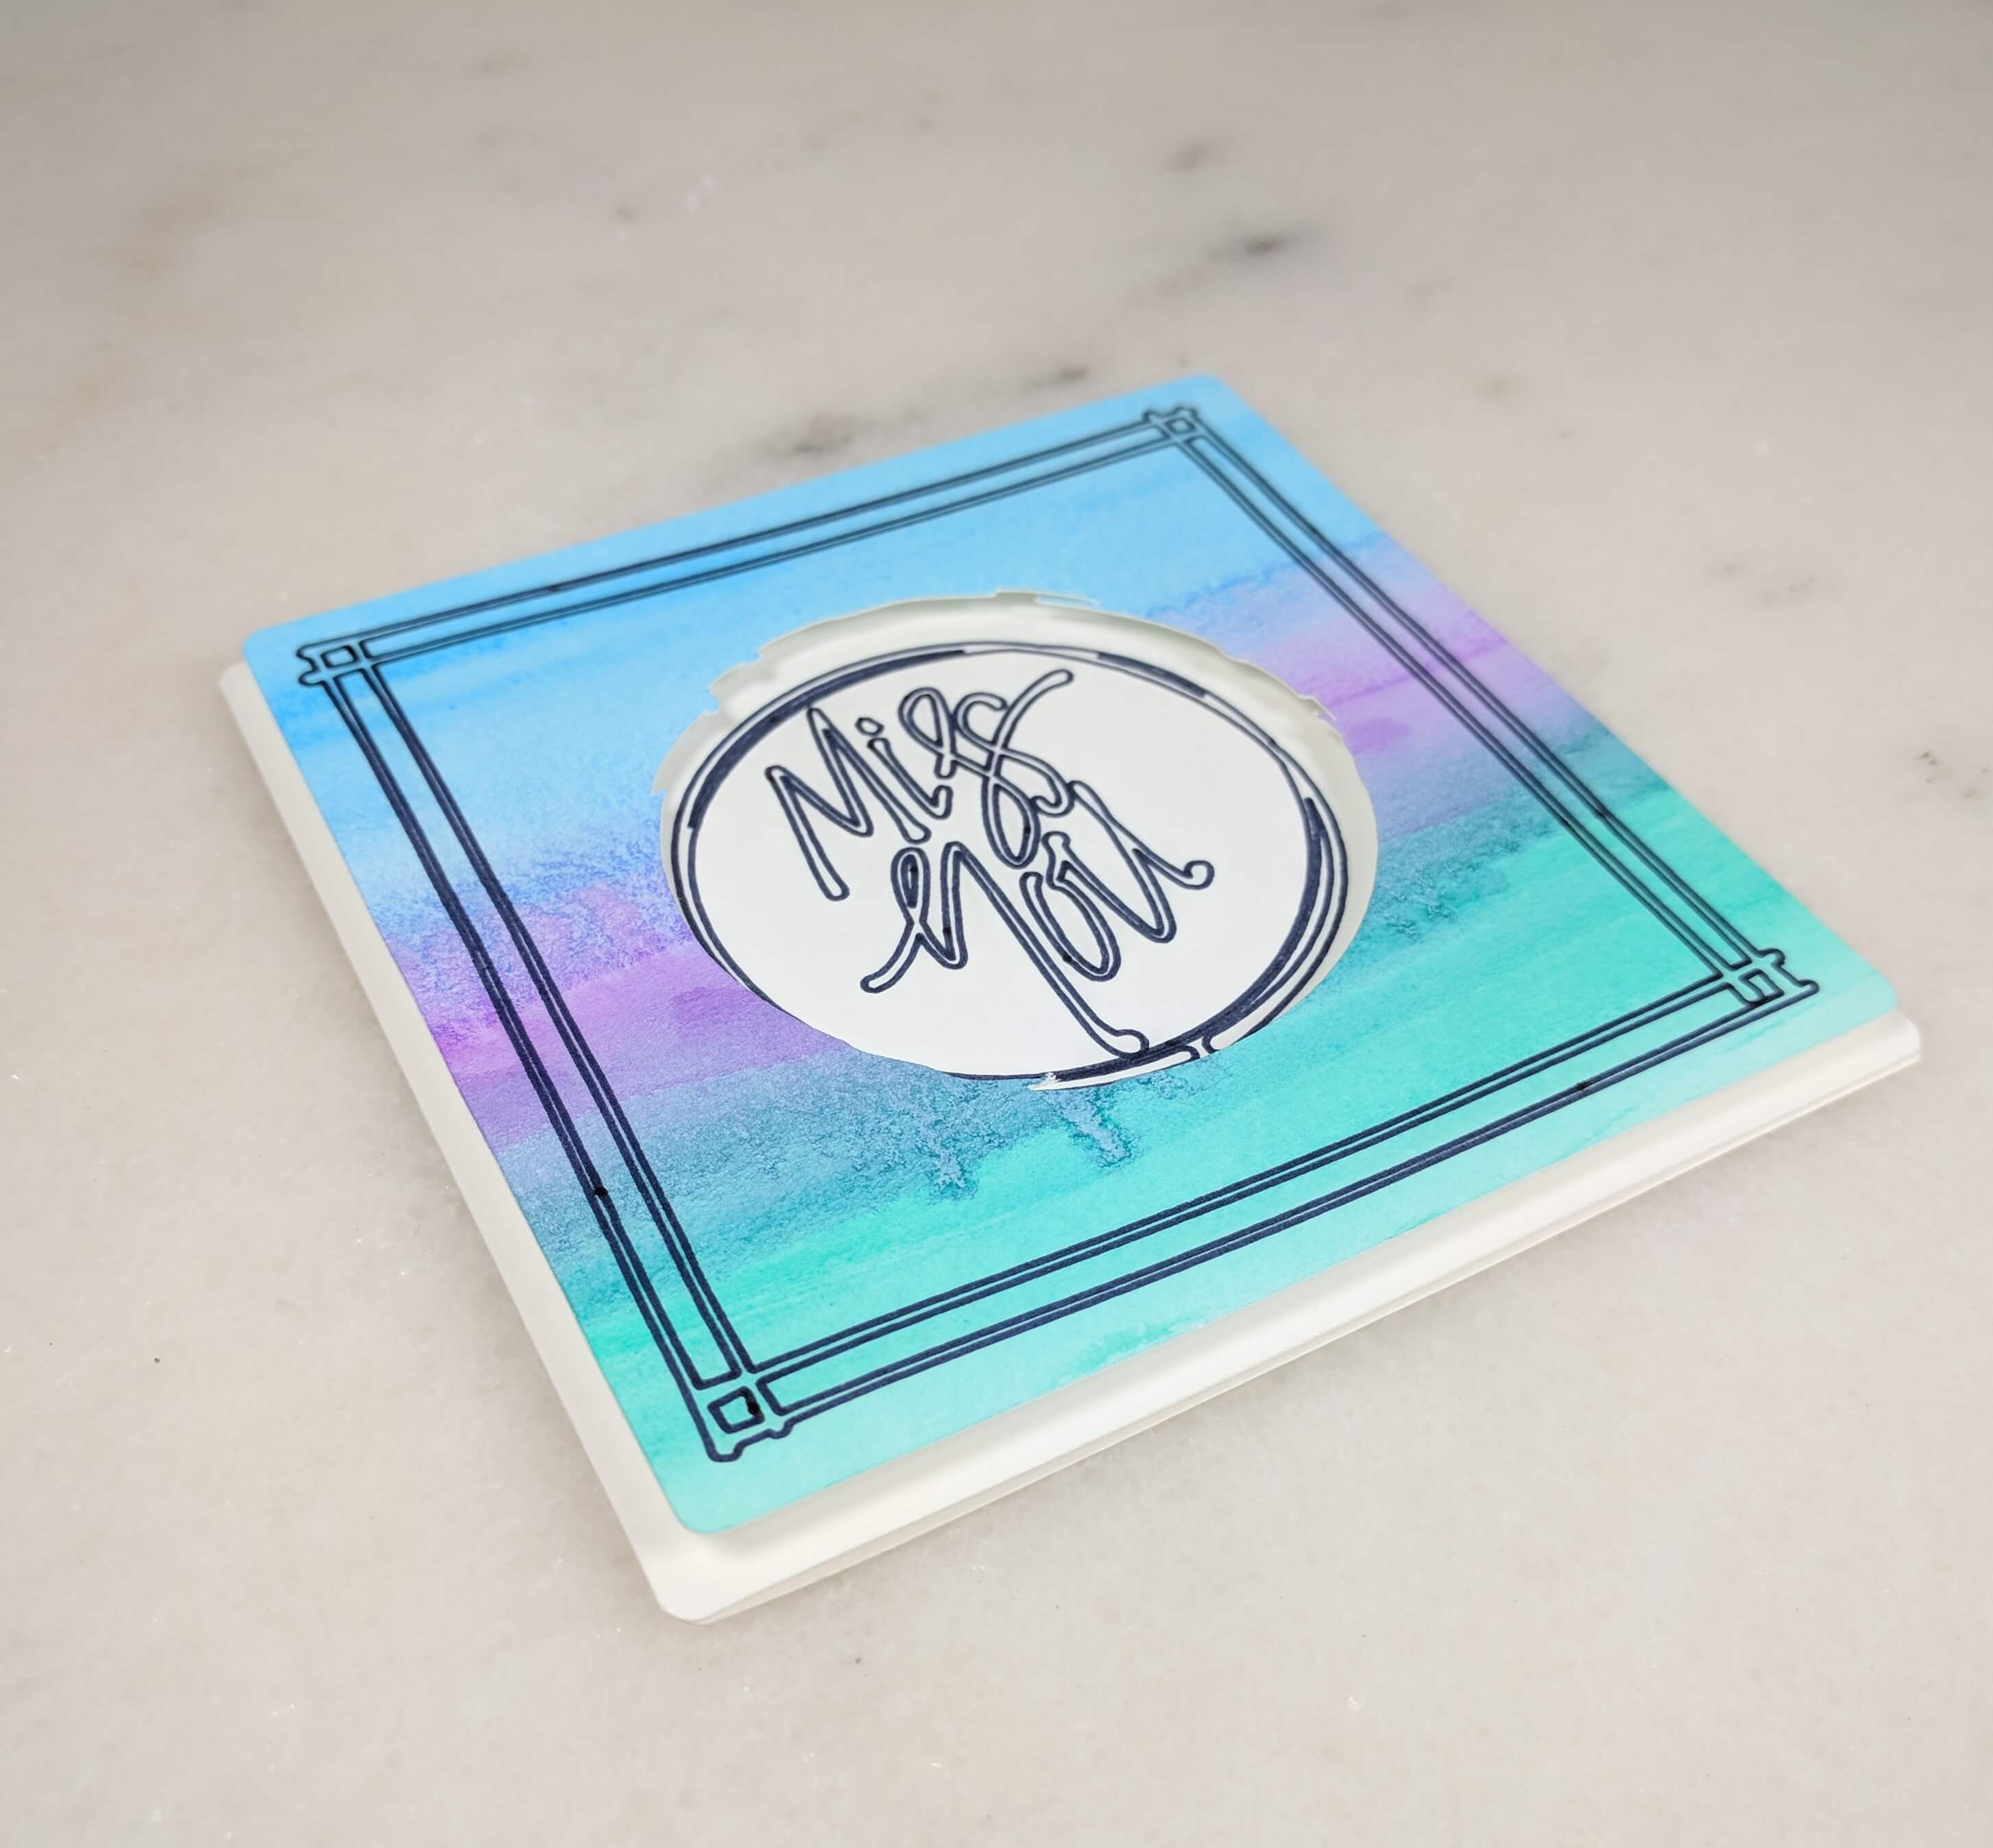
After cutting out all the pieces, it’s time to put together this beautiful and easy-to-assemble design! To add some dimension, use adhesive foam to raise the watercolor design off the front of the card. Make sure to align any sentiments on the front of the card and add any final embelishments. Easy peasy!
I hope you enjoyed this easy watercolor card idea! Let me know what you think by leaving a comment below! Looking for more watercolor tutorials? Learn how to pair stamps with watercolors here. And don’t forget to follow me on Instagram, and Pinterest for the latest tutorials! You can also shop my handmade cards here.


3 comments
Hi! I could have sworn I’ve been to this blog before but after reading through some of the post I realized it’s new to me.
Nonetheless, I’m definitely delighted I found it and I’ll be bookmarking and checking back frequently!
I could not refrain from commenting. Exceptionally well written!
I am regular visitor, how are you everybody? This piece of writing
posted at this website is truly fastidious.