
I hope you all had an amazing 4th of July. While I’m writing this post, I’m enjoying some fireworks that my neighbors are shooting off just outside of my window and it’s got me feeling inspired. Even though I didn’t make a red, white, and blue card, I did make this super fun celebratory birthday card that I wanted to share with you all. This is a really simple ink blending technique that I used Hero Arts layering inks to make. I also just got a Misti Stamping tool, and this is the first card I’ve made with it! So, I hope you enjoy it!
Watch the Celebrate with Drinks YouTube tutorial here.
MATERIALS USED:
Misti Stamp Tool Original Size Stamp Positioner
Stamping Block (if needed) – Krystal Acrylic Block Set Of 5
Ultra Pink Ink Pad – Hero Arts AF361 Yana’s Sunset Layering Stamp Pad Set
Soft Cantaloupe – Hero Arts AF361 Yana’s Sunset Layering Stamp Pad Set
Butter Bar – Hero Arts AF363 Hero’s Pineapple Color Layering Stamp Pad Set
ColorBox Wicked Black Archival Ink
3 Sponge Daubers – Tsukineko Sponge Daubers 6pc
Drink Glass Stamps
Birthday Sentiment Stamp
Small Mint Green Rhinestone – Sticro 5 Sizes Self-adhesive Rhinestone Sticker 4950 Pieces
Recollections White Heavyweight (8.5’x5.5’ folded in half)
Pink Cardstock – for interior insert (4’x5.25′) – Recollections Pink Buttons Cardstock Paper Pack, 8 1/2 X 11 – 50 Sheets
Solar White Cardstock – for interior insert (5’x6′) – Classic Crest Super Smooth Solar White Paper Pack
X-Acto Self-Healing Cutting Mat, 12’x18’
EK Tools Scoring Board 12×12 (My scoring board is no longer sold in stores, but this is very similar and has good reviews.)
6 Inch Ruler – Omnigrid 4-6-12-Inch Marking Ruler Trio
Feather No.55 Switch-Blade Shear, 5.5 Inch
Scrapbook Adhesives Initially Repositionable Mounting Squares
Cricut Adhesive Cutting Mat, Standard Grip
Midnight Cricut Fine Point Marker – Cricut Antiquity Color Pen Set
CRICUT IMAGES USED:
Cricut Sans Font (interior sentiment)
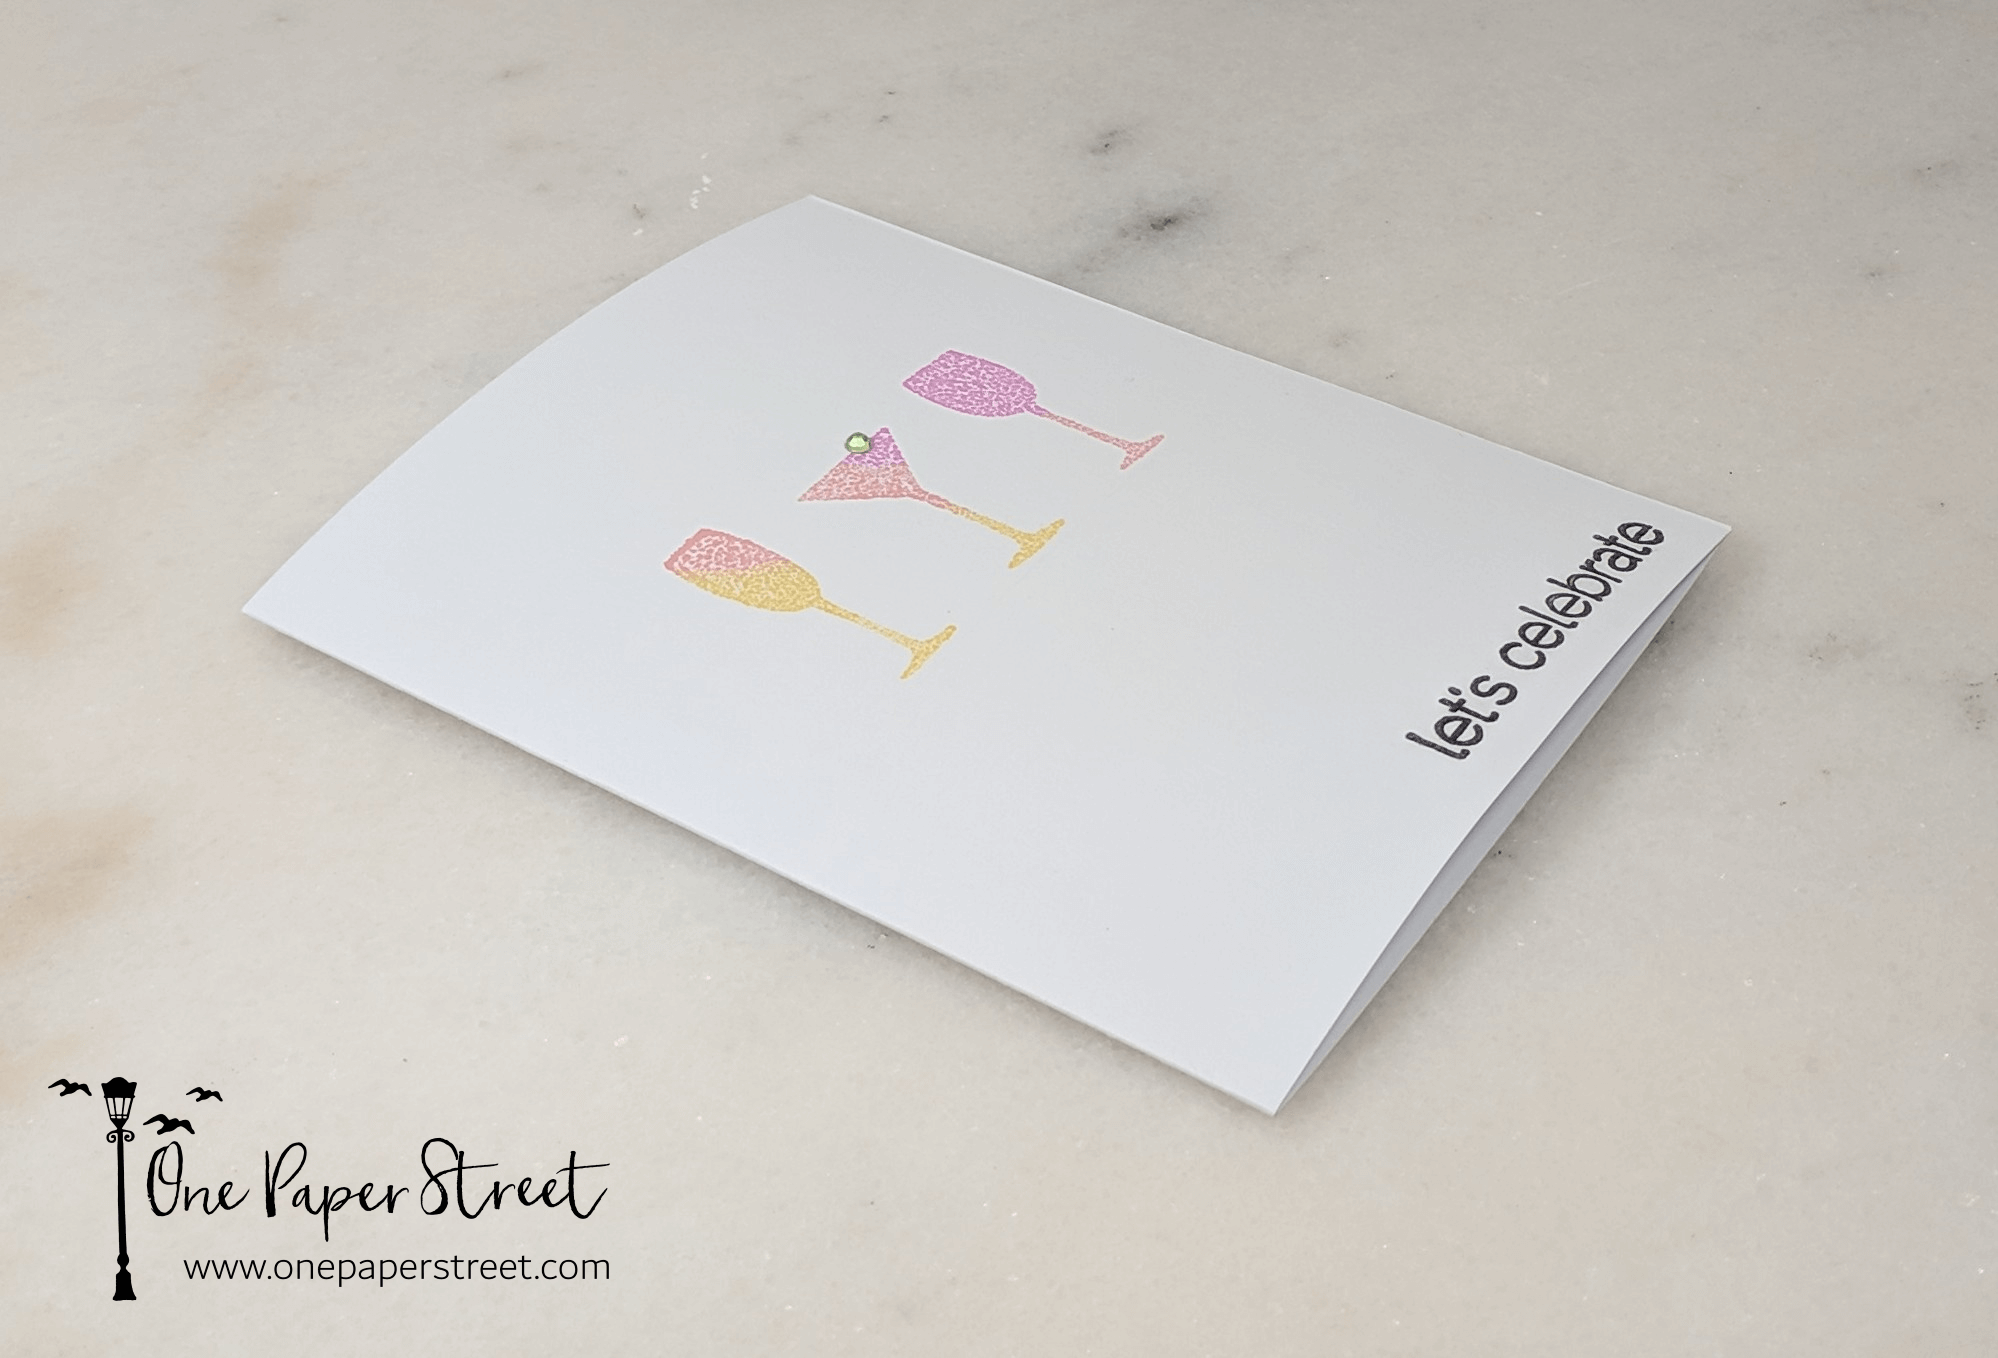
Celebrate with Drinks Greeting Card – Side View
WALK THROUGH
Step 1.
Score your 8.5’x5.5′ cardstock vertically down the center of the paper, then fold it in half. Once the crease has been made, place it on your Misti Stamping tool. The crease will help you see just how much space you have to work with. Arrange your clear stamps face down on the front of the card a little above the center, then close the lid on the Misti to pick up the stamps. If you don’t have a Misti, you can place your stamps on a clear acrylic block.
Tip: Use a ruler under your stamps to help position them perfectly in the center of the card.
Step 2.
Choose 3 colors for your ink blending design, and take out your 3 ink daubers. I picked 3 layering inks from Hero Arts. Ultra Pink, Soft Cantaloupe, and Butter Bar. When the colors are on the card it should have a blended ombre effect. So, decide if you’d like to move left to right, or right to left. Whichever side you choose, make sure you’re working with the lightest color first (in my case I used Butter Bar). Place the dauber at the edge of the stamp working the ink in-ward diagonally.
Move to the next darkest color (for me that was Soft Cantaloupe) then keep working diagonally across the page, using plenty of ink for a clean design. Repeat this step with your last, and darkest color (Ultra Pink). Once the ink is on the stamps, close the lid of the Misti, or use your acrylic block to place the stamps on the card and press down evenly and firmly, to stamp the image onto the card.
Tip: As you’re daubing the color onto the stamps blend the colors together slightly where they intersect, to make a smooth transition.
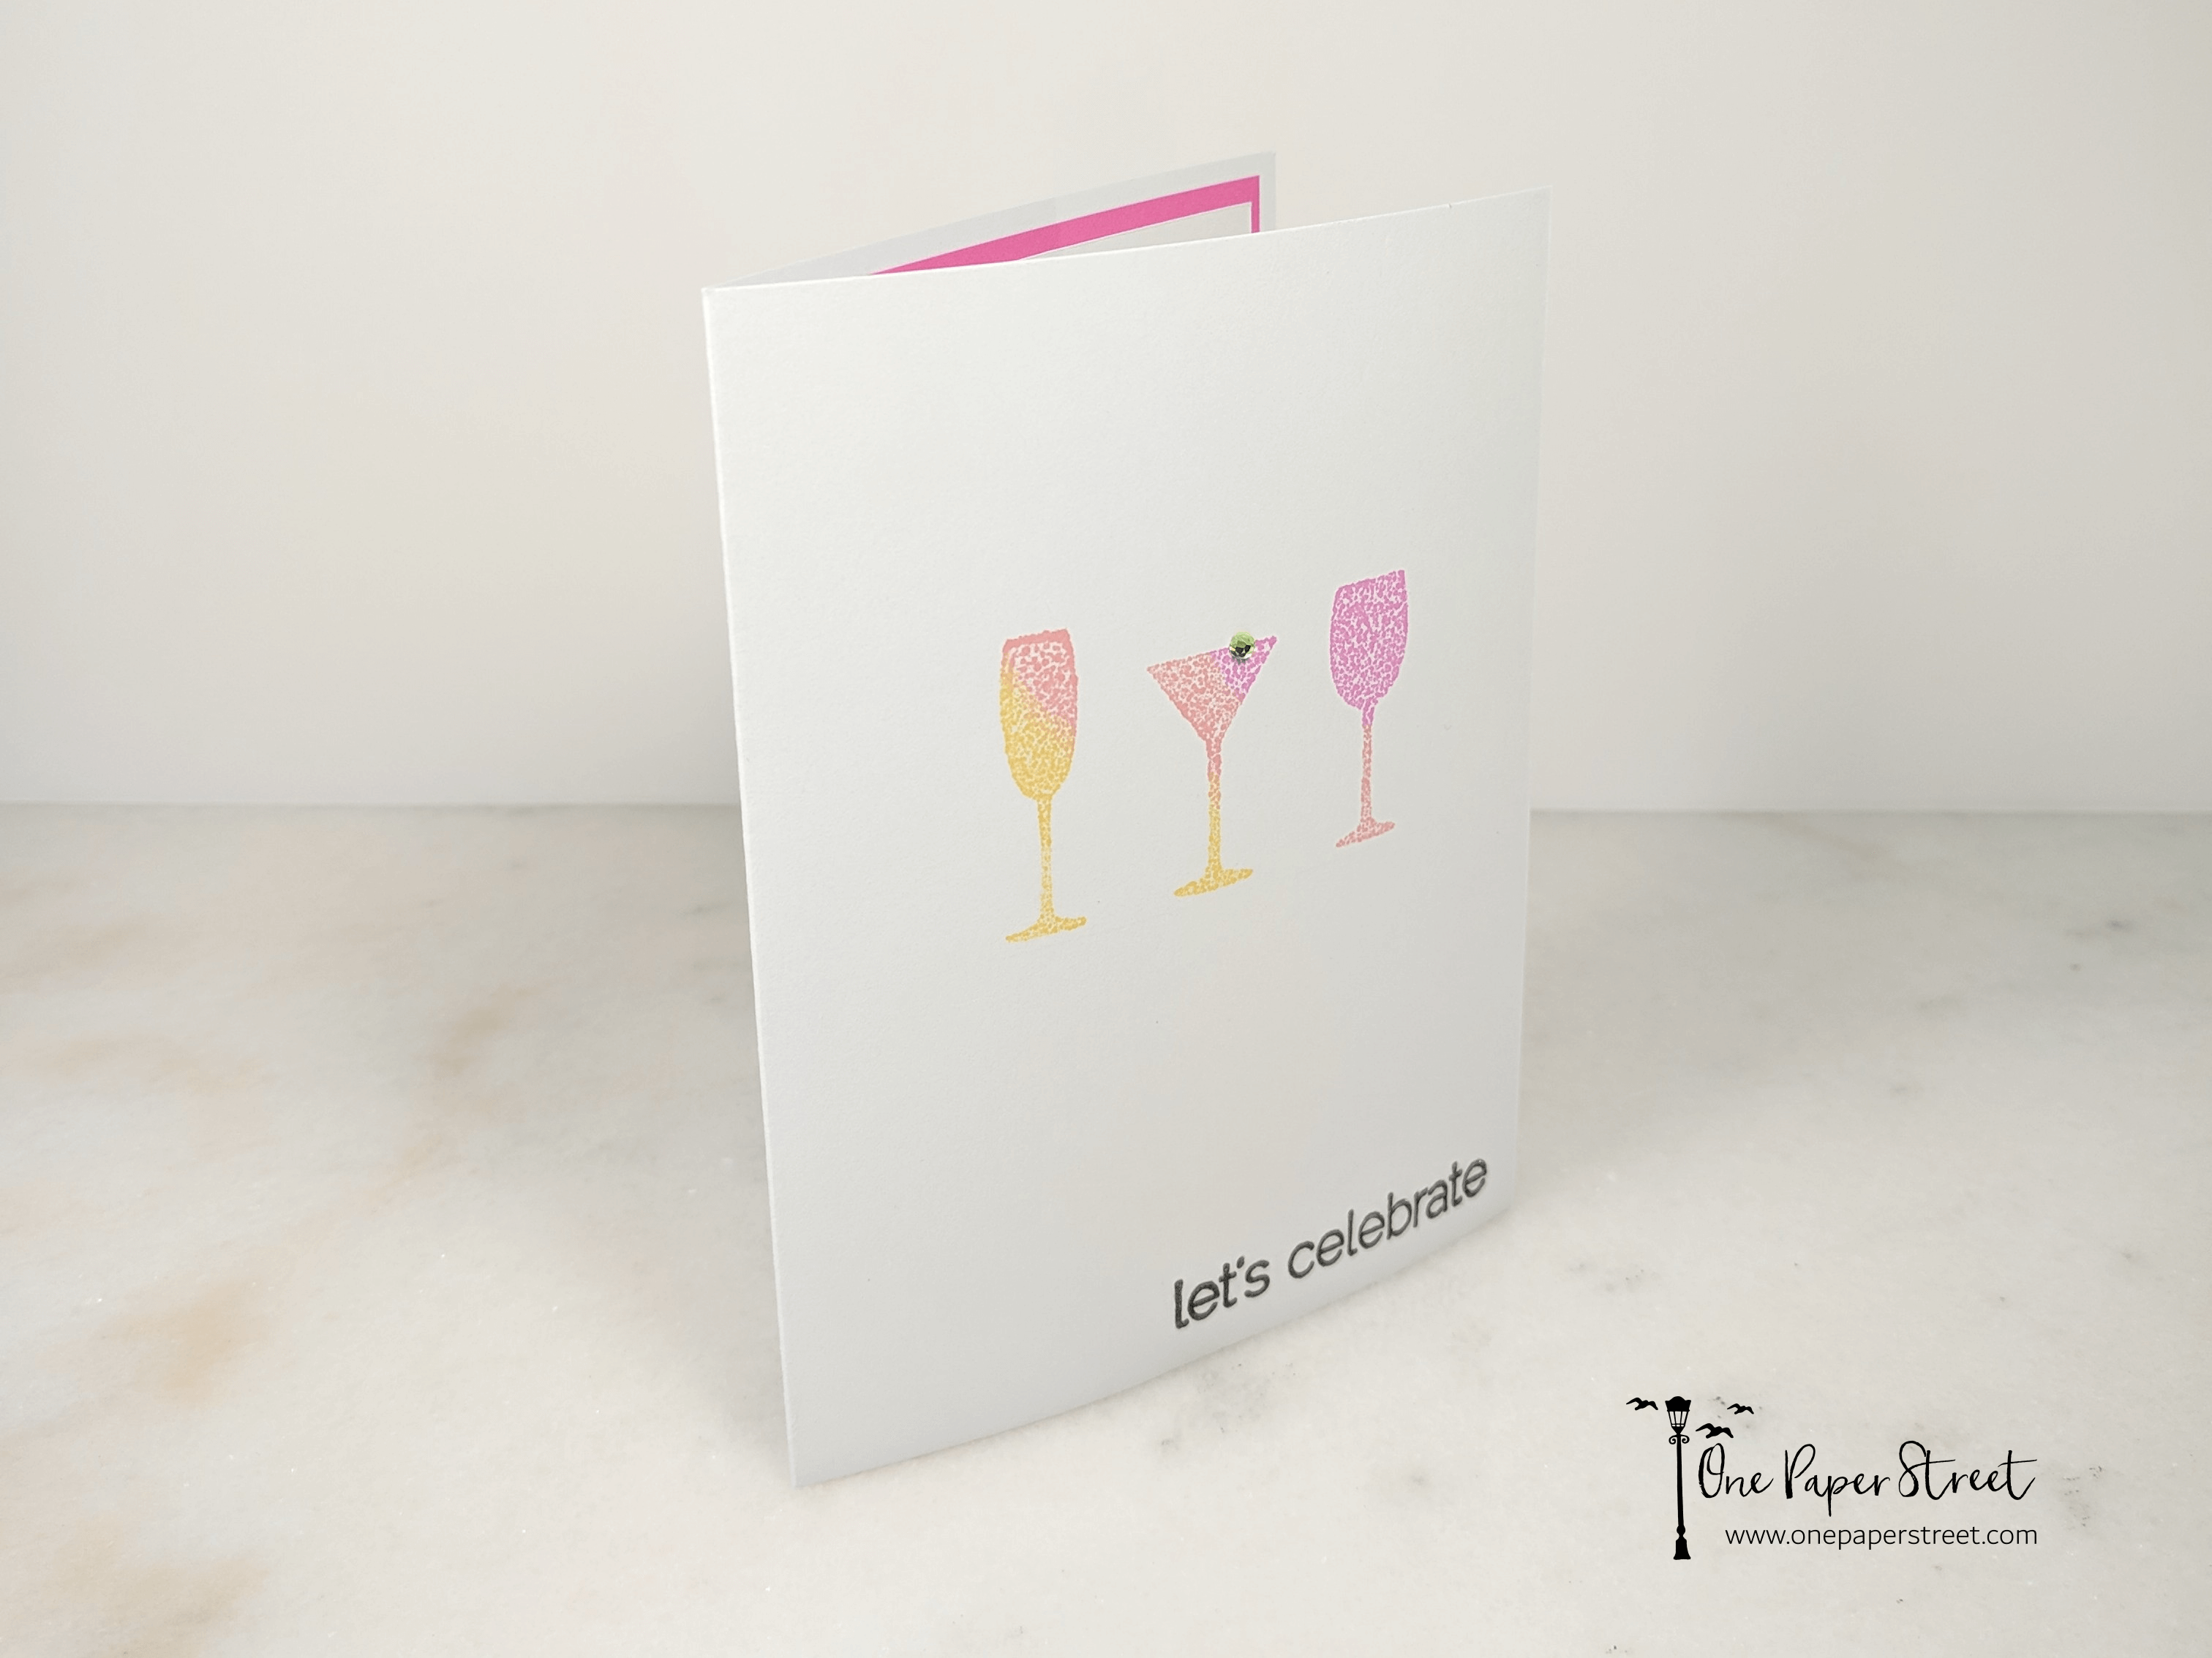
Celebrate with Drinks Greeting Card – Front View
Step 3.
Now that you’ve completed the ink blending in technique in the center of the card, find the birthday sentiment stamp that you’d like to use on the lower right hand side of the finished card. Flip your card over in your Misti, secure the paper with the magnets that come with the Misti and position your stamp on the card. Next, pick up the stamp with the Misti lid and ink it up with whatever in you like. I used ColorBox Wicked Black Archival Ink. Close the Misti lid and press down on the stamp. Open the lid back up, and you should have a nice clean sentiment on the front of your card!
Step 4.
Finally, take out one of your mint green rhinestones and place it at the top of the martini glass near the right hand side so that it looks like an olive resting on the side of the glass. This will be the finishing touch on the front of the card.
The only steps that remain (though they are optional) are to spice up the inside of the card a bit. You can cut a 4’x5.25′ sheet of pink cardstock and place it inside the card. Next, choose a sentiment that you’d like to put inside the card. I ended up using my Cricut machine and my Midnight Cricut marker to draw the interior sentiment and cut out a 3.75’x5′ insert. Lastly, put insert with the sentiment on the card over the earlier pink insert with mounting tape, and you’re done!
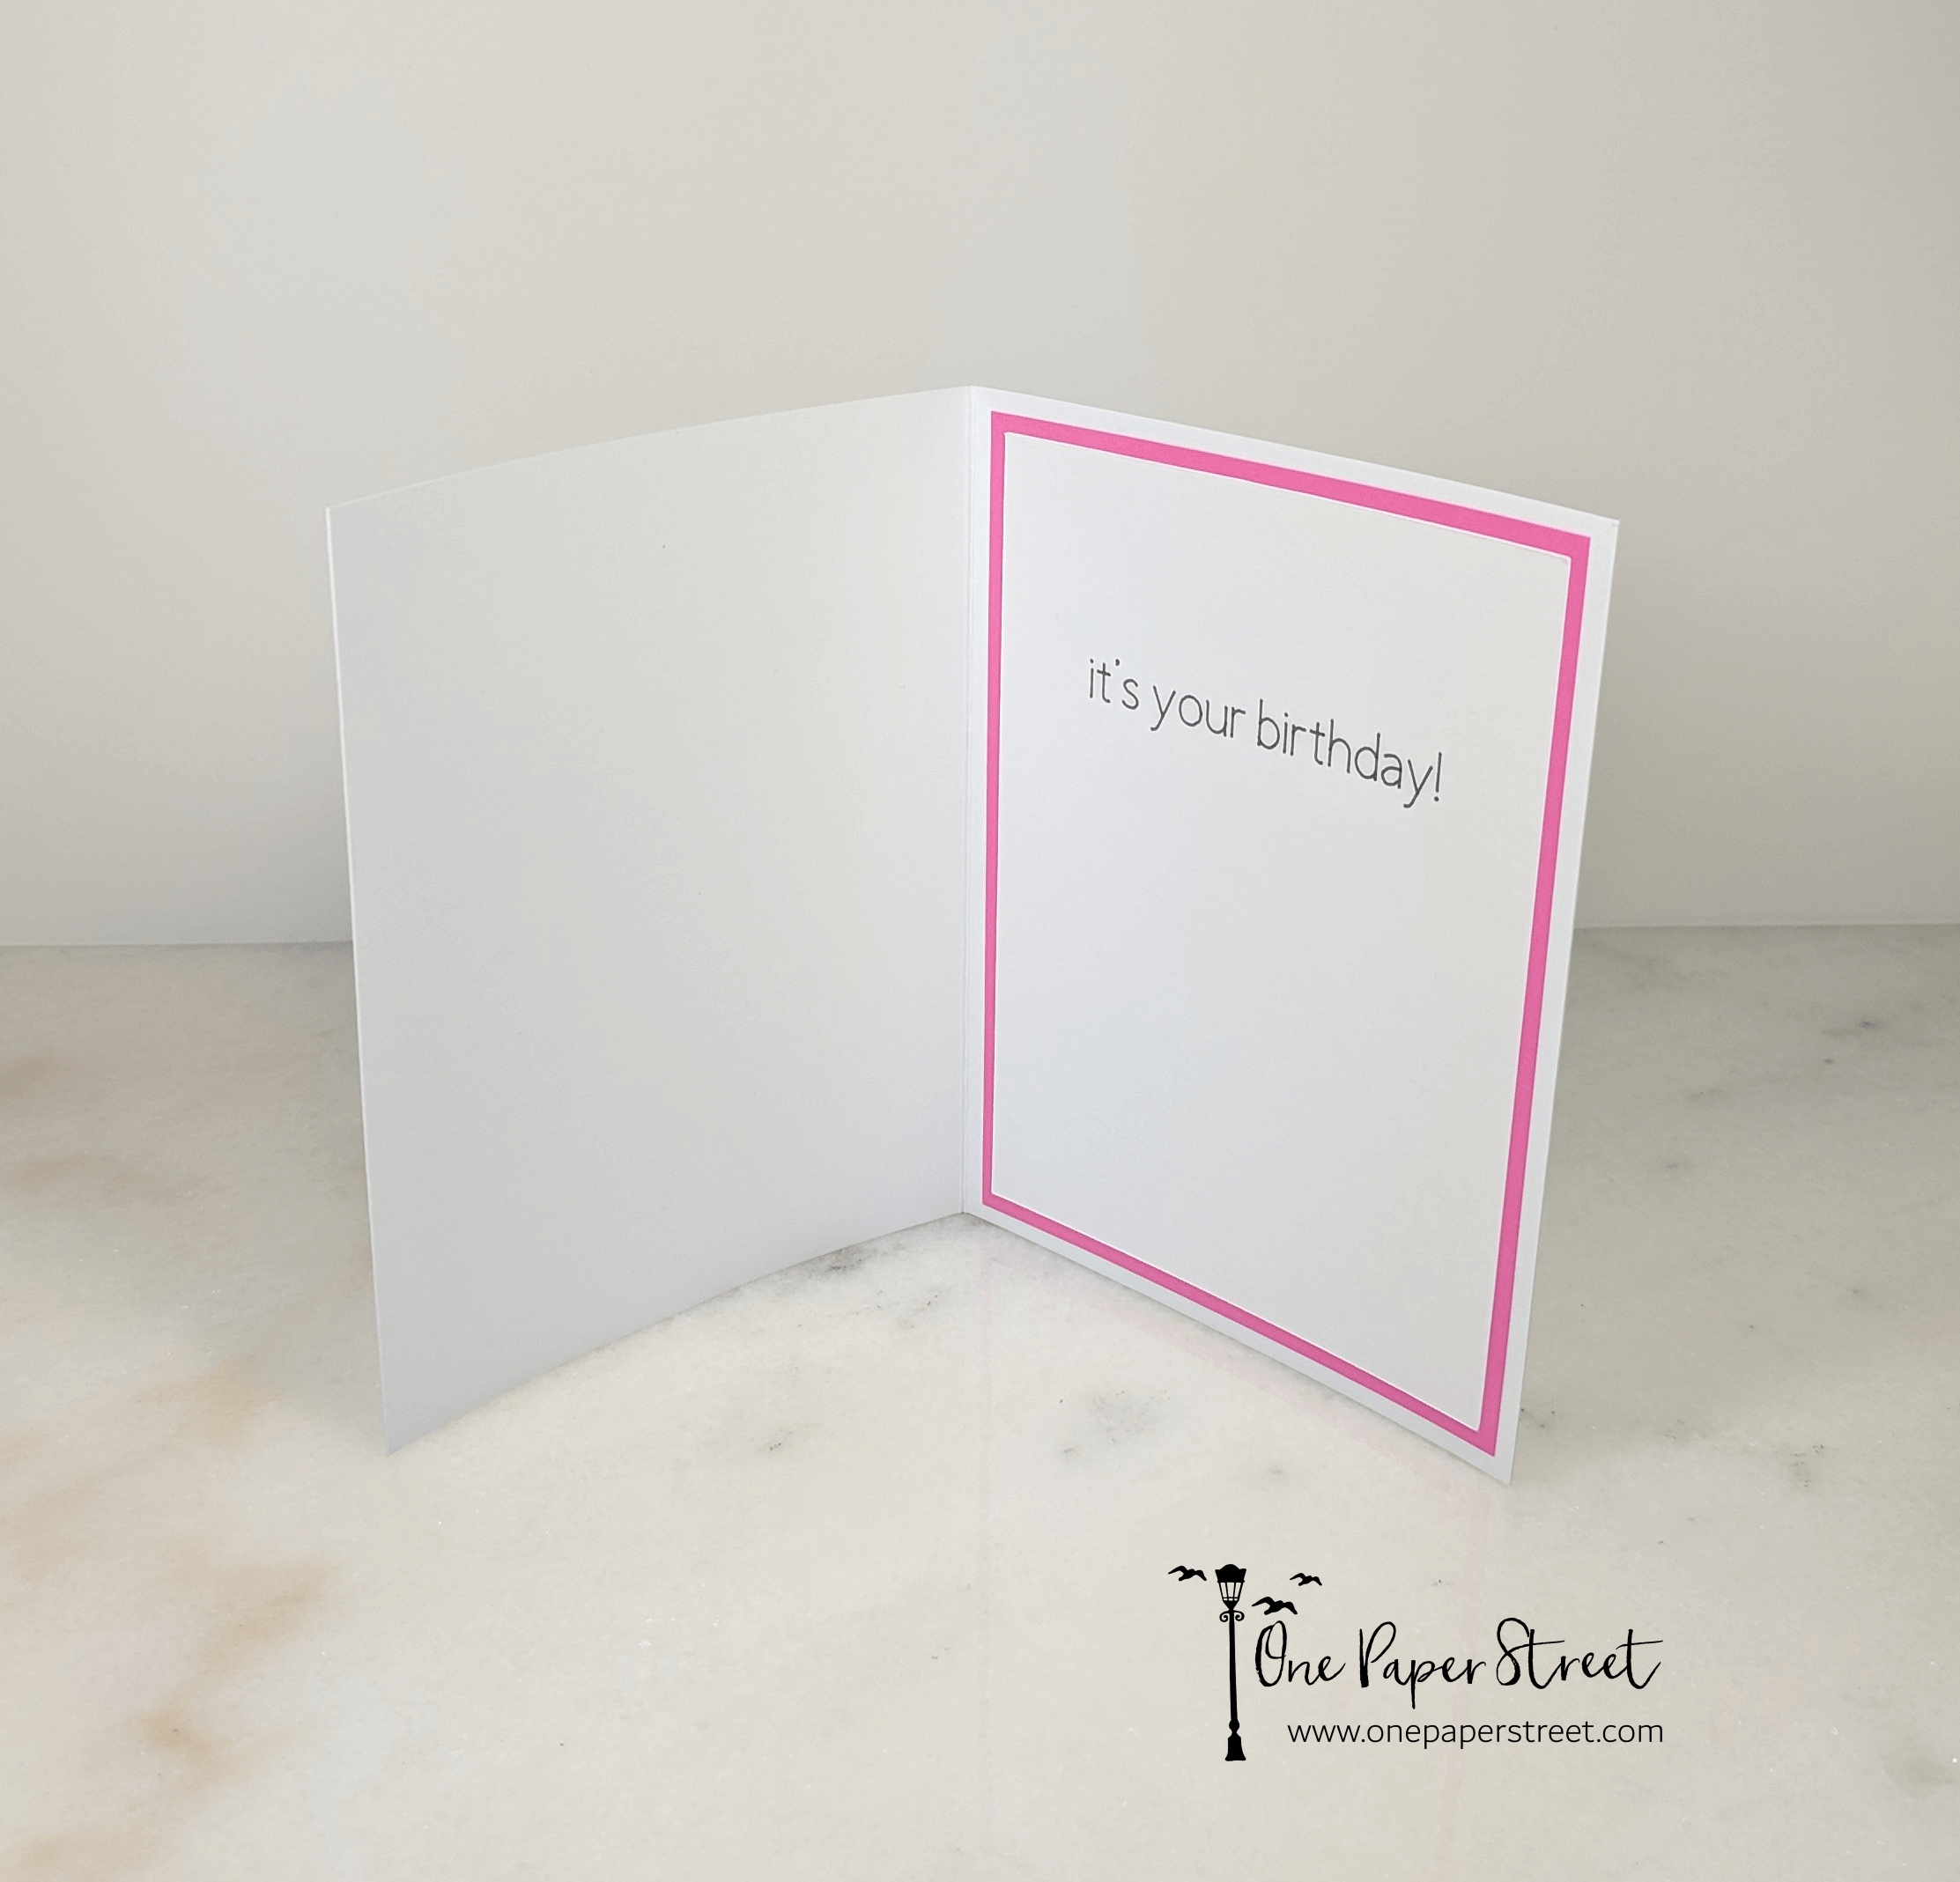
Celebrate with Drinks Greeting Card – Inside View