
Hey there! If you’ve checked out my blog before, you’re probably familiar with how often I use my Cricut machine. I use it for several of my projects, from small things to a sentiment or banner, to larger projects, like an entire card. I use it in many different ways too. I might draw or cut a design, score a pattern. Unlike a stamp or die cut, you can resize or modify the initial design… really, the possibilities are endless! In this post I’ll walk you though some tips and tricks for mastering your Cricut machine, and the Cricut Design Space, so if you have a Cricut machine and you want to learn more effective ways to use it, keep reading!
I’d like to start this post with a few house keeping items.
1. I’m writing this post because I enjoy using the Design Space, and my machine.
I’m not a Provocraft reseller or affiliate, and I don’t make any money from their sales. I do participate in other affiliate programs unrelated to Provocraft, however my goal is to simply share what I’ve learned over the last couple years with other crafty people. The thoughts and opinions are my own.
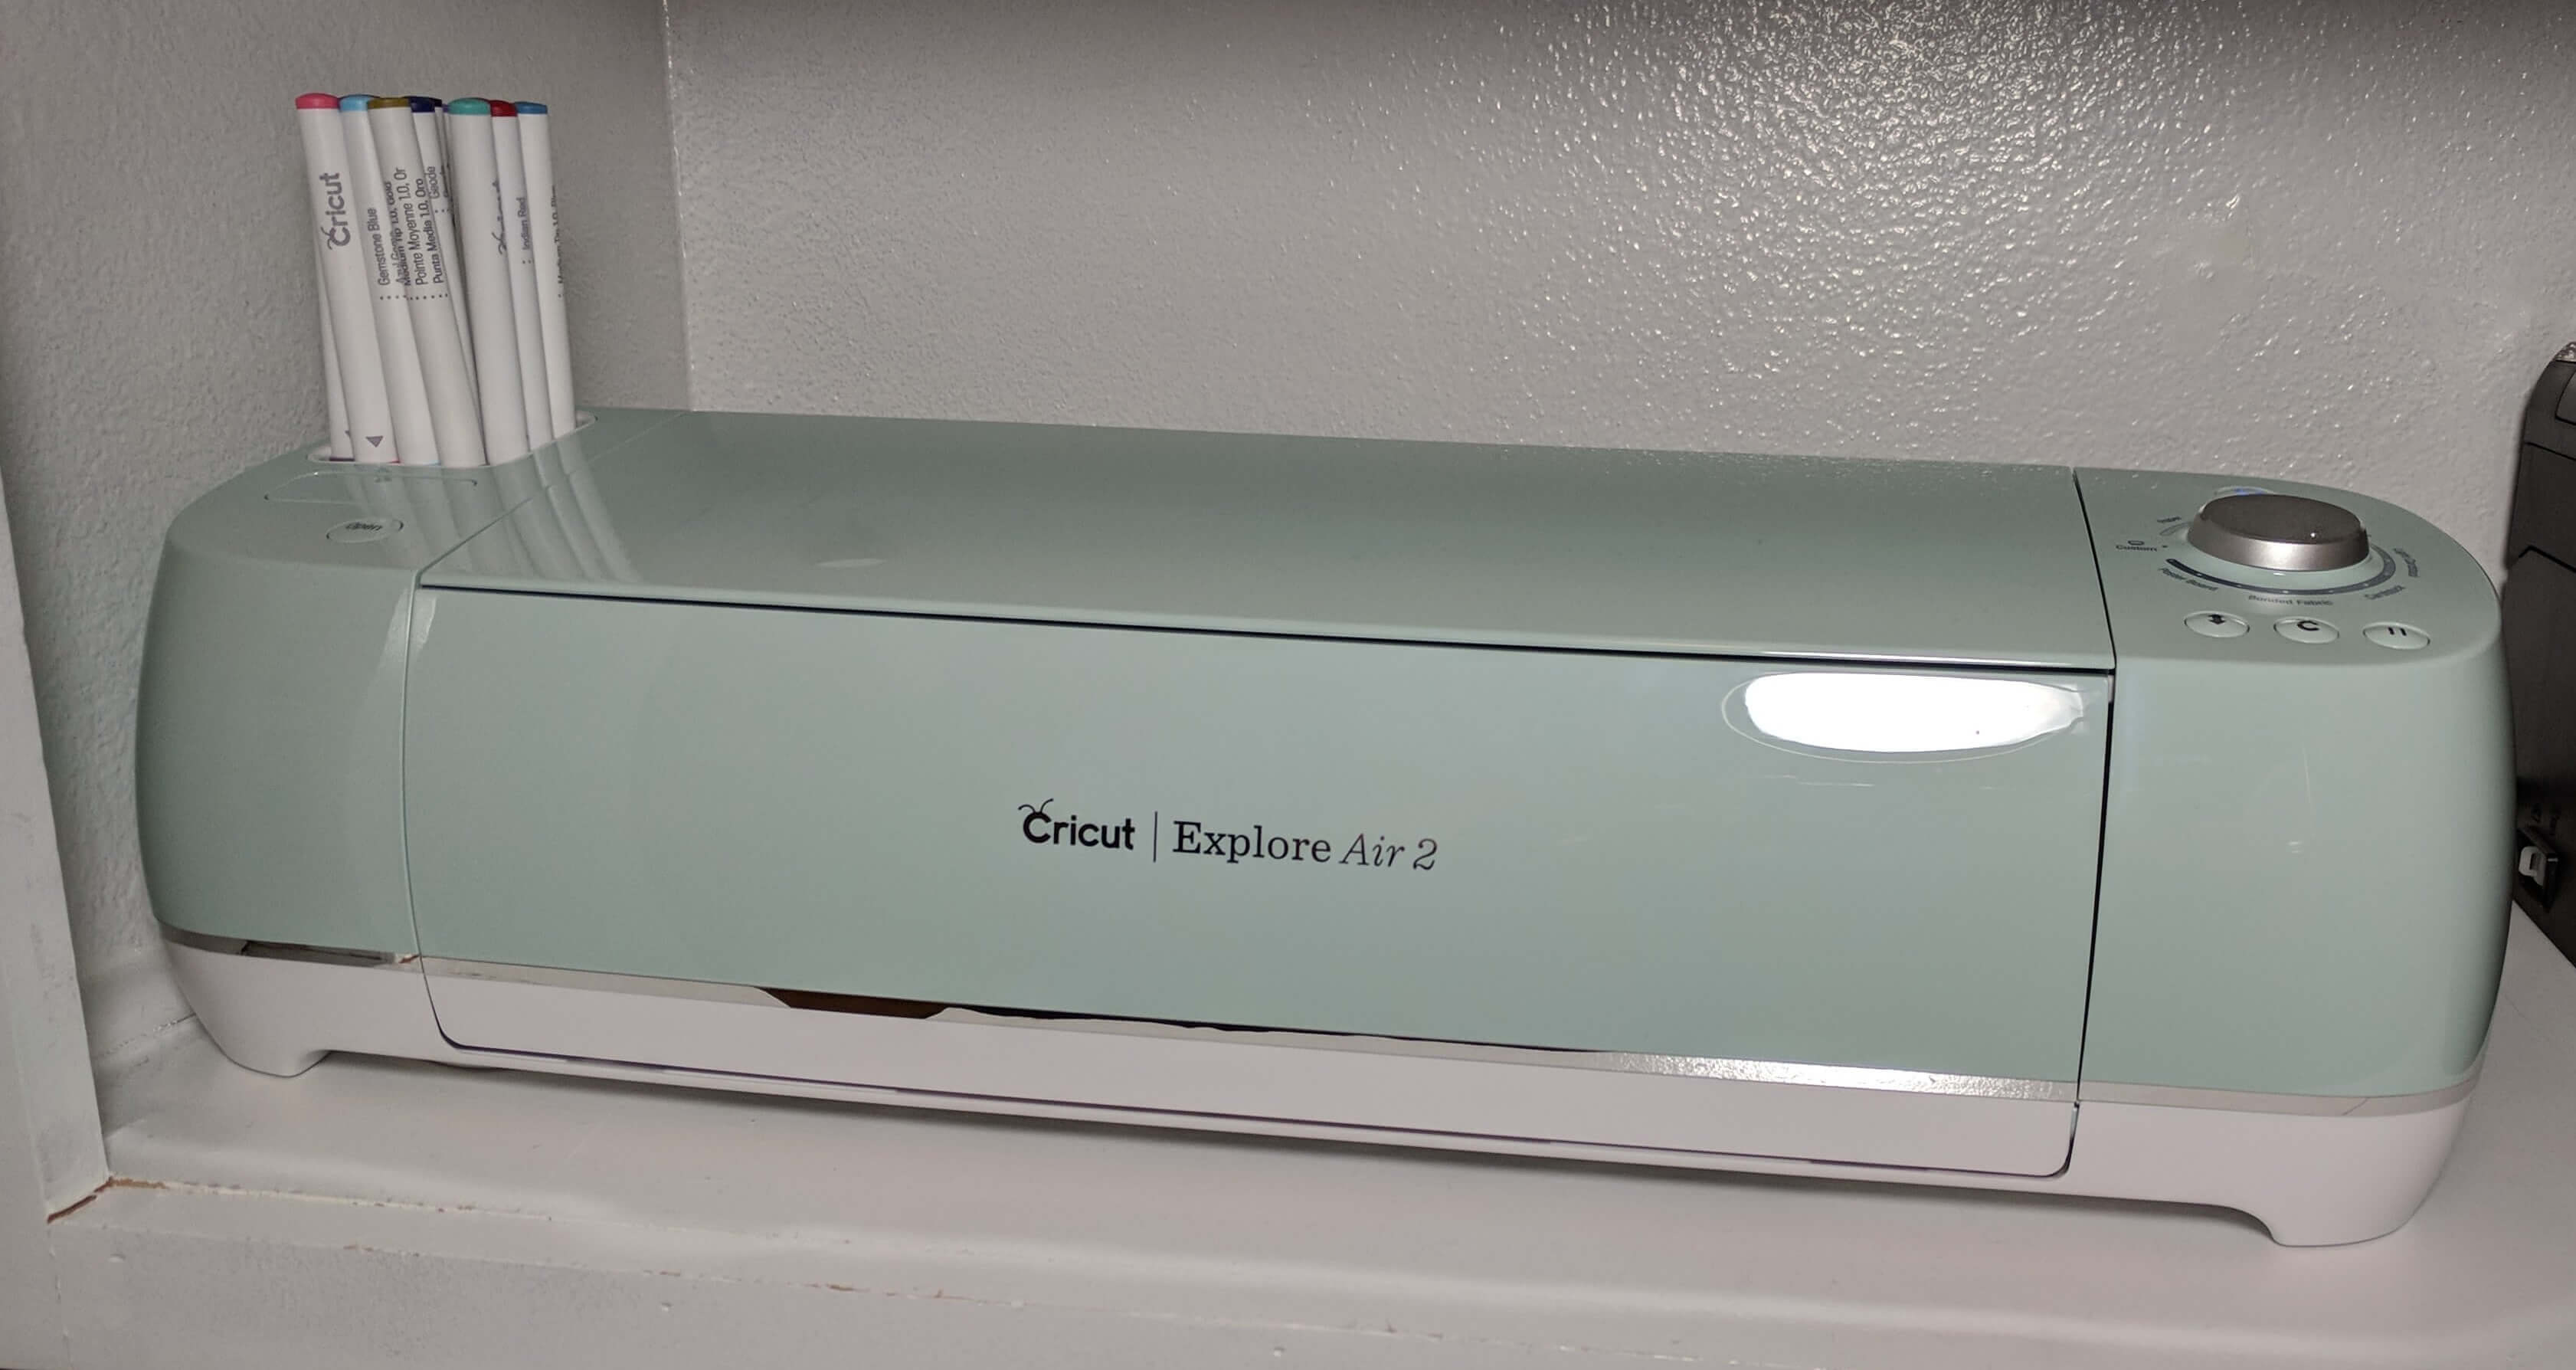
2. I use the Cricut Explore Air 2 and the online/mobile Cricut Deign Space application.
There are many other machines out there, but this is the only machine I own. Though I can’t speak to others, it’s likely that some of these tips can be used across different Cricut products.
3. This post will focus on card making and paper crafting.
Tips and Tricks
There are so many things you can do with a Cricut Machine, and so many ways that you can create something entirely your own. If you’ve owned your Cricut machine for some time, you may know most of the basics already. but here are a few of the things I’ve learned over the last couple years using these machines.
You’re not limited to only using Cricut accessories.
The Cricut machine works well with Cricut branded tools and accessories, but they may be pricey or limited. For example, Cricut markers tend to bleed when they come in contact with water or alcohol based markers (some colors more than others). So when I’m trying to make a card that requires these types of supplies, I need to use a marker that will keep the ink in tact. I like to use a Pigma Micron Archival Ink Pen. Here are a couple helpful articles that will walk you through hacking accessory adapter “A” to allow you to accommodate different sized markers.
Alternative Markers For Cricut – Fields Of Heather
GIANT list of markers & pens that work with the Cricut Explore – Sassi’s Scrapbooking
There are also marker converters on Amazon that can make this process easier. Note, always make sure your marker is the right distance from your paper before completing your project. This will keep you from getting lines that look too thick. Testing the distance will also protect you markers from getting damaged.
Below are three cards that I created using the drawing/coloring method described above. To see more projects colored with alcohol markers, click here.


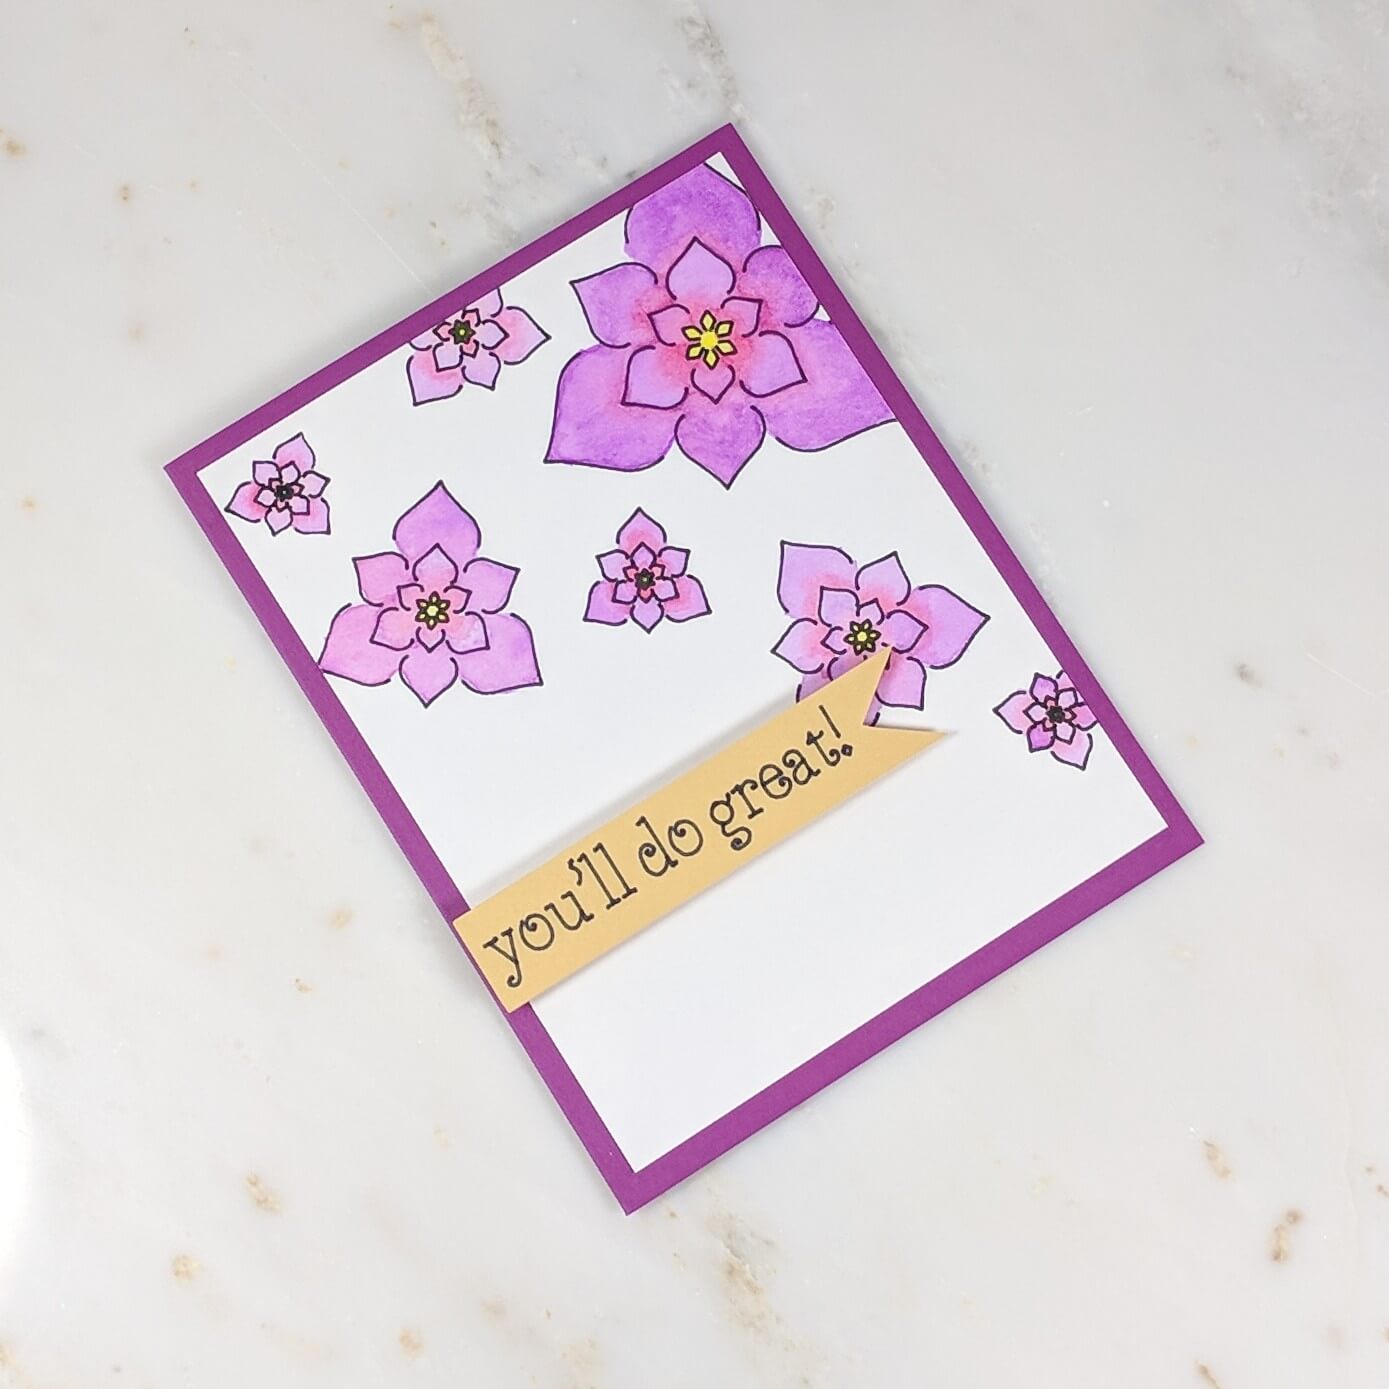
Try using watercolors.
I don’t hear people talk about watercolor painting in relation to Cricut machines very often, but it’s one of my favorite techniques. In fact I’m going to be posting a few new projects using this method, shortly. Like I mentioned earlier, I would use a permanent marker or pencil in accessory adapter “A” and I’ll draw out the design. If I use pencil, I can partially erase the lines, then paint over it to get a really clean look.
I recommend cutting your background out from the paper after you’ve painted it, just put a border line around the image so you know were to cut later. Also make sure that you’re using watercolor paper, especially if you’re planning to try this with a Cricut brand marker. Also consider testing your marker on the paper before you use it.
This technique allows you to blend colors, get creative, practice painting, without worrying about being a talented drawer. Here are some projects that I’ve used this watercolor technique for. For more projects, check out the watercolor tag.


Perfectly position your paper.
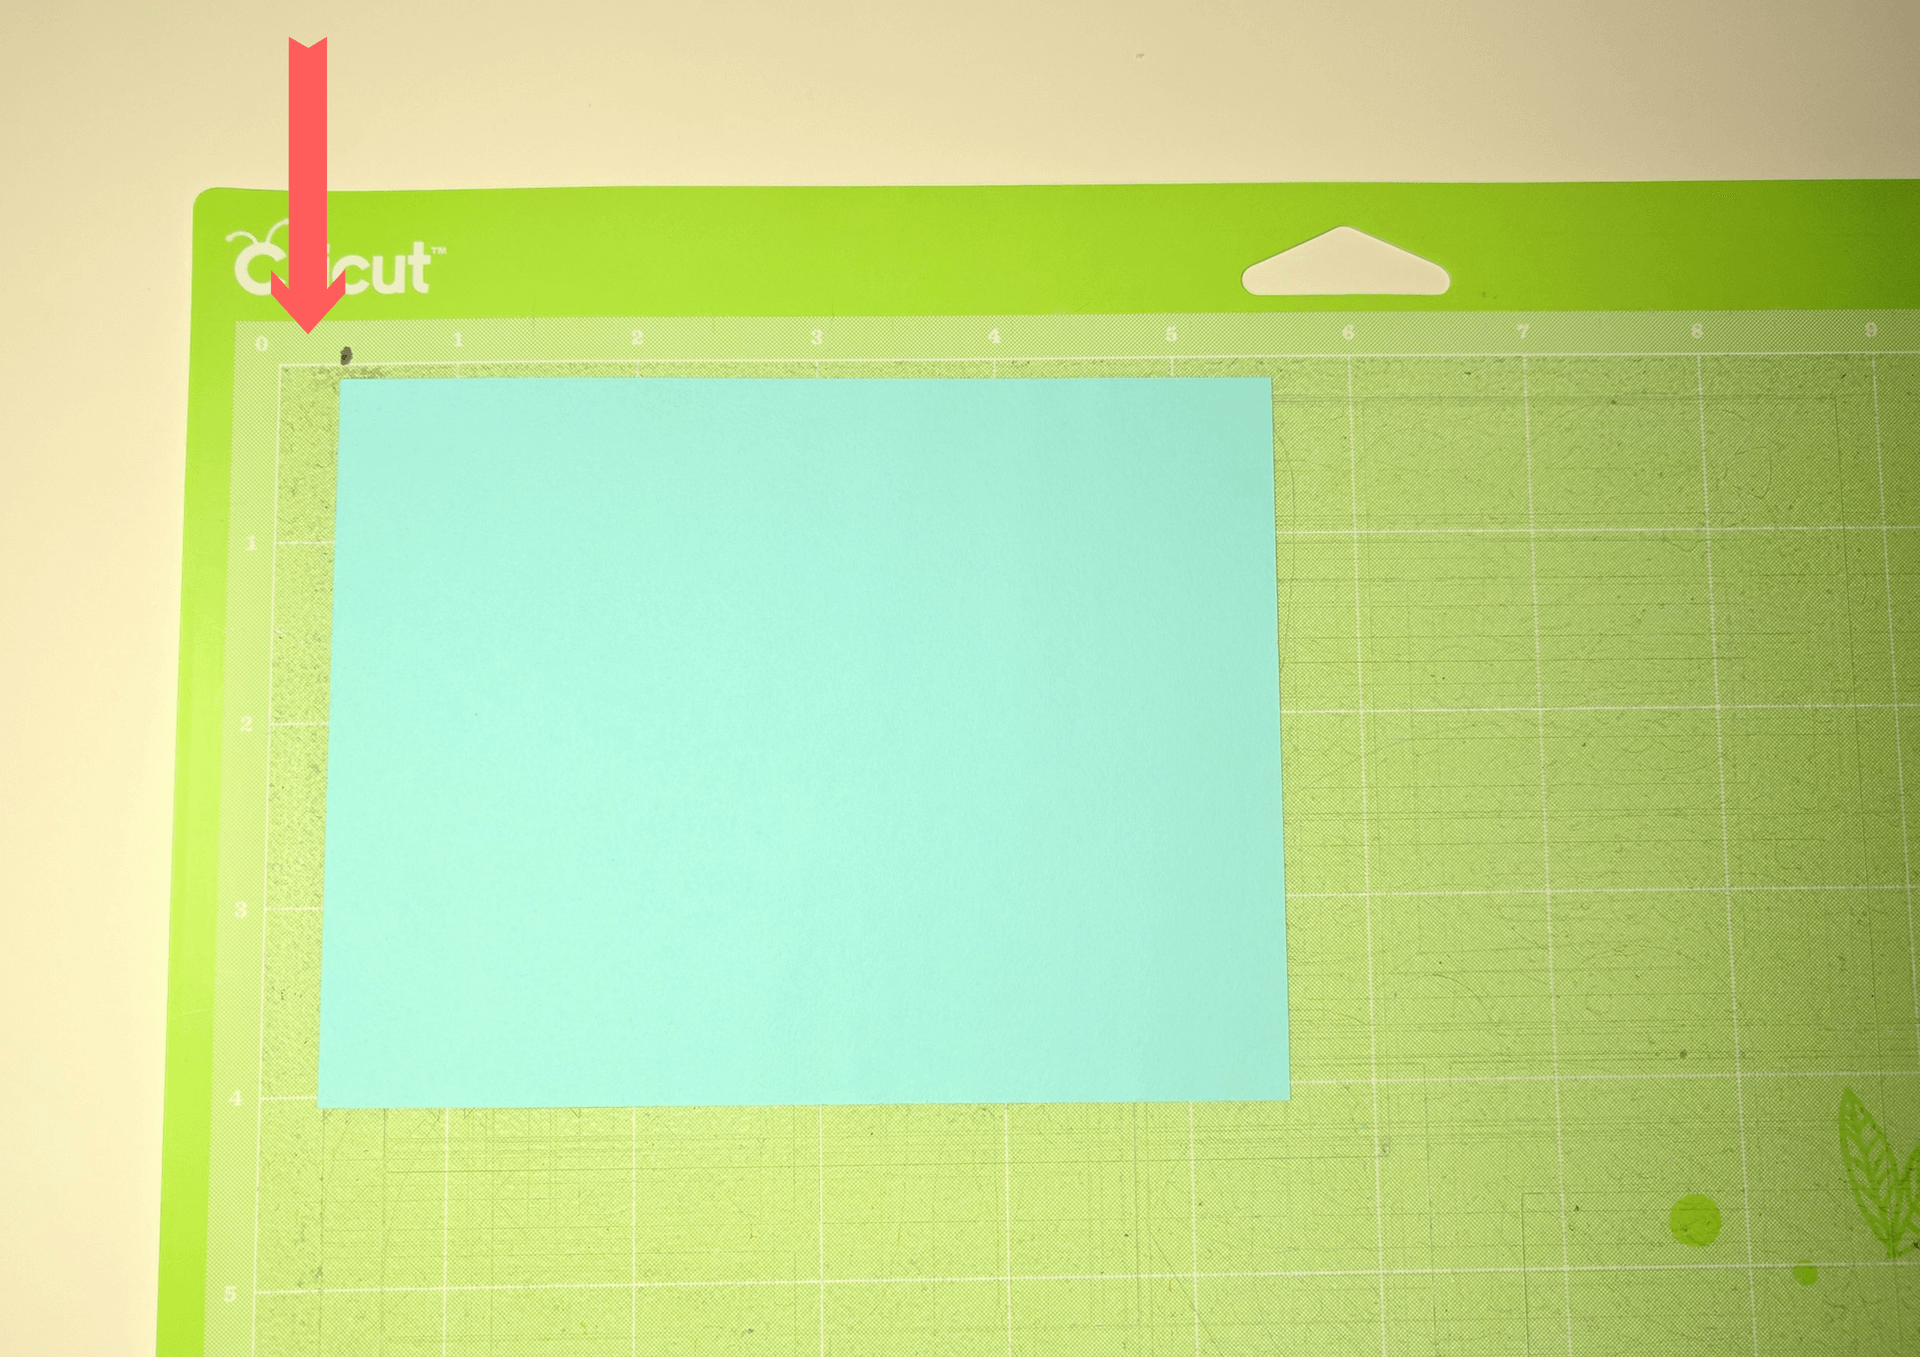
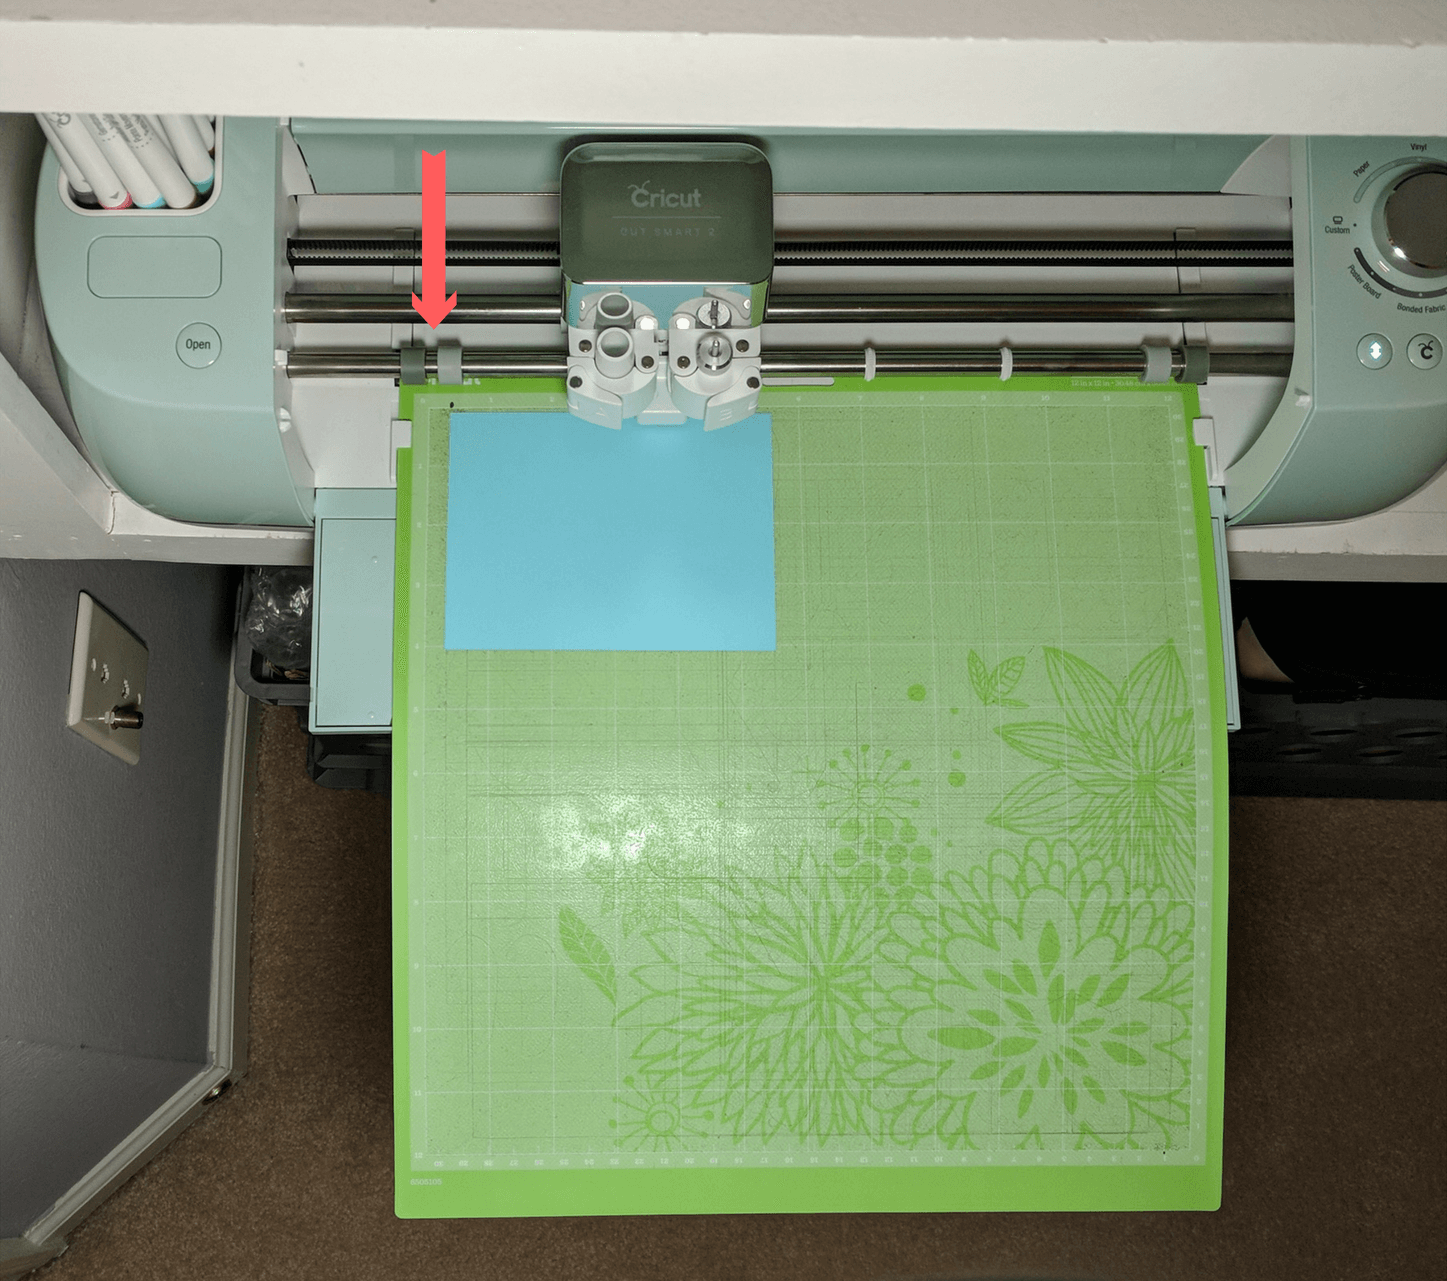
It can be so easy to waste paper when using a Cricut machine. Trying to use a piece of paper that is too close to the actual size of the image you’re trying to cut can end up with part of the design coming off the paper. To much paper, and you can crease your extra paper peeling it off the page. Instead when choosing your cardstock and placing it on the mat, use cardstock that is about an inch or two larger in radius than the image you are trying to cut.
You can also move your cardstock over to the right, so that it’s about a half inch to quarter inch away from the ruler line on the mat. This may be different depending on the mat you own, but you should always avoid putting your paper near the wheels that move the mat back and forth. You’re machine will never cut close to the wheel, so any paper near the wheel will also be wasted.
Use the pre-designed Cricut projects.
The Cricut Design Studio has a ton of pre-designed projects listed on their site. If you find that you’re needing inspiration, make a pit stop in that section of the Design Studio and find inspiration. Remember, you don’t have to stick with only card designs. You may find a cool T-shirt pattern that you choose to put on a card. Or you may find a greeting card that you like, but want to slightly tweak. Have at it. you’re only making the project more unique!
Some times Cricut projects come at a cost outside of the subscription you may already have, so look for the projects that have the “a” next to them. These will be free with your Access subscription. Also look for projects were all the images are included with the membership. If the font is the only thing that cost’s extra, just customize it, and change the font to one that is free or you already own.
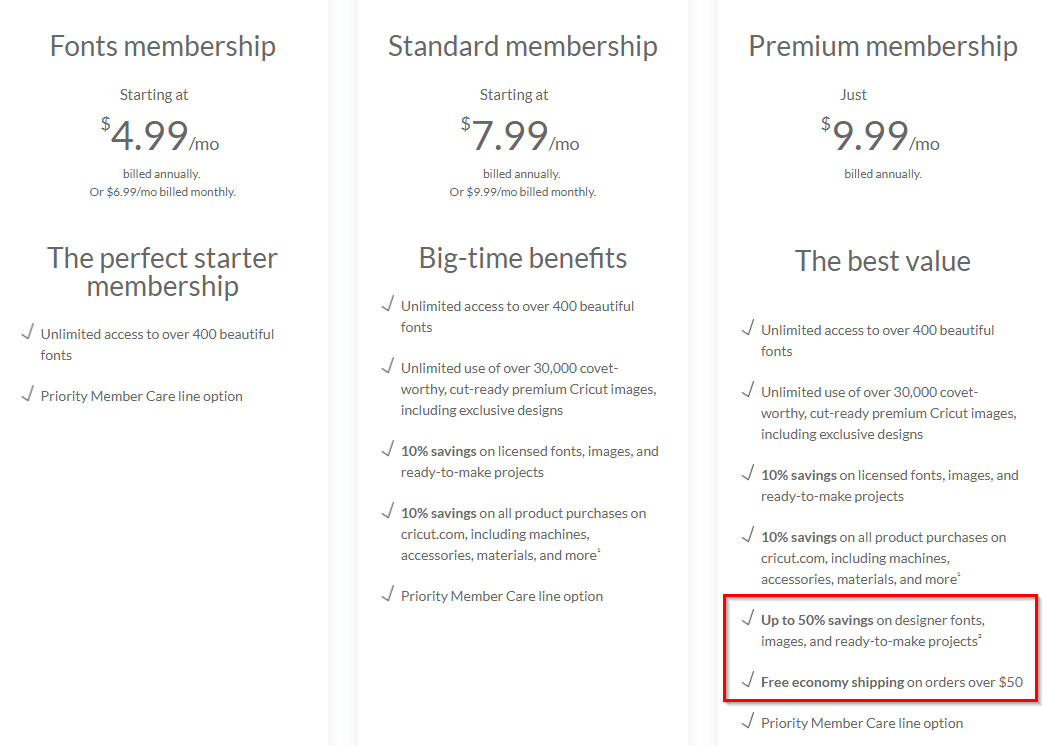
Don’t bother with the premium Access subscription.
If you’re anything like me, you’ll likely find creative ways to use the images that are part of the Standard subscription, and stray away from the images that come at an additional cost. If so, you probably shouldn’t worry about buying the Premium subscription.
Premium includes everything in the Standard subscription and adds on free shipping for orders over $50 and designer images at 50% off. Since Cricut products are sold in most craft stores and online retailers, such as Amazon which would give free shipping regardless, the free shipping doesn’t really matter. Therefore the real value add is in the pricing discount for images. At the time of this posting, the Standard subscription paid annually is $95.88. The Premium subscription is $119.88, so unless you are planning to spend more that $24.00 in designer images, you are still better off getting the standard subscription. I do not recommend paying the standard subscription monthly. If you do that, your cost savings will go out the window.
I hope this post will help you master your own Cricut machine and explore more possibilities with new types of projects. I’d love to see your own designs, feel free to let me know your own thoughts and share your own projects!
5 comments
Have you actually used a pencil in your Cricut? If so can you tell me what type of pencil and what kind of adapter you used for it? So far I haven’t used anything but Cricut branded pens, but I am working on a watercolor project where I’ve actually sketched out the elements I want, but I want to upload and arrange them digitally and then use my Cricut to redraw it out. That way, if I completely screw up my painting, I can just have the Cricut redraw it, instead of completely starting over with the drawing process (watercolor is a newer medium for me). Thanks!
Hi Brenda, That is a great question! I have used a pencil with a Cricut converter. It looks like the converter I bought a while ago isn’t available on Amazon anymore. I bought a new one recently, but haven’t tested it yet. I’ll include an update once I have.
Truthfully, the adapter is less important than testing the depth of your pen/pencil. When I first started testing non-Cricut markers, I just folded a facial tissue several times, wrapped it around the barrel of my pen, secured it with some tape, stuffed it in compartment A and gave it a try. It was janky, but it got the job done. Regardless of the converter you use, you can typically adjust the distance between your pencil and the paper. That distance is what’s most important. If your pencil is too close to the paper, you can tear the paper or break the lead. If it’s too far away, it won’t draw your image.
Also, since your pencil lead will deteriorate as it draws, I’d recommend using a pencil with slightly harder lead, like this Faber Castell 2H pencil. HB (aka. standard #2 pencils) or 2B pencils will likely use up lead too quickly.
Lastly, depending on the size of your painting, you may need to pause and push your pencil down just a bit if your lead can’t make it all the way through the project. Test it on watercolor paper as well. Cricut machines typically don’t draw clean lines on rough paper. Markers are a little more forgiving than pencils with watercolor paper, but it may not matter since you plan to paint over the lines.
I hope this helps! Let me know if you have any other questions, and I’d love to see your design once you finish it! 🙂
– Robin
Hi Brenda. please advise if you were able to find a solution to this question. I already know about the pencil hack, however when I try to draw an image with my crivut it always comes out as a cut file so there’s two lines instead of one. I have found a solution yet.
thanks 😊
Hi Tessa, I’ve run into this too. I haven’t been able to stop it from creating the two lines like you mentioned. I tried to keep the image lines very thin on the art work that I drew, so it would hopefully be less noticeable when the double lines were created. I also also used a kneaded eraser to lighten the pencil lines after the machine drew them. Or if I wanted the line to be more prominent, I would color it in with a micron marker once my artwork was done. I hope this help. Please let us know if you come across another way of managing this issue!
Great Article! Thank you for sharing this is a very informative post, and looking forward to the latest one