
Hey there! I’m enjoying some Christmas movies as a write this post, and I hope that you’re having a relaxing holiday too. Today’s Christmas Eve, so in honor of the holiday, I’m going to walk you thought how to make a Christmas wreath with a Cricut Explore Air 2 machine, then how to turn that into a greeting card. I had the pleasure of giving this card to my niece and one of my co-workers, I hope you enjoy it as much as I enjoyed making it!
View the exact specifications of this project in the Cricut Design Studio.
MATERIALS USED:
Cricut Adhesive Cutting Mat, Standard Grip
Recollections White Heavyweight for Wreath (5’x5’)
Recollections White Heavyweight for Interior Insert (5’x3.75’)
Christmas Green Cardstock for card base (8.5’x5.5’ folded in half) –From: Feathered Greens Recollections Cardstock Paper Pack
Phoenix Red Bazzill Swiss Dot Cardstock Paper
Green Cardstock for Sentiment(2’x3’) –From: DCWV Cardstock Stack, Textured Pastels
Indian Red Cricut Fine Point Marker –From: Southwest Cricut Pen Set
Midnight Cricut Fine Point Marker –From: Cricut Antiquity Color Pen Set
Green, Gold, and Red Sequin –From: Sulyn Mixed Sequin Sample Pack
Tacky Glue –From: Aleene’s Trial Tacky Pack
Yellow, Brown, Red, and Green Chromatix Alcohol Markers
(I don’t recommend purchasing. Consider Copics or another brand of alcohol markers instead)
Fiskars Heavy Duty Die Cast Craft Knife
X-Acto Self-Healing Cutting Mat, 12’x18’
Scrapbook Adhesives Initially Repositionable Mounting Squares
Forever In Time 3D Pop Dots Square Dual-Adhesive Foam Mount, 1/2-Inch
Forever In Time 3D Pop Dots Square Dual-Adhesive Foam Mount, 1/4-Inch
Feather No.55 Switch-Blade Shear, 5.5 Inch
CRICUT IMAGES USED:
Flag (Something to Celebrate)
Season’s Greetings (Draw + Cut Holiday Tags)
Standard Square

WALK THROUGH:
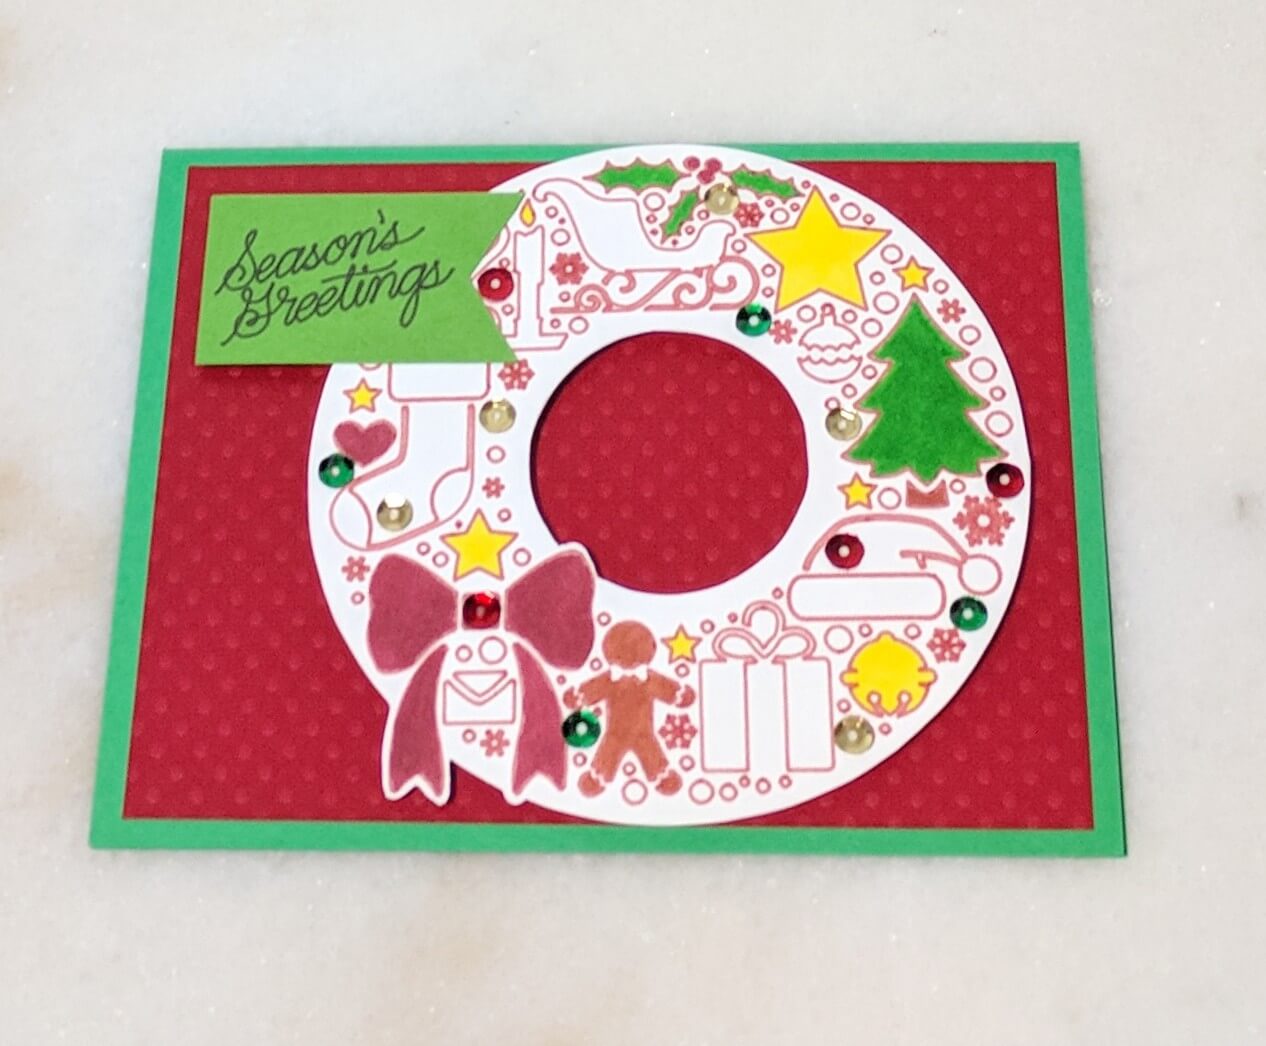
I started this project in the Cricut Design Studio. I had searched through images of wreaths and really enjoyed this design. It was originally made to be cut instead of drawn, but because I was downsizing the image so much, many of the smaller snowflakes wouldn’t have cut well. Instead I changed the setting from cut to draw then placed the Indian Red Cricut Fine Point Marker into my Cricut Explore Air 2 machine, fed the paper through on my adhesive cutting mat, and let the machine work it’s magic.
I had also found a flag design and the words “season’s greetings” in the Cricut Design Studio which I put together to create the green banner and sentiment on the front of the card. I used a Midnight Cricut Fine Point Marker in the machine to write out the wording.
After I was done with my Cricut, I used my Fiskars Circle Shape Template to trace a circle in the interior of the wreath, and then did the same thing on the exterior of the design as well. I then cut around the exterior circle with scissors, and freehand cut around the ribbon. On the interior of the wreath, I used an craft knife to remove the white interior.
Once everything was cut out, I used some alcohol makers to color in the little pictures in the wreath. I didn’t color everything, just a few items to give it a little pop. I found that yellow, brown red and green complimented the card well, so I stuck with those colors.
Now the wreath was colored, it was time to put some Forever In Time 3D Pop Dots Squares on the back of the wreath and set it aside. I then took the Phoenix Red Bazzill Cardstock and cut it down to be 5.25’x4’, and placed some mounting squares on the back of it, so that I could place it on the card base.
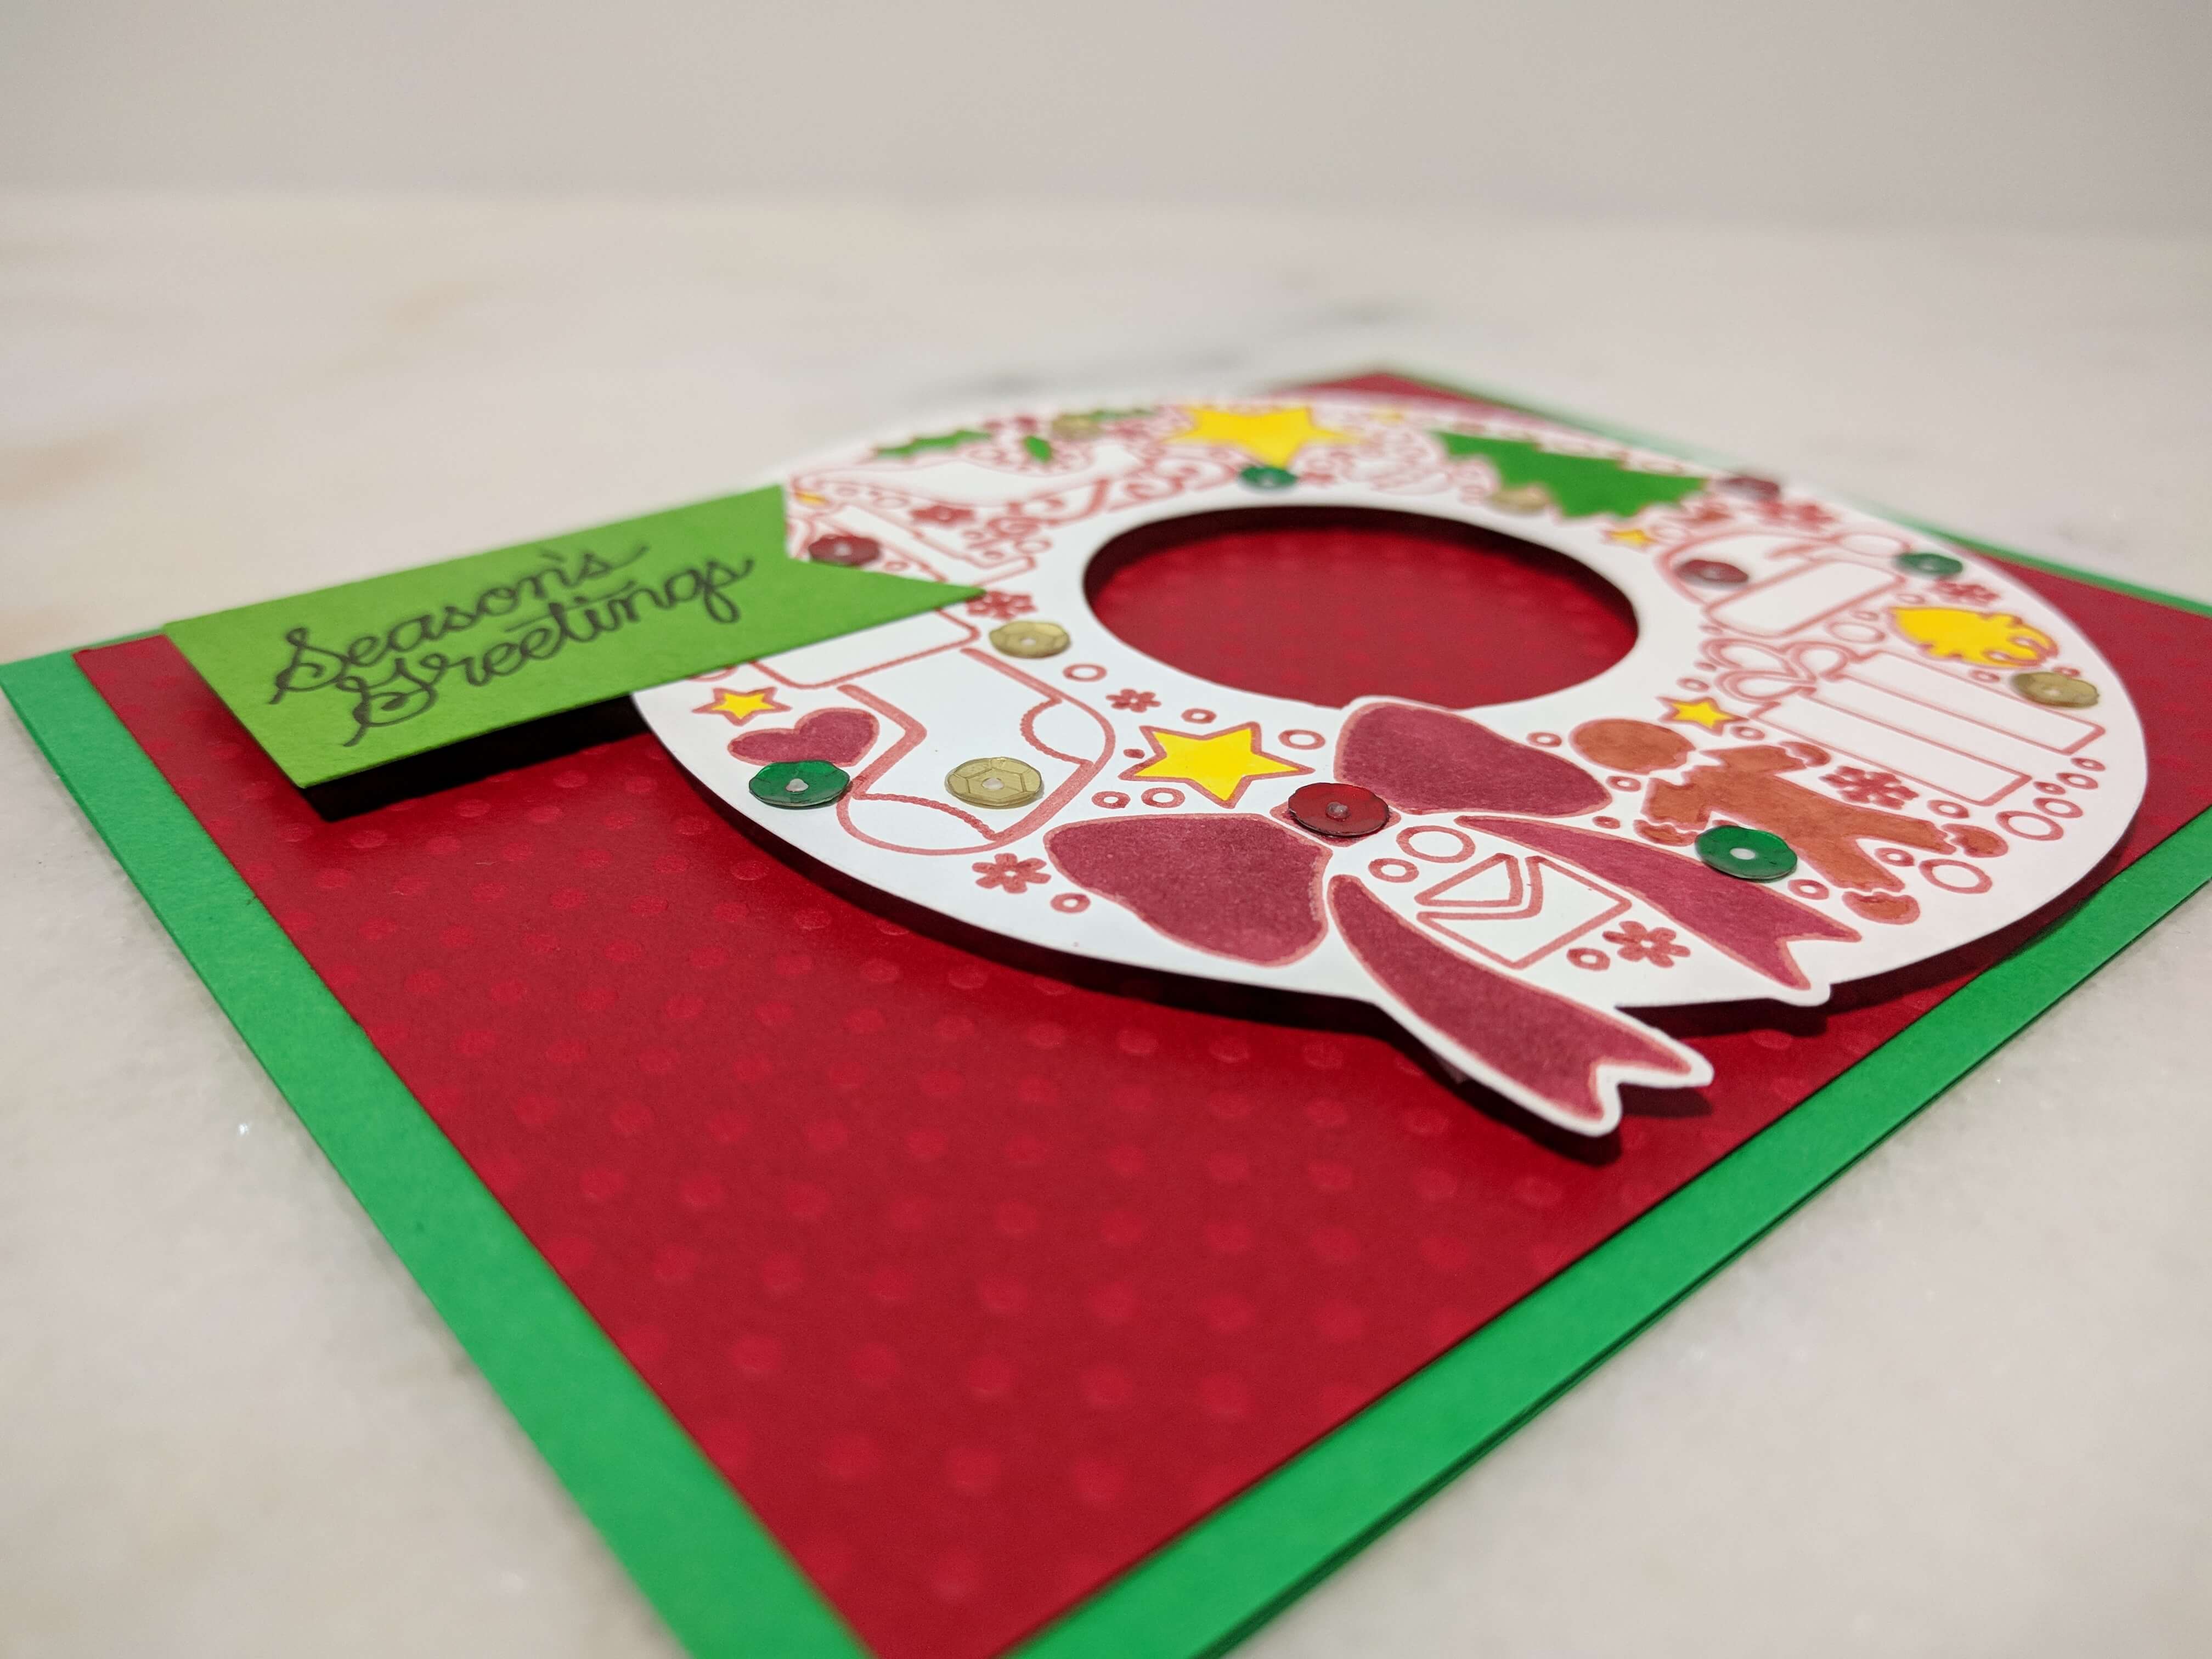
After the base was completed, I placed the wreath on the card, a little of center to the right. I could then place the sentiment banner down. I could have stopped there and just place a white internal insert inside the card, however I wanted to add a little embellishment on the card. So I decided to place some green, gold, and red sequin sporadically around the wreath design. I secured the sequin with Tacky Glue, then just let it dry.
And that’s it for this card! I hope you all have a safe and happy holiday!
This blog uses affiliate links when possible. If you choose to make a purchase through one of these links, I may receive a small commission (at no cost to you). I don’t make recommendations lightly, and only link to products that I know and trust. Thank you for your support.