
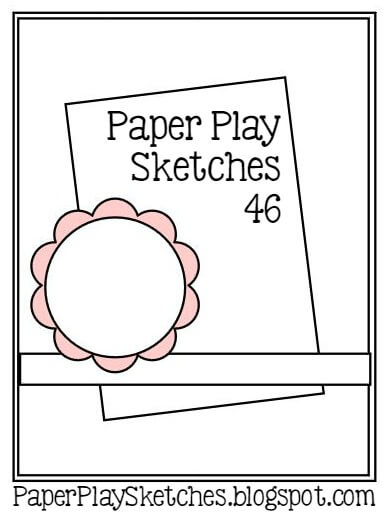
Hey Everyone! Today’s post is another one inspired by the Paper Play Sketches Blog Challenge. They’re one of my favorite’s card sketch challenge blogs, because they tend to keep the designs free of excess clutter, yet they still inspire. I highly recommend checking it out if you haven’t before.
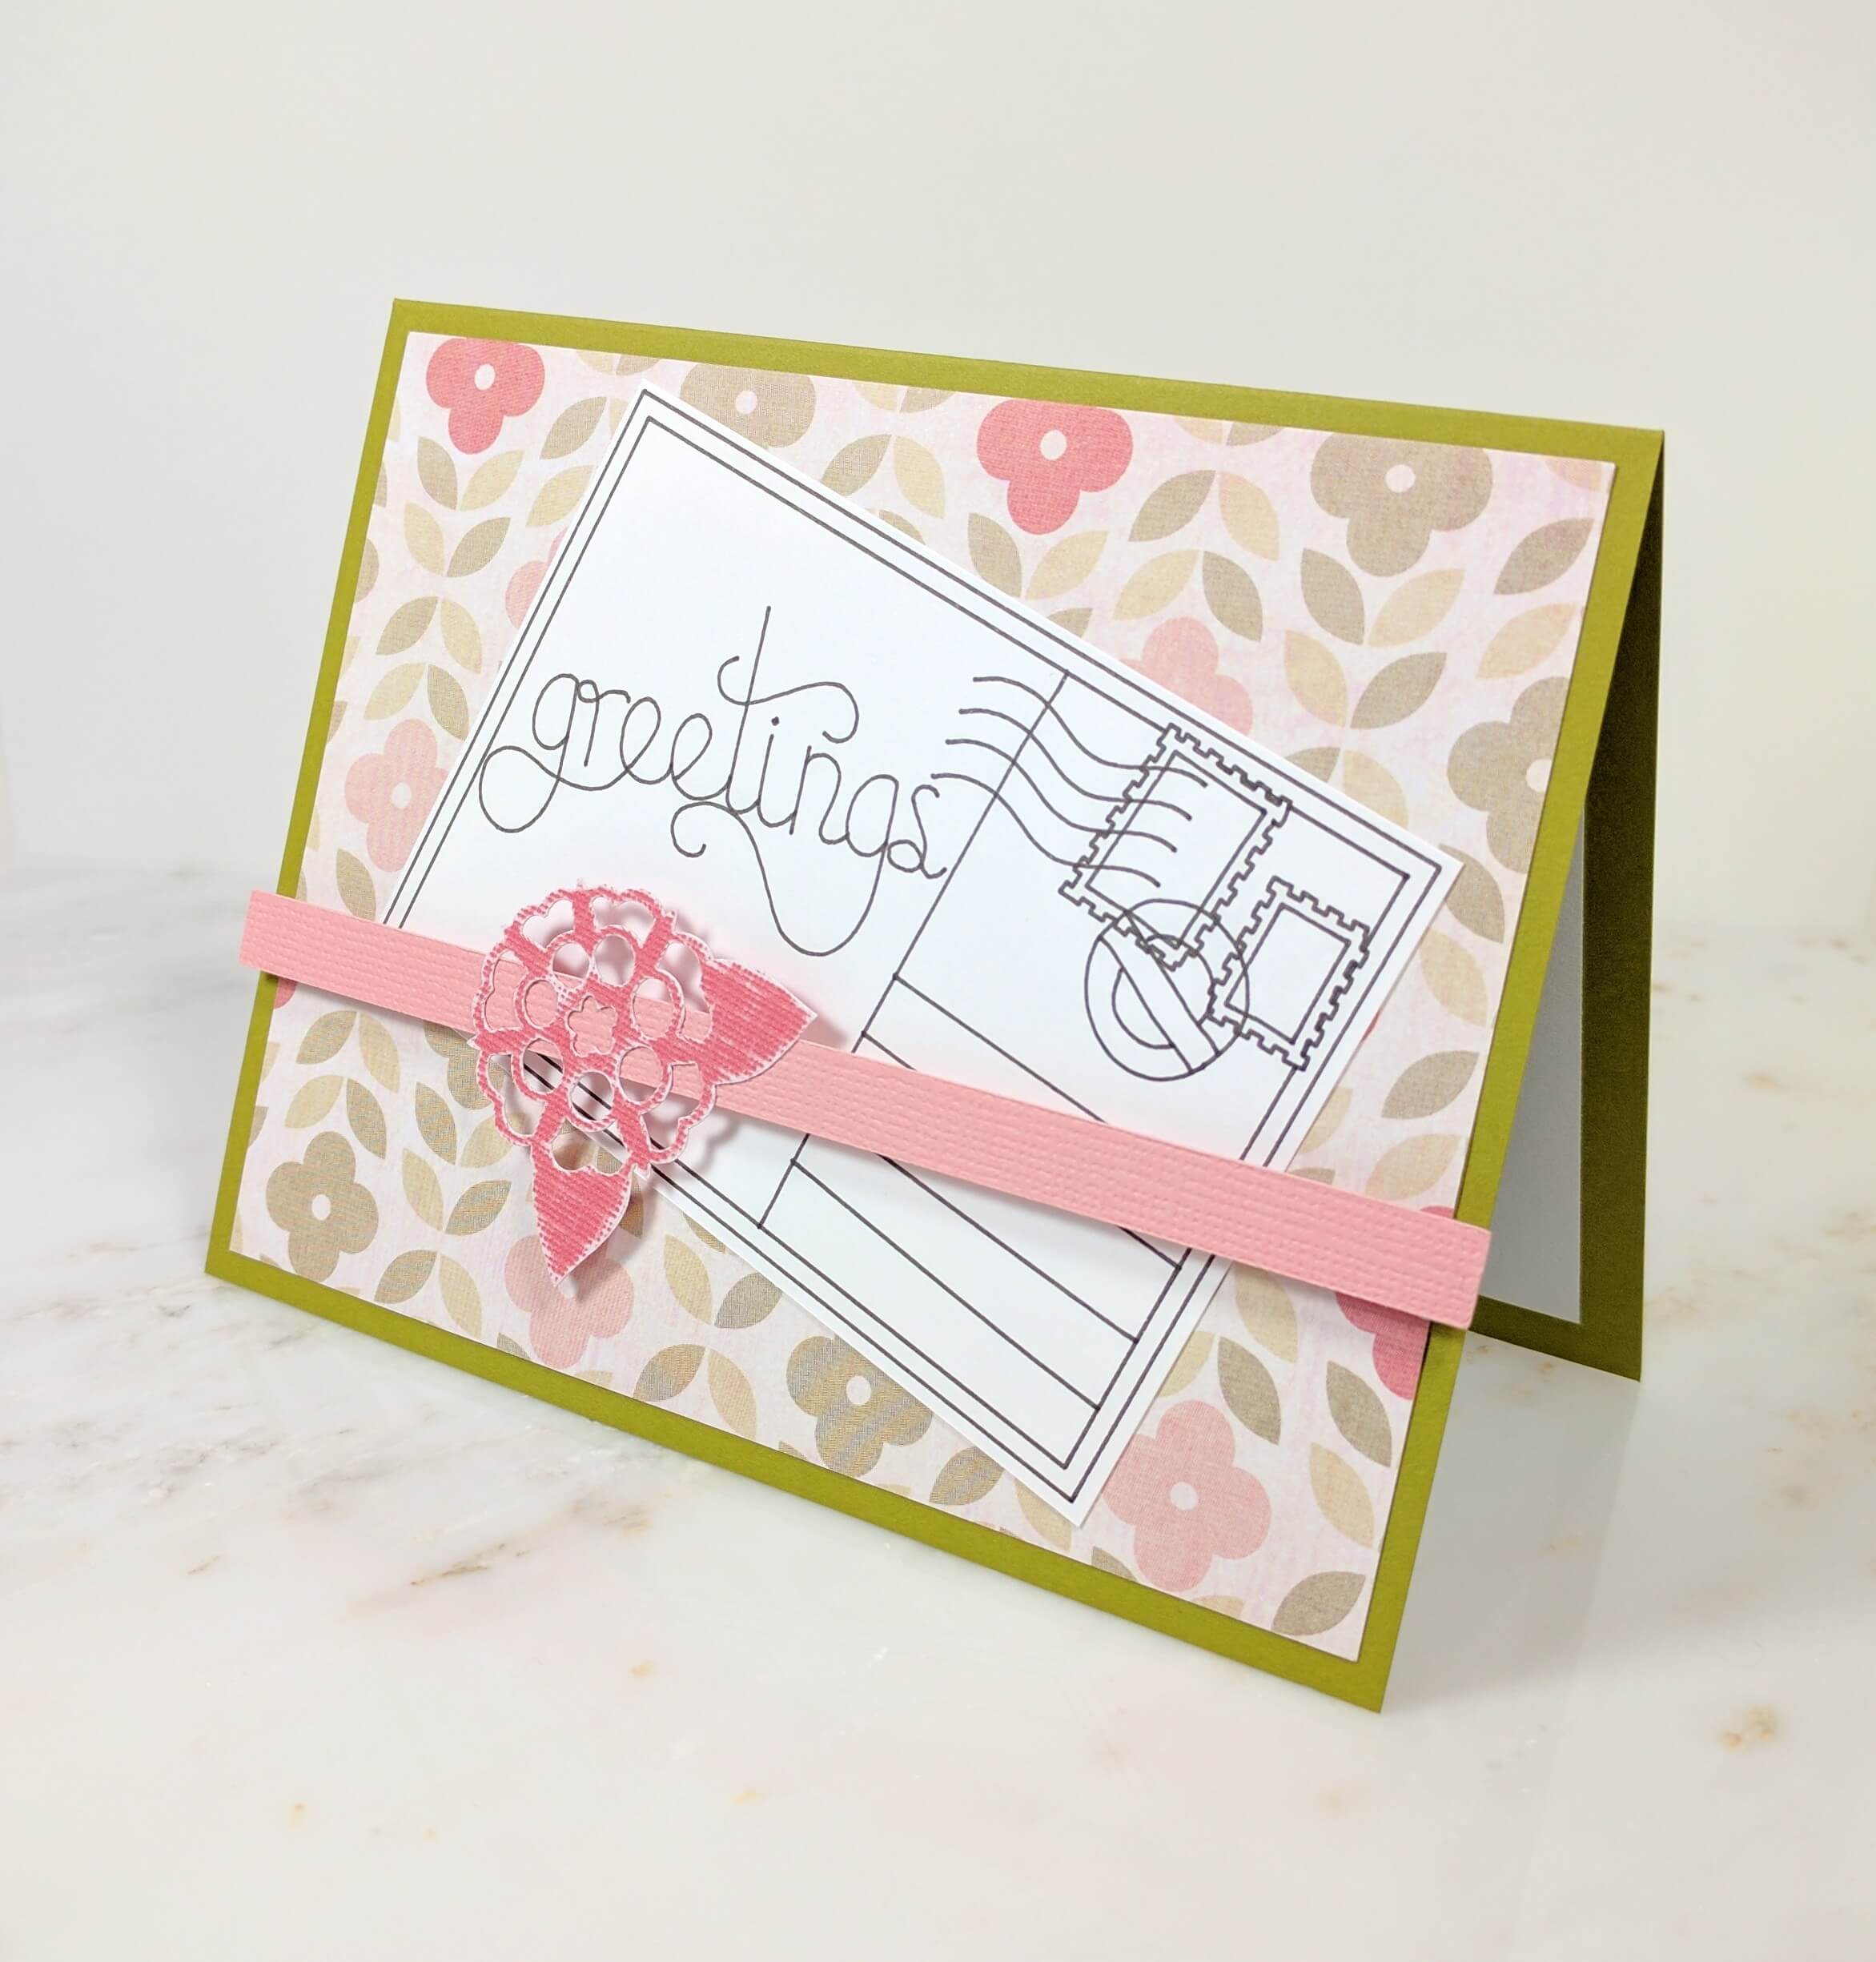
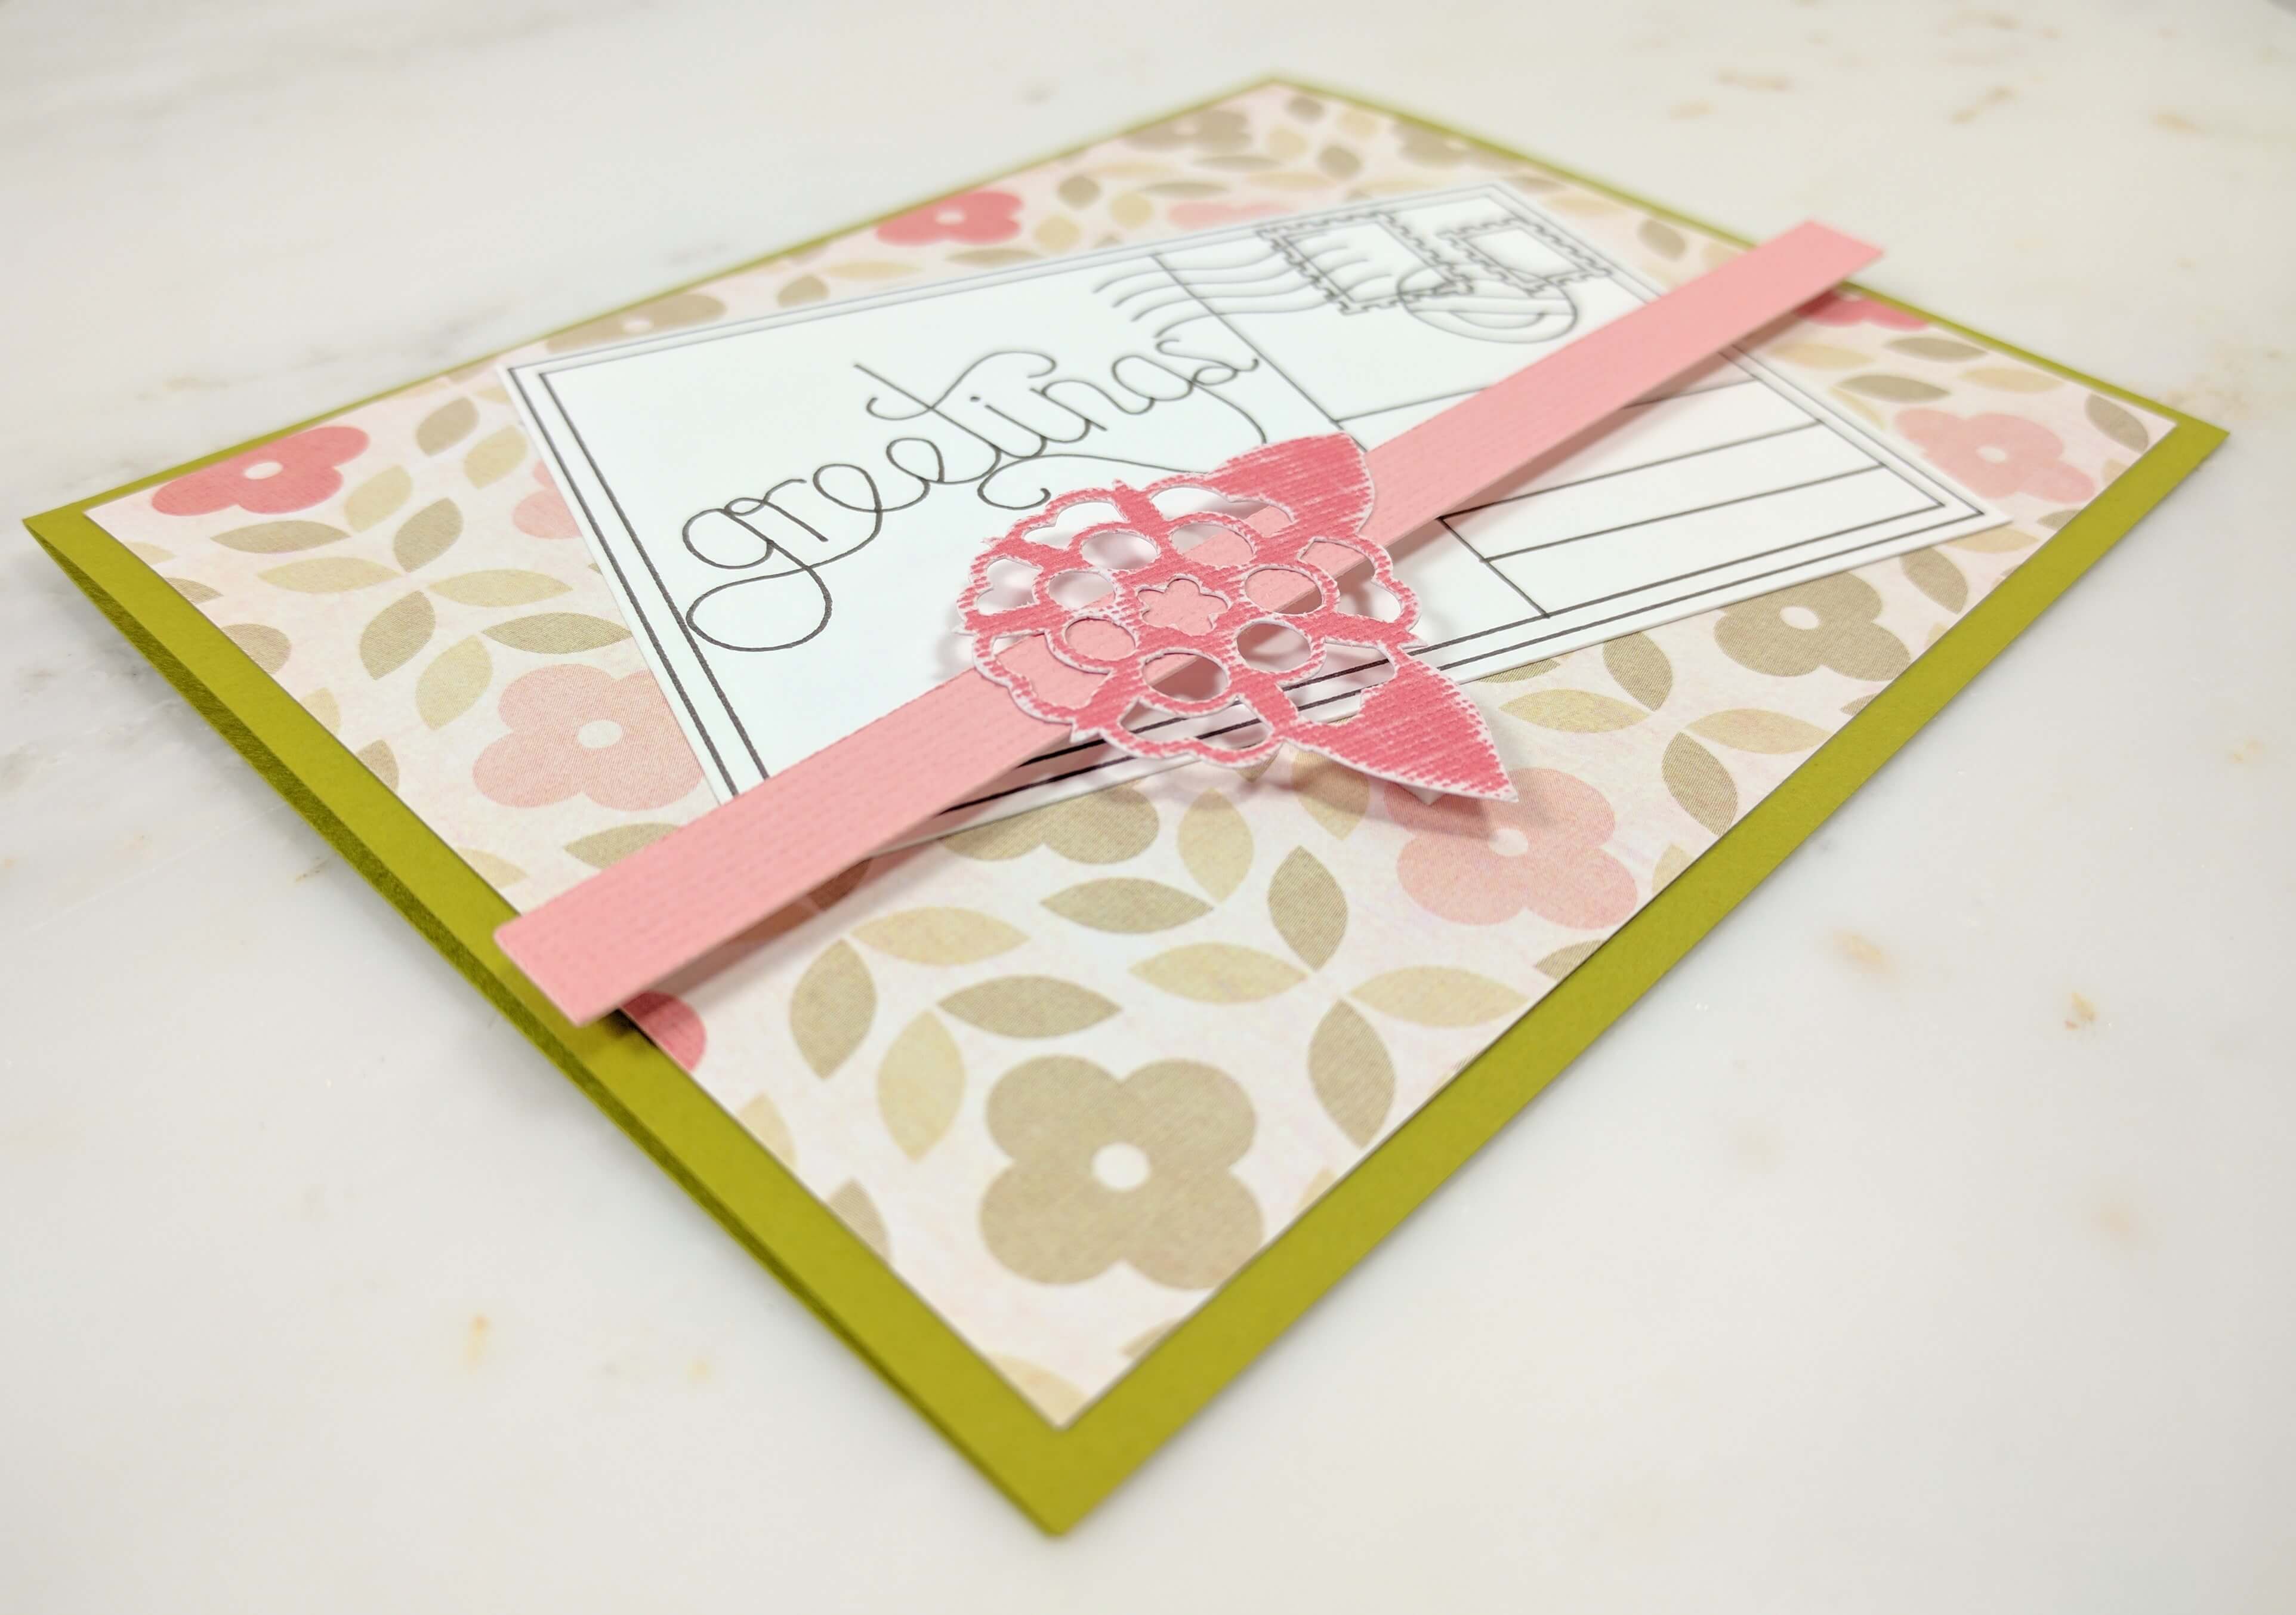
When I first made this card, the floral embellishment didn’t come out of the machine quite the way I wanted. Some of the intricacies of the flower got damaged. To make up for that, I cut them out with an X-acto knife, and sanded down the front of the flower to to give it a distressed look. In retrospect, I probably should have sanded the edges of the floral paper as well, to round out the look. I’ll have to keep that in mind for next time.
Watch the Postcard Greetings YouTube video tutorial here.
Materials Used:
Cricut Explore Air 2 Machine
Cricut Mat (Regular)
Cricut Tools (to peel images from mat)
Midnight – Fine Point Cricut Marker
X-acto Knife
X-acto Self-Healing Cutting Mat
Sand Paper
2 Way Glue Pen
Double Sided Mounting Tape
Dimensional Tape
Olive Cardstock – Card Background (8.5”x5.5” folded in half)
Hot Pink Textured Cardstock (3”x3”)
Light Pink Textured Cardstock (1”x6.5”)
Floral Patterned Cardstock (5.25”x4”)
White Cardstock – Interior (3.75”x5”)
White Cardstock – Exterior Post Card (5×3.5)
Scissors (if needed)
Tweezers (if needed)
Cricut Images Used:
4 Standard Squares
Flower (Floral Embellishments cartridge)
Greetings Postcard Draw Background (Photo Fun cartridge)

View the exact specifications of this project in the Cricut Design Studio.
This blog uses affiliate links when possible. If you choose to make a purchase through one of these links, I may receive a small commission (at no cost to you). I don’t make recommendations lightly, and only link to products that I know and trust. Thank you for your support.