
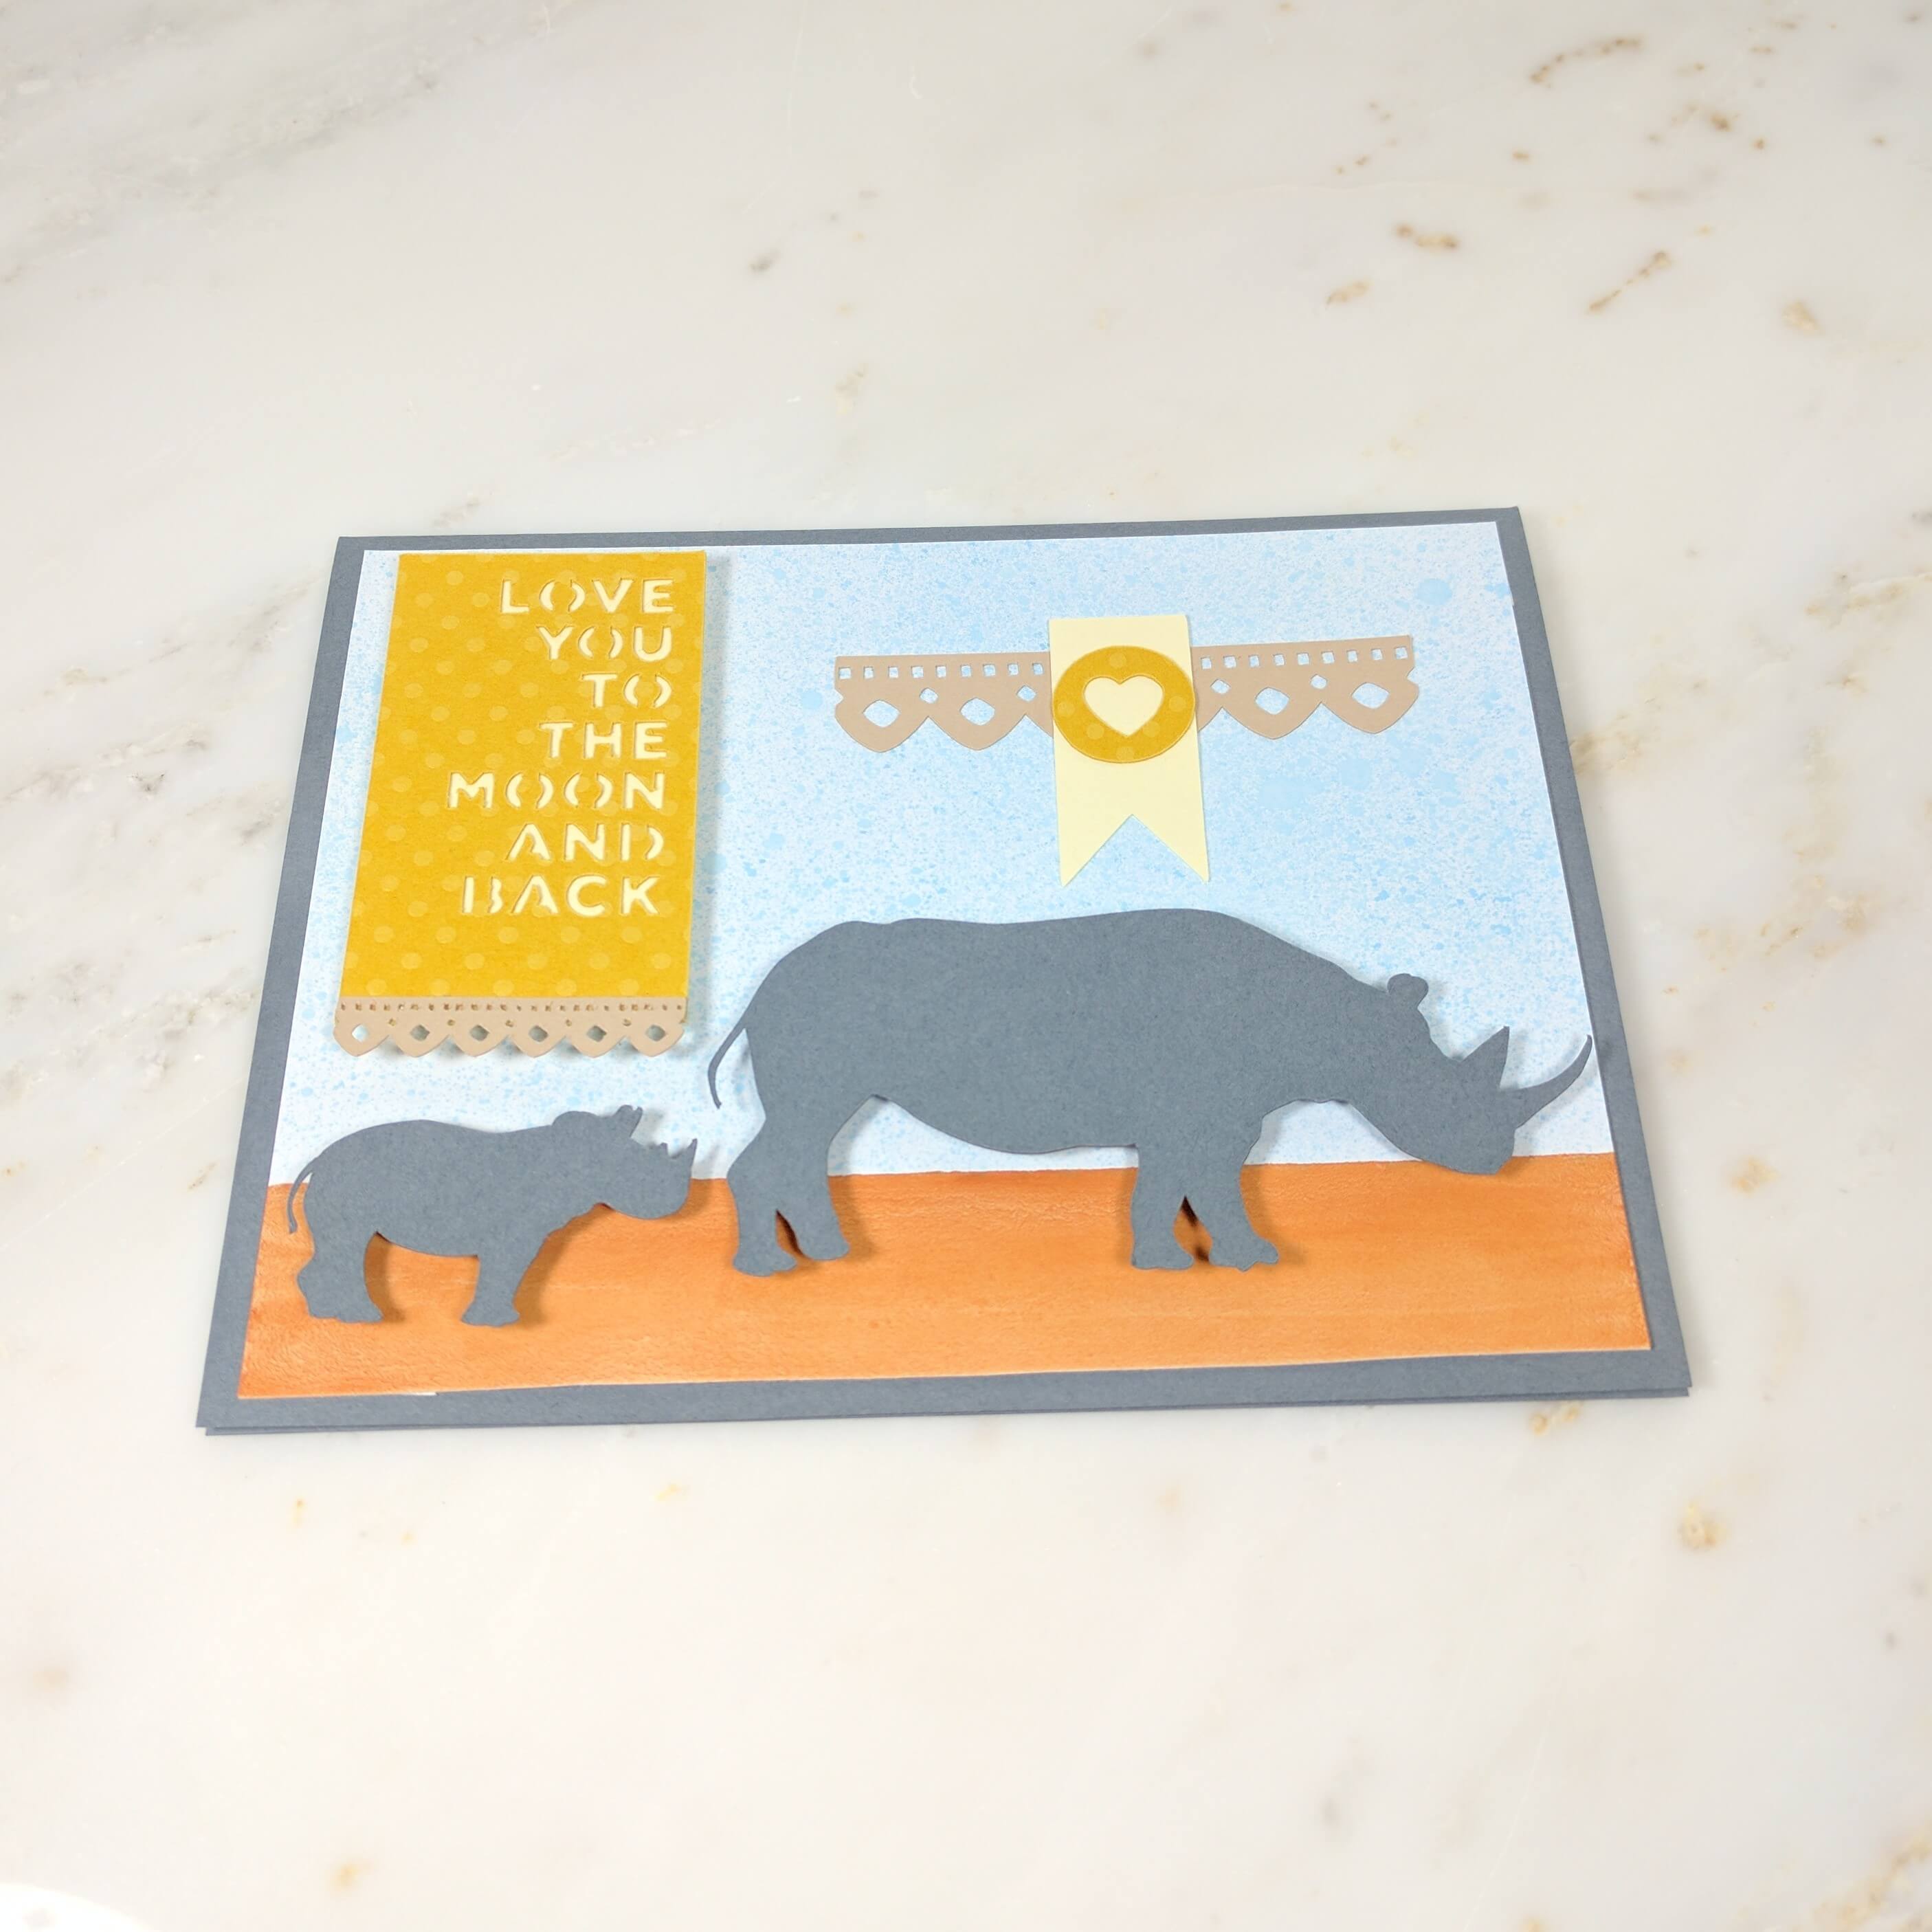
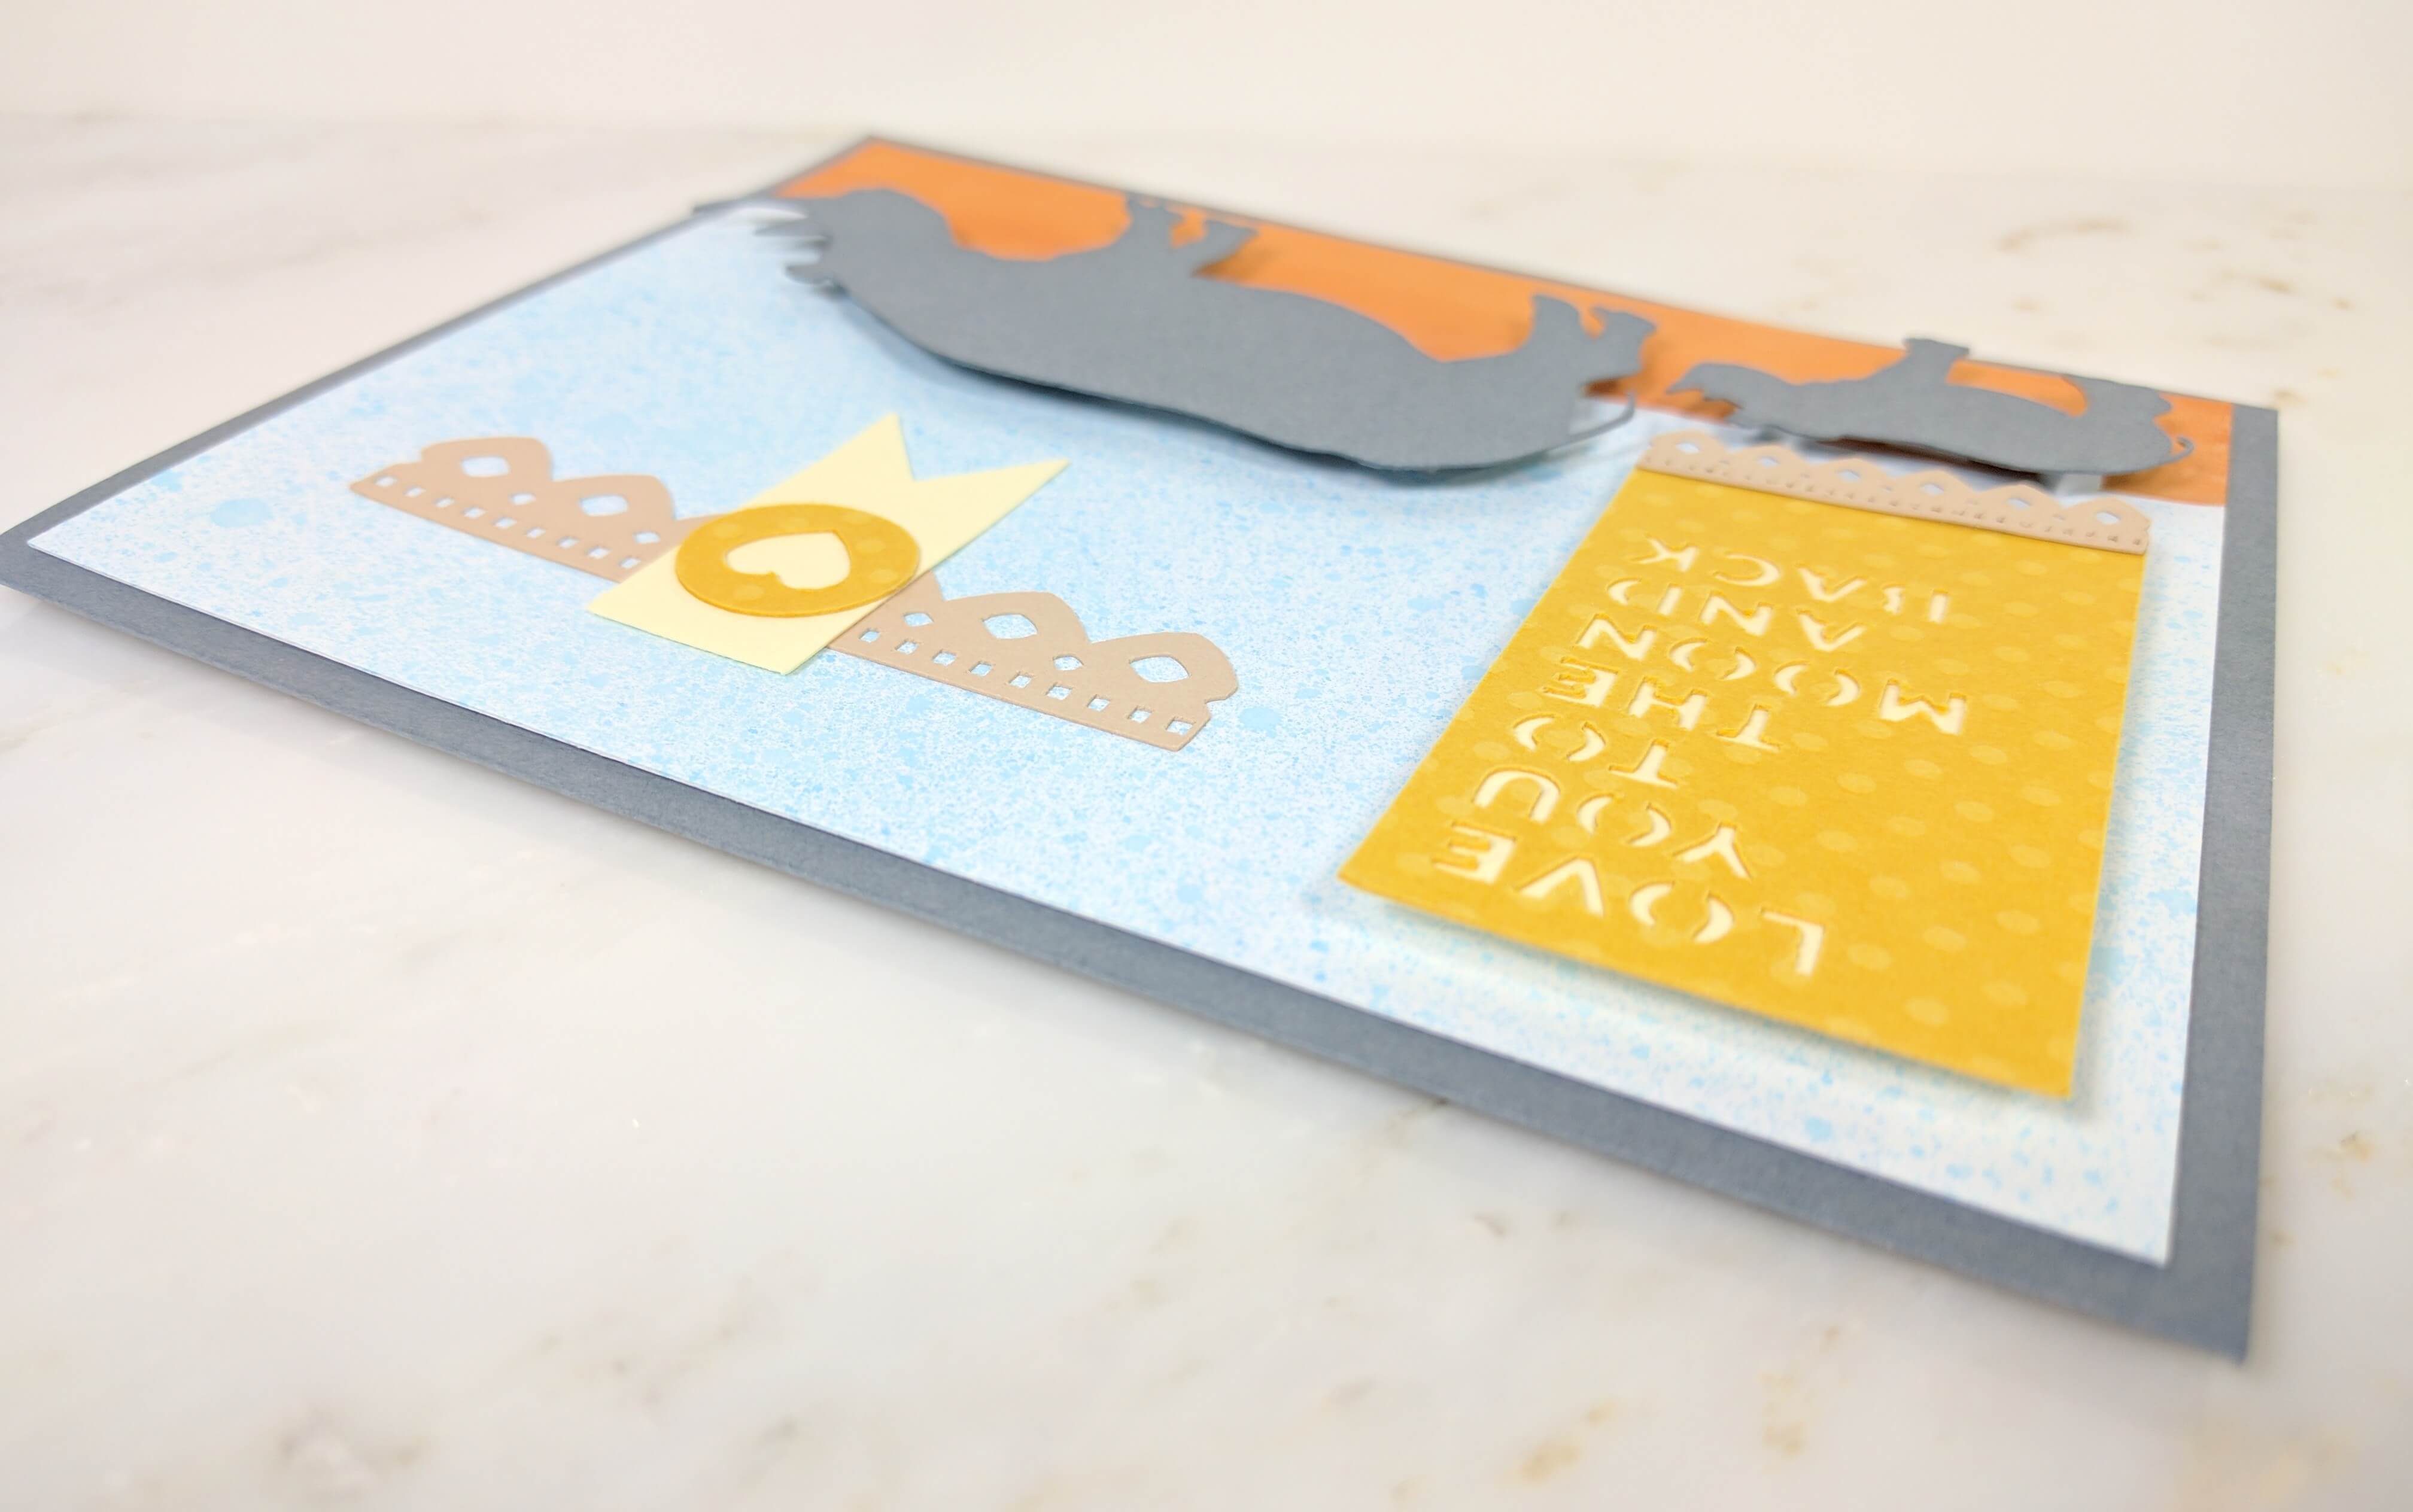
I got the idea for this card when I was skimming the Cricut Design Studio’s free images. I came across the mama and baby rhino, and thought it was adorable. I knew right away I was going to turn it into a card. Once I started designing it though, I struggled with how to give it a little extra depth. I wanted to set a scene of them walking through the desert together. About a week after finding the images, I was leafing through Instagram, and saw a few other crafting projects that were beautifully painted with watercolors, that I decided to try my hand at painting a watercolor theme to make the background I wanted.
Watch the To the Moon and Back YouTube video tutorial here.
MATERIALS USED:
Grey Cardstock (5.5″x8.5” folded in half)
Grey Cardstock – Rhinos (6”x2.5”)
White Cardstock – Front of Card (5.25”x4”)
White Cardstock – Card Interior (5”x3.75”)
Beige Cardstock – Banner Boarder (5”x2”)
Cream Cardstock – Banner Background & Smaller Banner (4”x3”)
Yellow Polka Dot Cardstock – (4”x3”)
Watercolor Paint (Blue & Burnt Orange)
Multi-Purpose Paint Brush
Mini Mister Spray Bottle
Double Sided Sticky Tape
1/8 Inch Ribbon Tape (to keep edges from curling)
1/2 Inch Pop-Dot Adhesive Squares
1/4 Inch Pop-Dot Adhesive Squares
Scissors
Tweezers (if needed)
2 Way Glue Pen
Cricut Mat
Cricut Tools (to peel images from mat)
CRICUT IMAGES USED:
Vinyl Rhinos (Dream Big cartridge)
Best Friends Scrapbook Page (Scrapbook Pages cartridge)
Wedding Scrapbook Page (Scrapbook Pages cartridge)
1 Standard Square (For Background)
1 Standard Square (For Background of Sentiment Banner)
WALK THROUGH:
This card absolutely took some time, but here are a few tips that will hopefully make your project easier when you make your own watercolor theme. For a full tutorial, I would encourage you to watch the YouTube video above.
- Your paper will become damp as you paint. Allow for drying time in between each step.
- Only place your tape on the paper when it is completely dry, otherwise you risk ripping it.
- As the paint dries, you may notice the paper curling. That’s ok. Once it’s fully dried, place it under a few heavy books to flatten it out.
Place 4 long strands of ribbon tape along all the edges of the painted background. This will keep the corners from curling once it’s on the card. If you’d like to view the exact specifications of this project in the Cricut Design Studio, you can do so by following this link.
This blog uses affiliate links when possible. If you choose to make a purchase through one of these links, I may receive a small commission (at no cost to you). I don’t make recommendations lightly, and only link to products that I know and trust. Thank you for your support.