
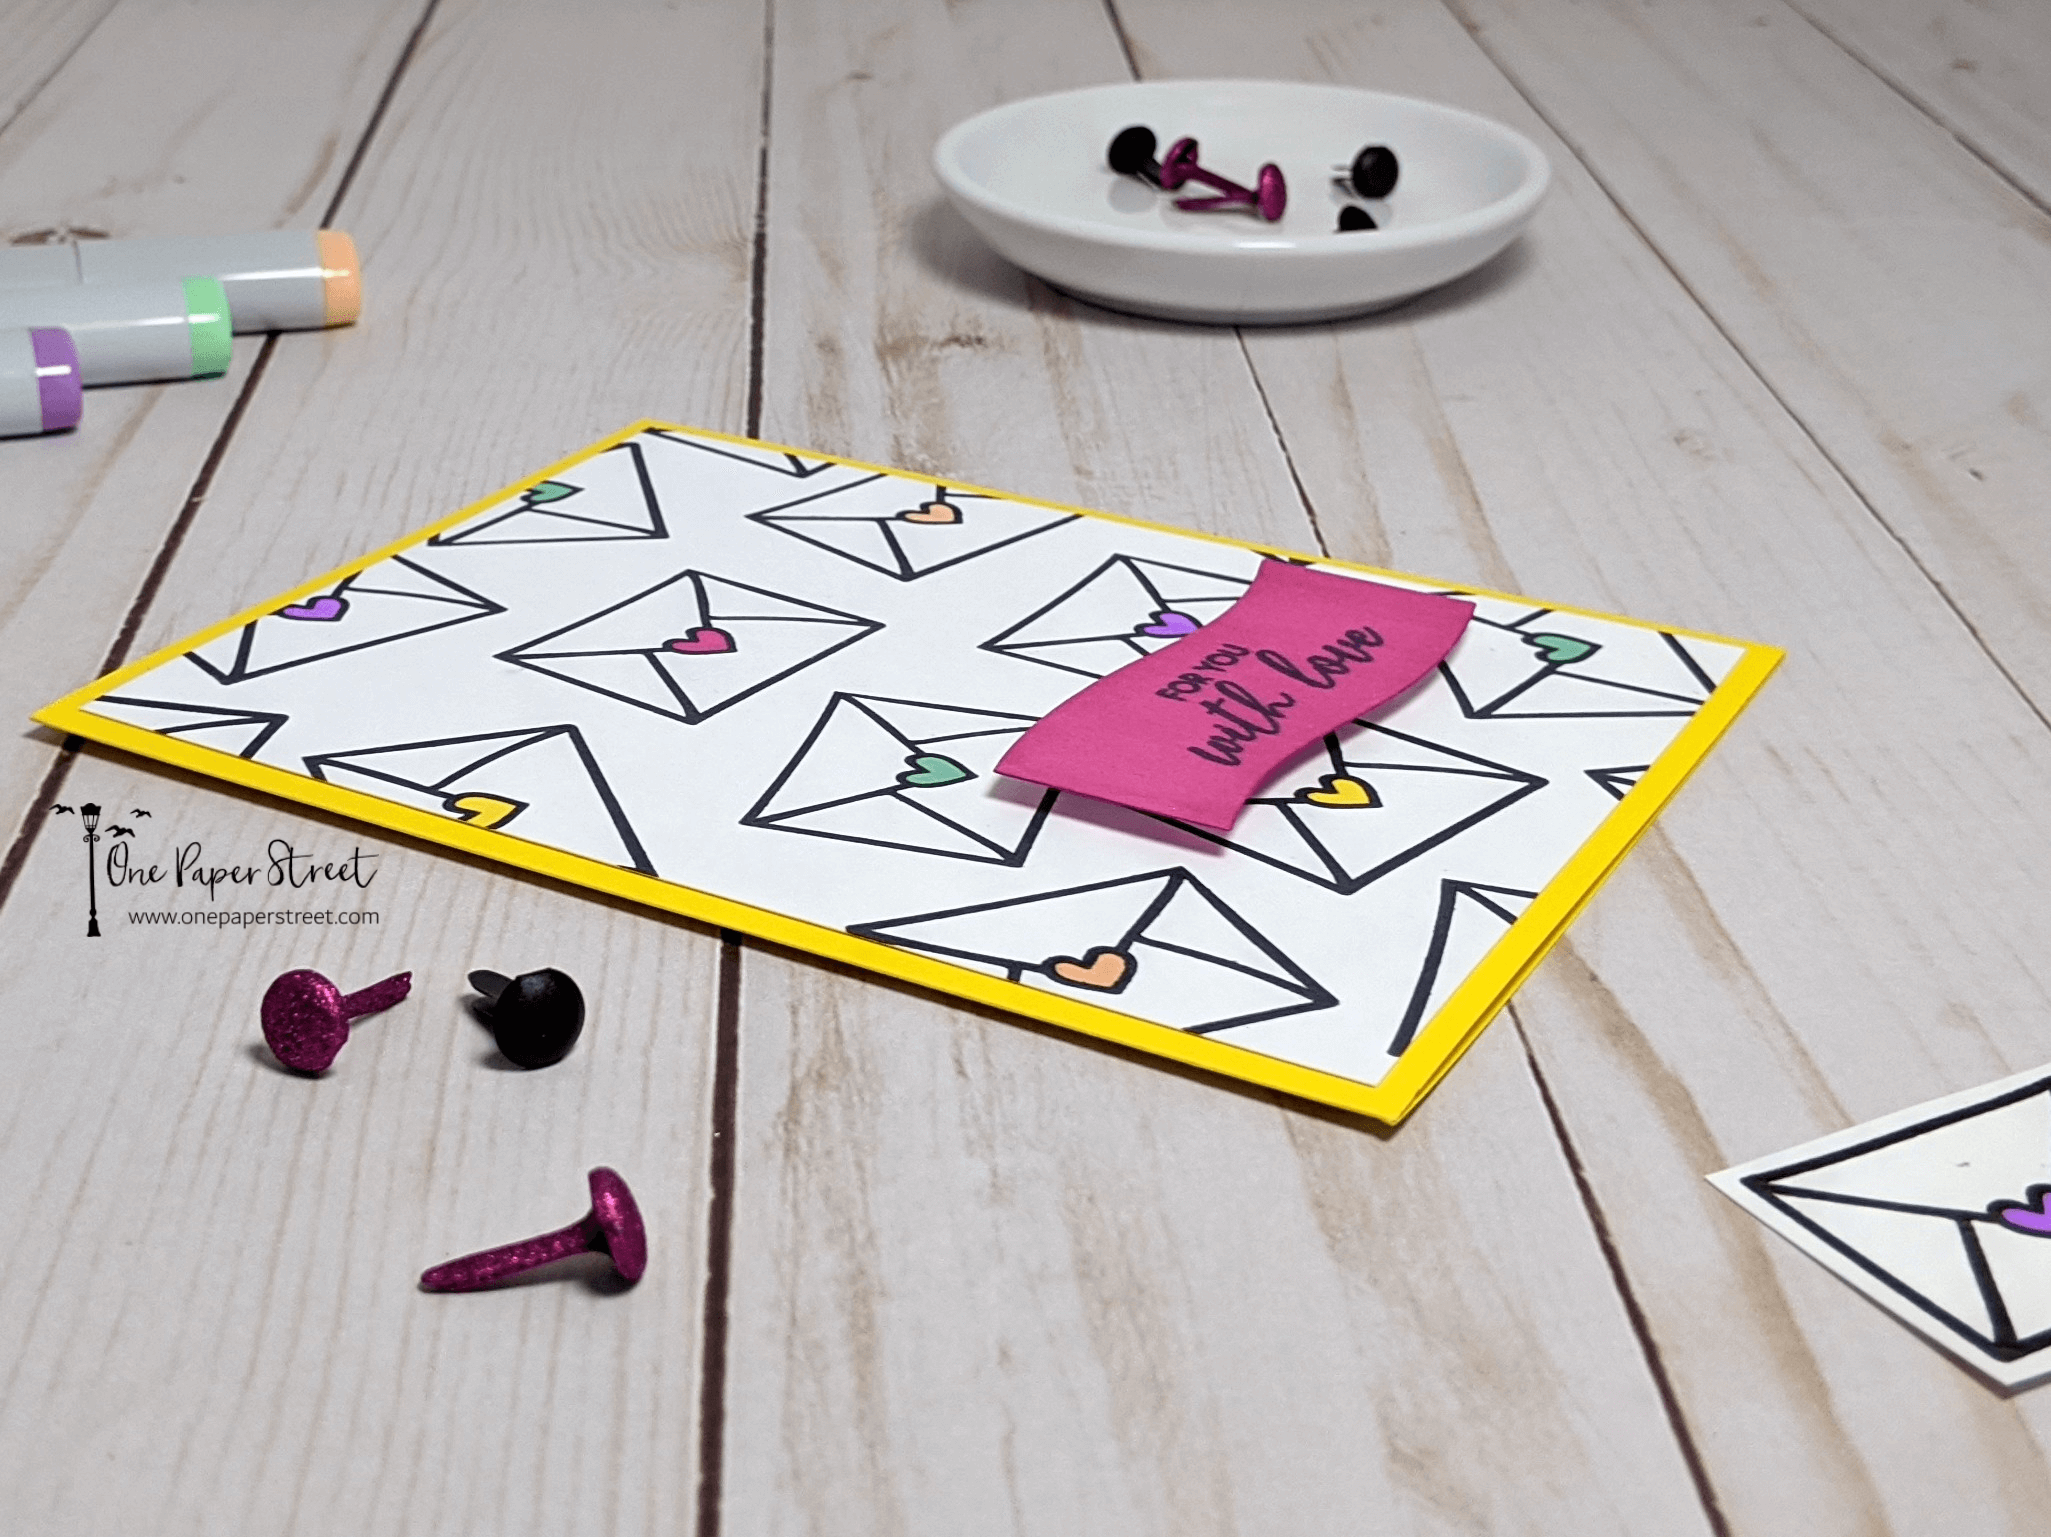
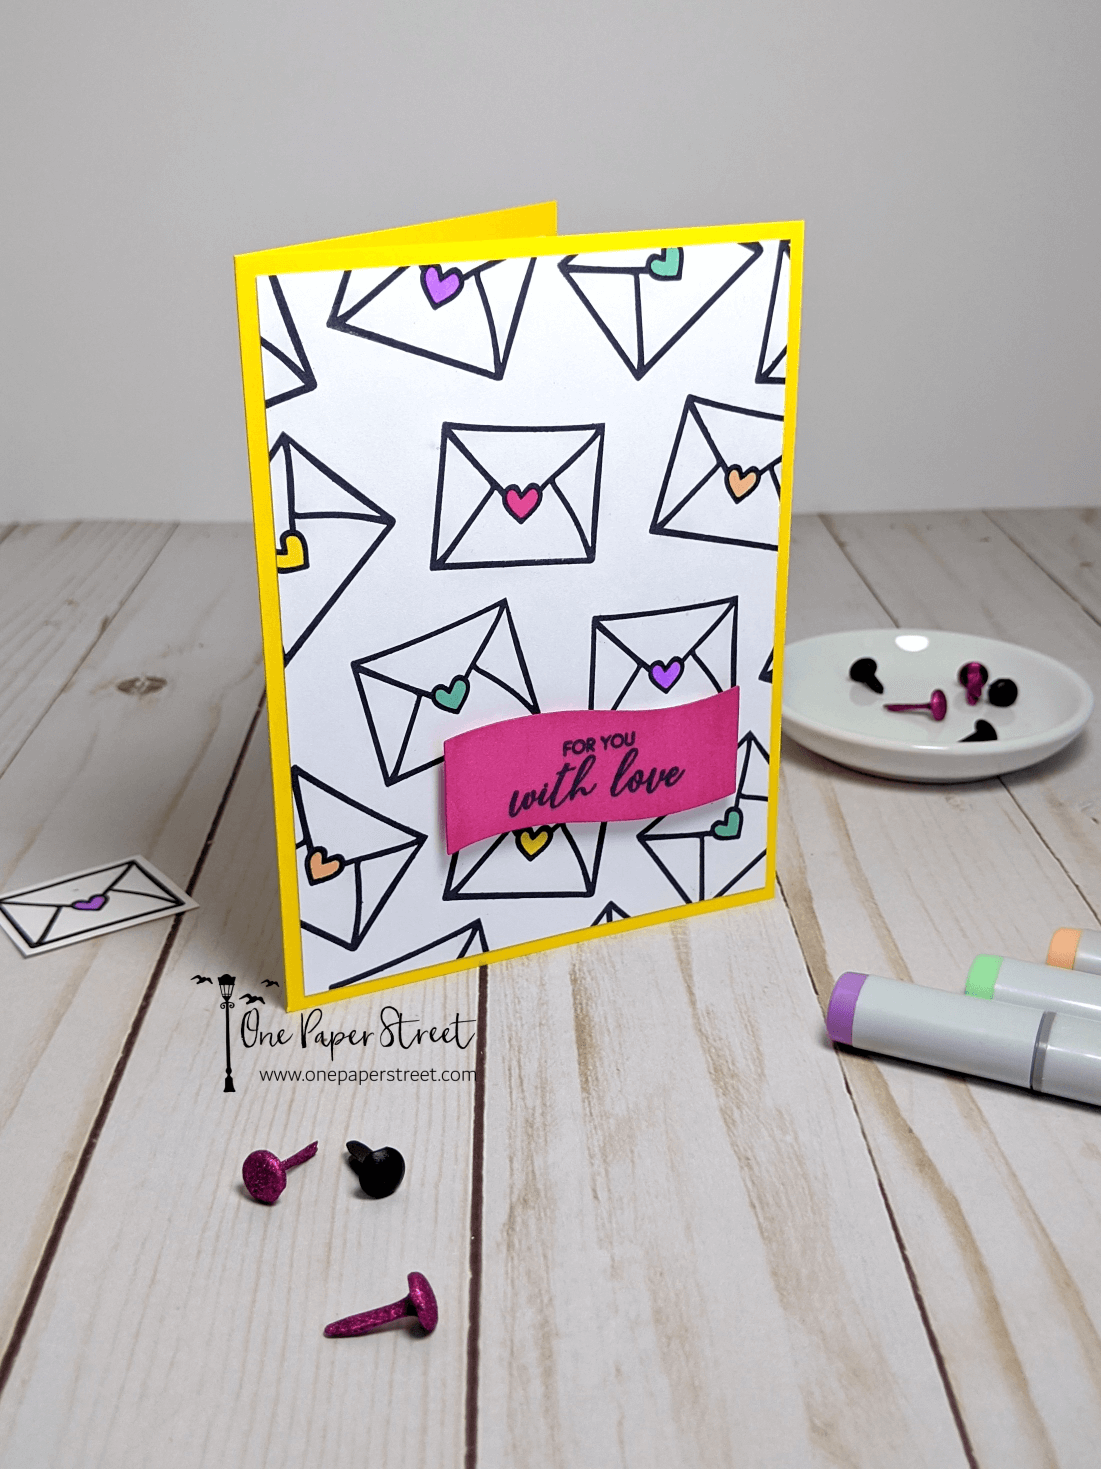
Can I just say, I LOVE non-traditional colors on greeting cards. When I first saw this Happy Mail stamp set from Honeybee Stamps I knew exactly what I wanted my card to look like. I wanted bright neon colors and little envelopes all over the background of this design. I absolutely adore this Love Letters for You design, and can’t wait to show you how to make a stamped background pattern like this for your own designs.
I’d also say that this design was really easy to make, so if you’re a new crafter this could be an easy project for you. Keep reading to see all the materials that I used, along with a tutorial on how you can make it yourself!
Watch the Love Letters for You YouTube Tutorial here.
Materials Used:
This blog may use affiliate links when available. If you choose to make a purchase through one of these links, I may receive a small commission at no cost to you. I don’t make recommendations lightly, and will only link to products I know and trust.
Copic Sketch Marker – YG41 Pale Cobalt Green [Amazon] [Scrapbookpal.com]
Copic Sketch Marker – YR61 Spring Orange [Scrapbookpal.com]
EK Tools EK Scoring Board 12×12 [Amazon]
Feather No.55 Switch-Blade Shear, 5.5 Inch [Amazon]
Fiskars Recycled Bypass Trimmer, 12 Inch [Amazon]
Trim Slant Tip Tweezers [Amazon]
Ranger Archival Ink Pad, Jet Black [Amazon] [Scrapbook.com]
Recollections Cardstock Paper, Essentials 20 Colors [Amazon]
Neenah Solar White Cardstock [Amazon] [Scrapbook.com]
Forever In Time 3D Pop Dots Square Dual-Adhesive Foam Mount, 1/2-Inch [Amazon] [Scrapbook.com]
Scrapbook Adhesives Initially Repositionable Mounting Squares [Amazon]
Honey Bee Stamps – Happy Mail Stamps Set [Scrapbook.com]
Misti Stamp Tool Original Size Stamp Positioner [Amazon]
Altenew – Magnolia Heart Stamp Set [Altenew] [Scrapbook.com]
Tutorial: Love Letters for You Stamped Background Pattern
Step 1. Trim the card base and background cardstock.
First I cut and scored an A2 card base. I also trimmed a sheet of Neenah Solar White cardstock to be 5.25 x 4 inches, which would be the background for my design.
Tip: Here’s another card that I made using a stamped background pattern technique.
Step 2. Create a stamped background pattern
Next, I grabbed my Misti stamping tool and placed my Nina Solar White cardstock on the platform. I positioned the envelope stamp where I wanted it to go on the paper and then closed my Misti to grab the stamp. If you don’t have a Misti, that’s perfectly okay. Simply put your stamp on a clear block, and use that instead. I like the Misty because occasionally I don’t get a clean image and need to stamp in the exact same place a second time.
Once I finished stamping my first envelope I moved on to the second envelope by positioning my stamp in a new place on the cardstock and closed my Misti to pick it up again. I then continued stamping my Love Letter image on the background over and over again until the it was full of these fun little envelopes. After the background was done, I also stamped the “for you with love” sentiment from Altenew.
Tip: When you repositioning your stamp, you can choose to reposition it without cleaning the ink off from the previous step or you can leave the ink on and risk it. Just be very intentional when you’re placing your stamp.

Step 3. Color the hearts in.
Once my stamped background was complete I grabbed a handful of assorted neon colored markers and began coloring the hearts on the envelopes randomly. I used a mix of American Crafts Markers and Copics here, just depending on what colors I had on hand. I then placed the Nina Solar White cardstock on some Scrapbook Adhesives Mounting Squares and placed the background on my neon yellow card stock.
Step 4. Create the sentiment.
I don’t own any cardstock that matches the color pink on the hearts, so I needed to get a little extra creative here. I chose to cut the sentiment out using a Sizzix banner die, then I colored the banner in with the same marker that I used to color the hearts. Lastly I put the banner on some 3D foam tape and adhered it to the front of the card. You also notice that I put a white insert inside the card. This gives it a little bit more stability and will give me space to write inside the card later
I hope you enjoyed this tutorial! Please let me know what you thought by leaving a comment below. If you’d like to see more stamping techniques check out these various stamping tutorials! Also, if you have any fun ideas/tutorials that you’d like to see in the future, leave a comment or send me an email! And don’t forget to subscribe to my email new letter for my newest posts!