
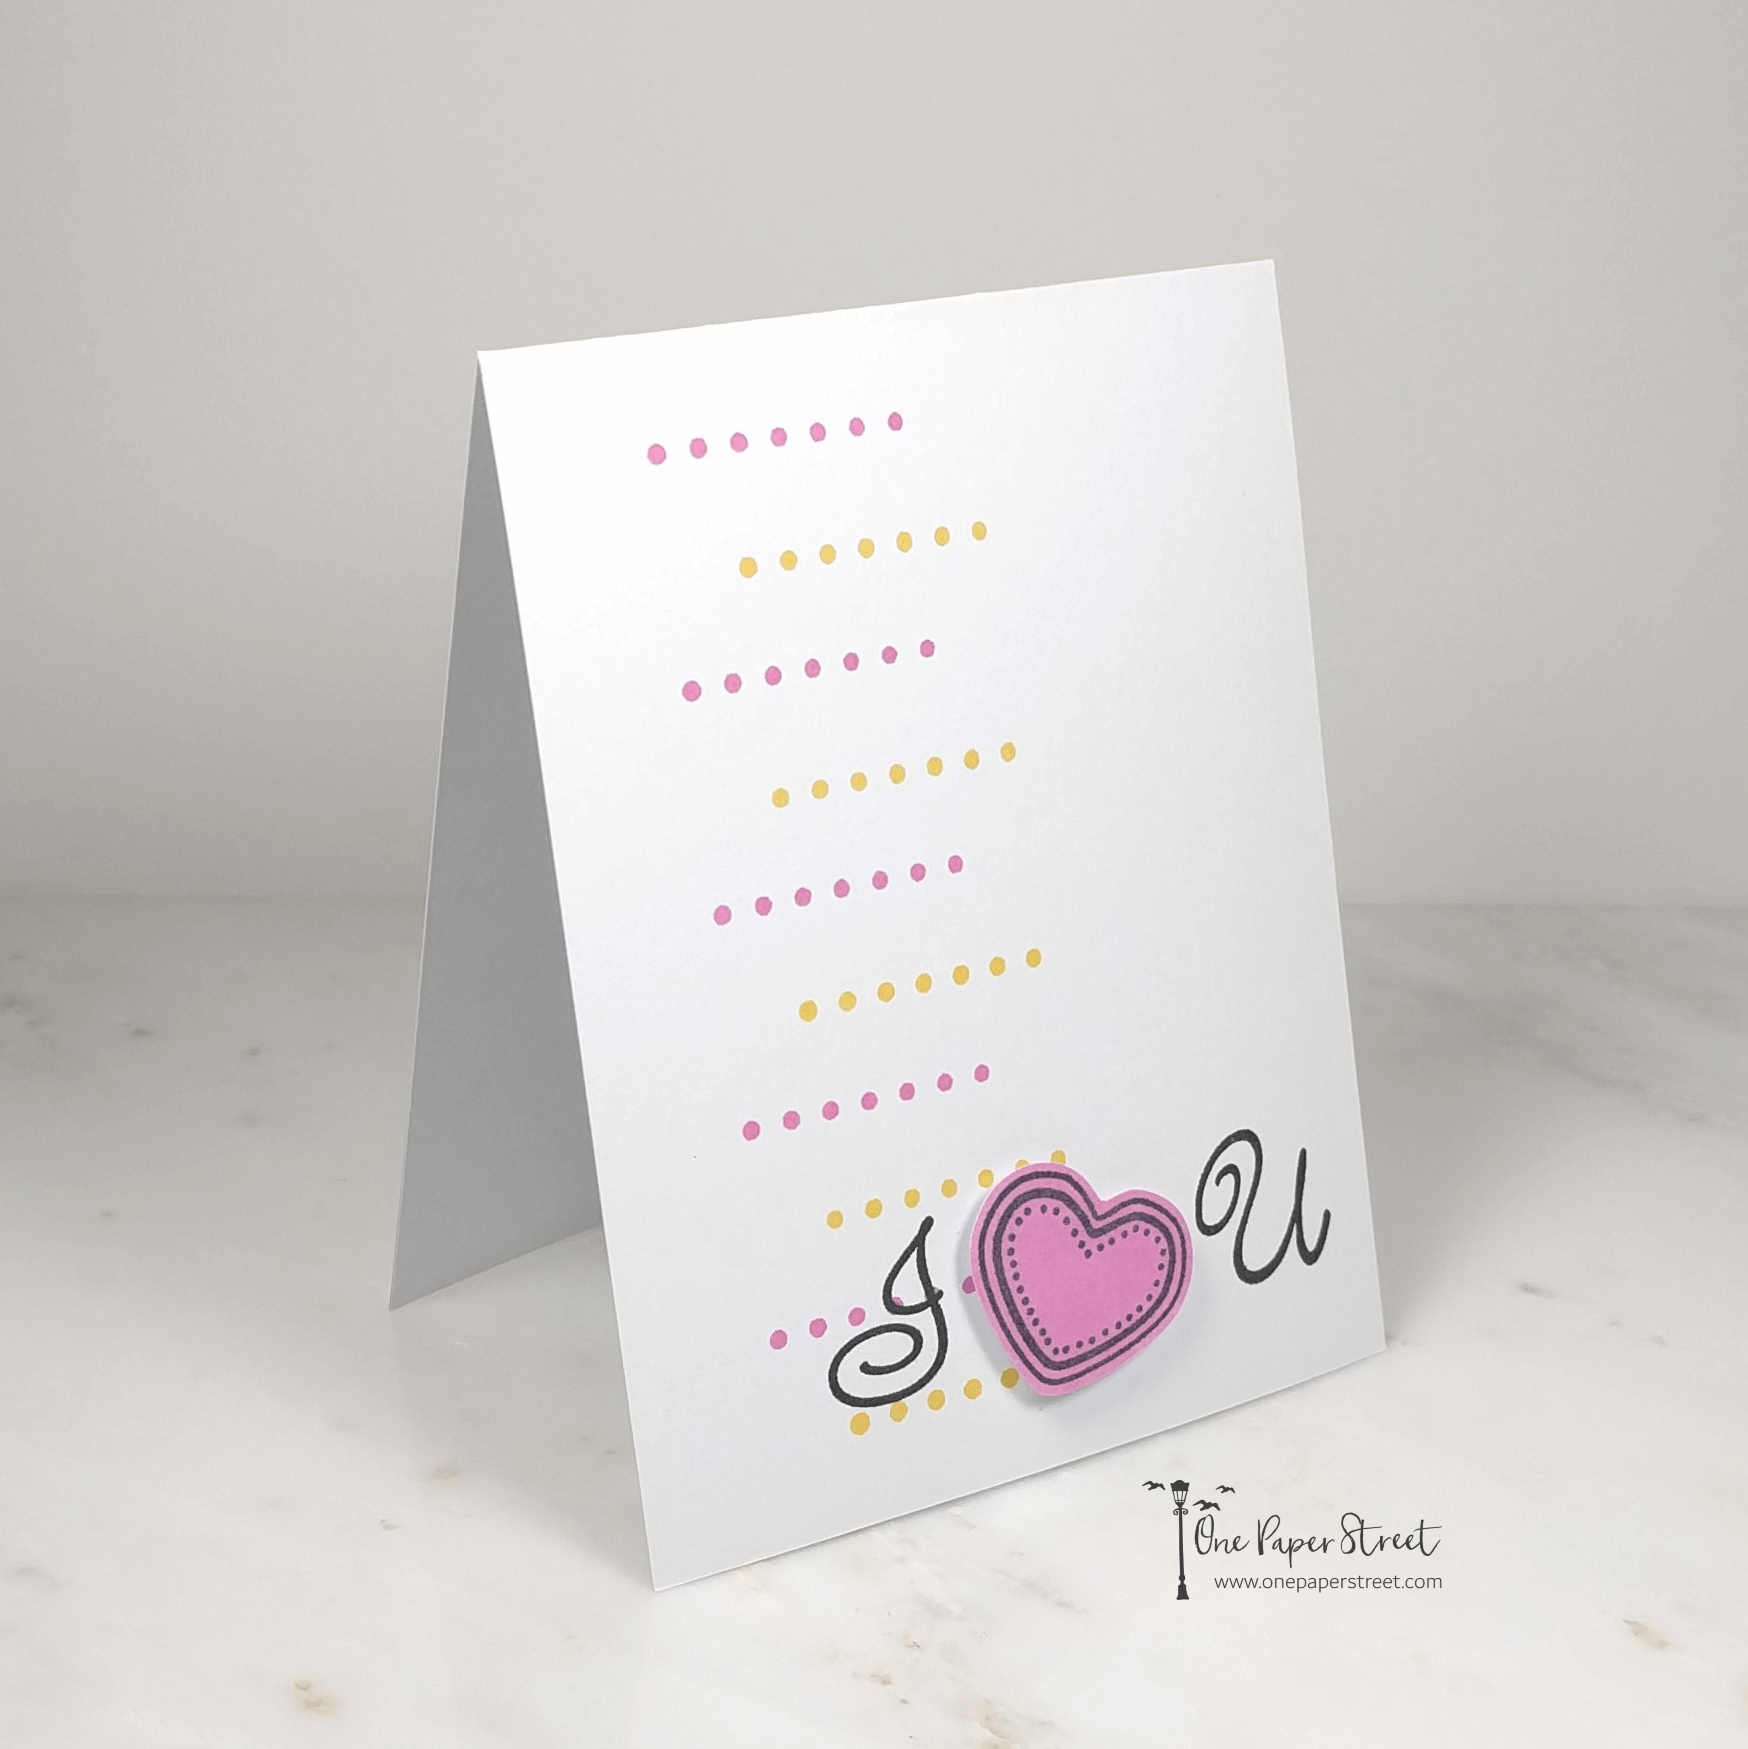
Hey friends! Today’s “I Heart You” card is a simple valentines day card that can be made with a few simple stamps, some Hero Arts Layering Ink, and White cardstock. One thing I like most about this card is that it doesn’t specifically say “Happy Valentine’s Day”. That makes it more versatile and great for anniversaries or to just tell someone that you love them. Keep reading to see how I made this card, or check out the YouTube video and leave a comment letting me know what you think!
Watch the I Heart You YouTube Tutorial here.
Materials Used:
Not Pictured:
Letter Stamps: “I” and “U”
Heart Stamp
Dotted Border Stamp
I Heart You Walkthrough:
Step 1.
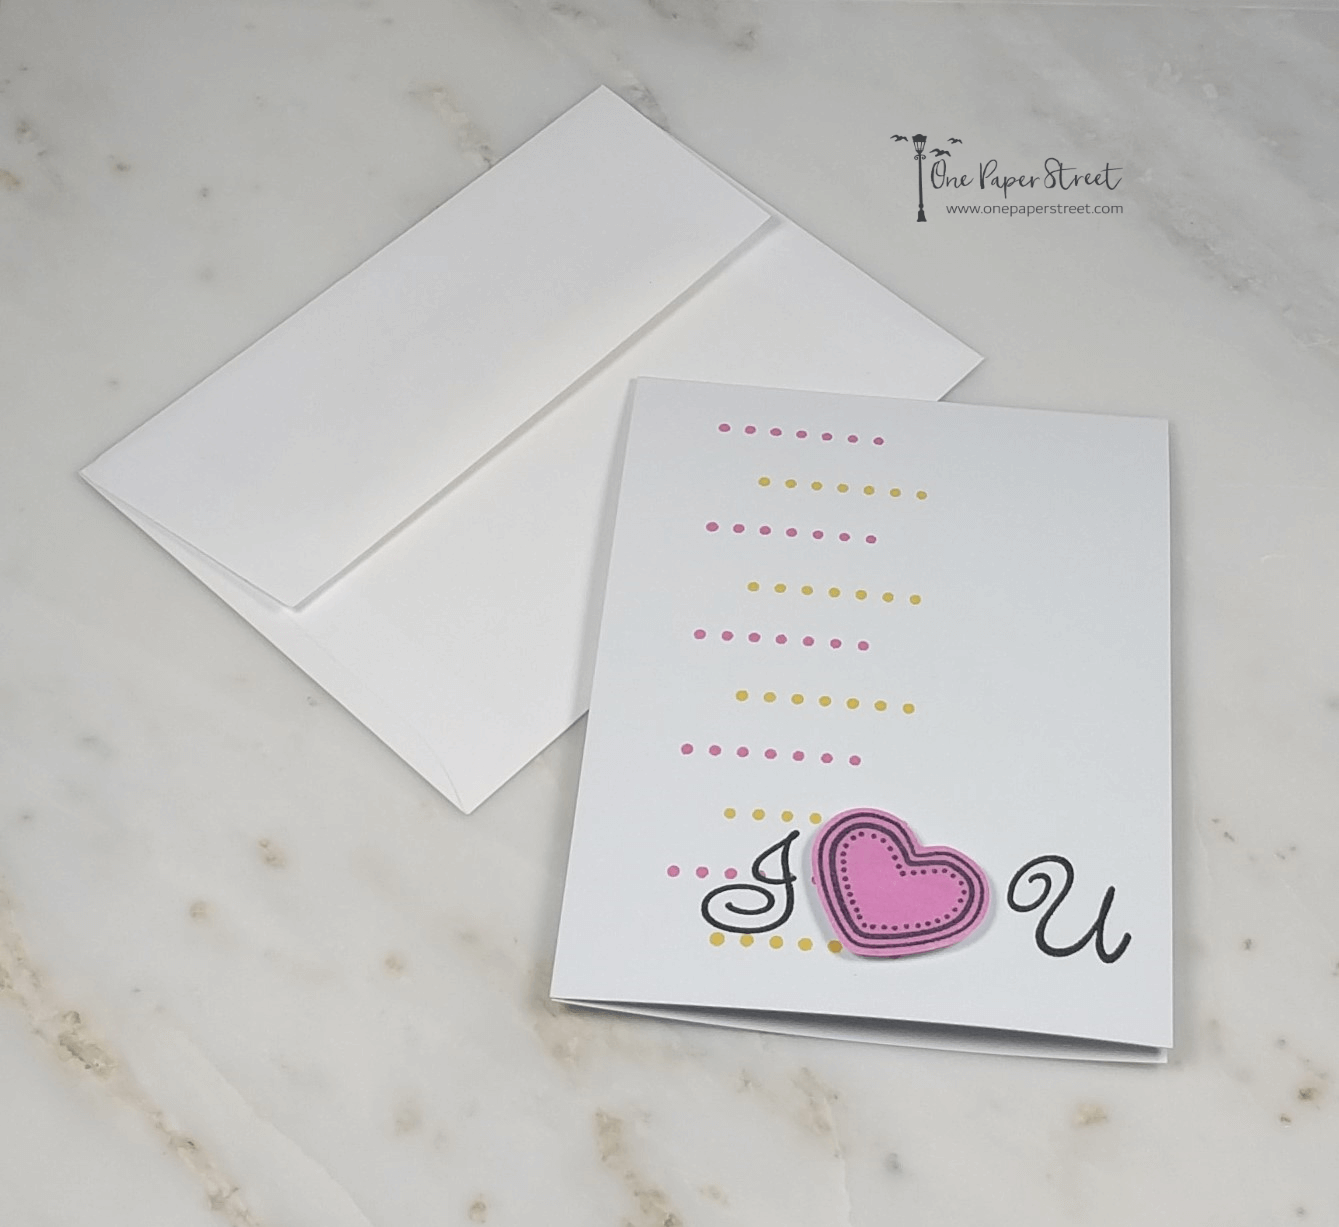
To start making this greeting card, grab a sheet of white cardstock and cut it to be 11′ x 4.25′ inches in size. Then, fold or score that sheet in half so that it will end up being a 5.5′ x 4.2’5 A2 sized greeting card.
Tip: Since we won’t be adding a background to this design, use a thicker sheet of paper for the base. I found that 110 lb cardstock works best.
Step 2.
Grab a border stamp that you really like to create the background for this design. My stamp was about 2 to 2.5 inches wide. If you have a Misti stamping tool it will make creating this design a little bit easier, and you can use it to decide where you want the border stamp to sit on the card. Remember that the overall design should sort of zigzag or overlap every half inch. So keep that in mind and allow yourself enough space to move down the card. If you do not have a Misti stamping tool use a ruler and light pencil marks to identify where you should stamp. After that, simply use a clear acrylic block to position your stamp evenly.
Step 3.
Once you’ve identified the layout of your design feel free to begin stamping. I recommend starting with one color, then moving down the page stamping that same color every 1 inch until you reach the bottom. I chose to use Hero Arts Layering Ink in Ultra Pink for my first stamping color.
When I was done with the Ultra Pink I used the same process for the Hero Arts Layering Ink in Butter Bar. The important part of this second step is to start this second color below the first color. So for example, I started using the Butter Bar about a half inch below the Ultra Pink. I also shifted it about a half inch to the right so that I would get that zigzag looking effect. Repeat the process of pressing your stamp back down on the cardstock every 1 inch until you get to the bottom with the second color.
Step 4.
Next, stamp a heart onto a white sheet of cardstock. Take the first ink color that you used for your background and use it to color in your heart. If you have an ink dauber, that will make this step easier. If you don’t, use a sponge or lightly place the heart directly on the ink pad and move it around until it’s fully colored. Let the heart dry and either use a die to cut it out or use scissors to cut it out by hand.
 Step 5.
Decide where the heart should go on the design once it’s been cut. I chose to put it on the lower right-hand side of the page. Position the”I” and “U” stamps on your card. Make sure there is still enough space to still put the heart in between them. After everything is positioned, pick up the “I” and “U” stamps with your Misti Stamping tool, or a clear acrylic block. Move the heart cut-out off the card, and stamp the sentiment onto your card using black archival ink.
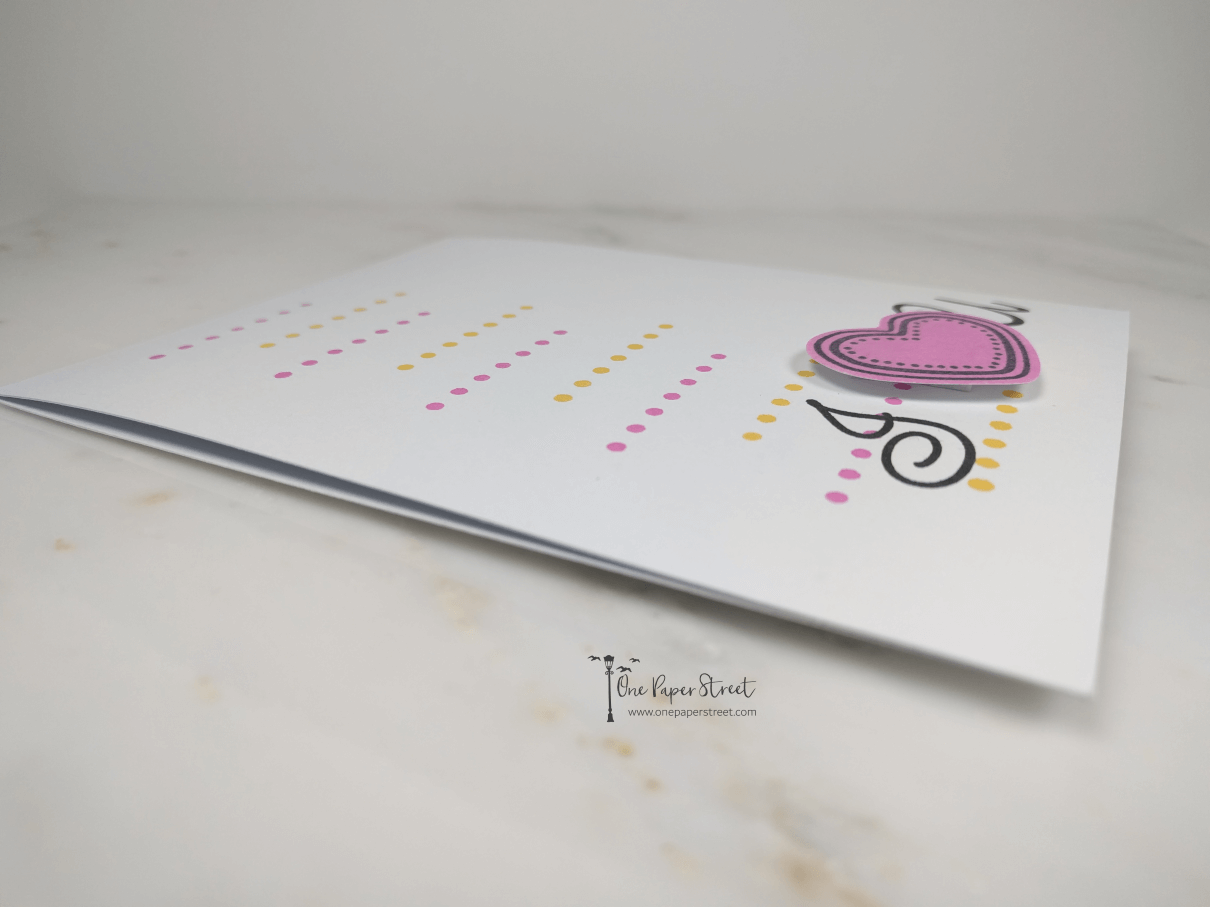
For a final touch, put the heart on some 3D foam tape and stick it on the card. You may also place an interior insert inside the card if you need to add a little bit more stability.
Well, that’s it for today. Let me know what you think by leaving a comment below. Also, don’t forget to subscribe to my newsletter to get updates on the blog and my latest tutorials!