
When I first started paper crafting, I didn’t really have any supplies. So, I bought a handful of rubber stamps along with a few ink pads and got to work. Over time I expanded my tools. I began to favor clear stamps because it was easier to tell where I was placing it on my designs. But even though clear stamps are my jam now, I still kept a few of my favorite rubber stamps.
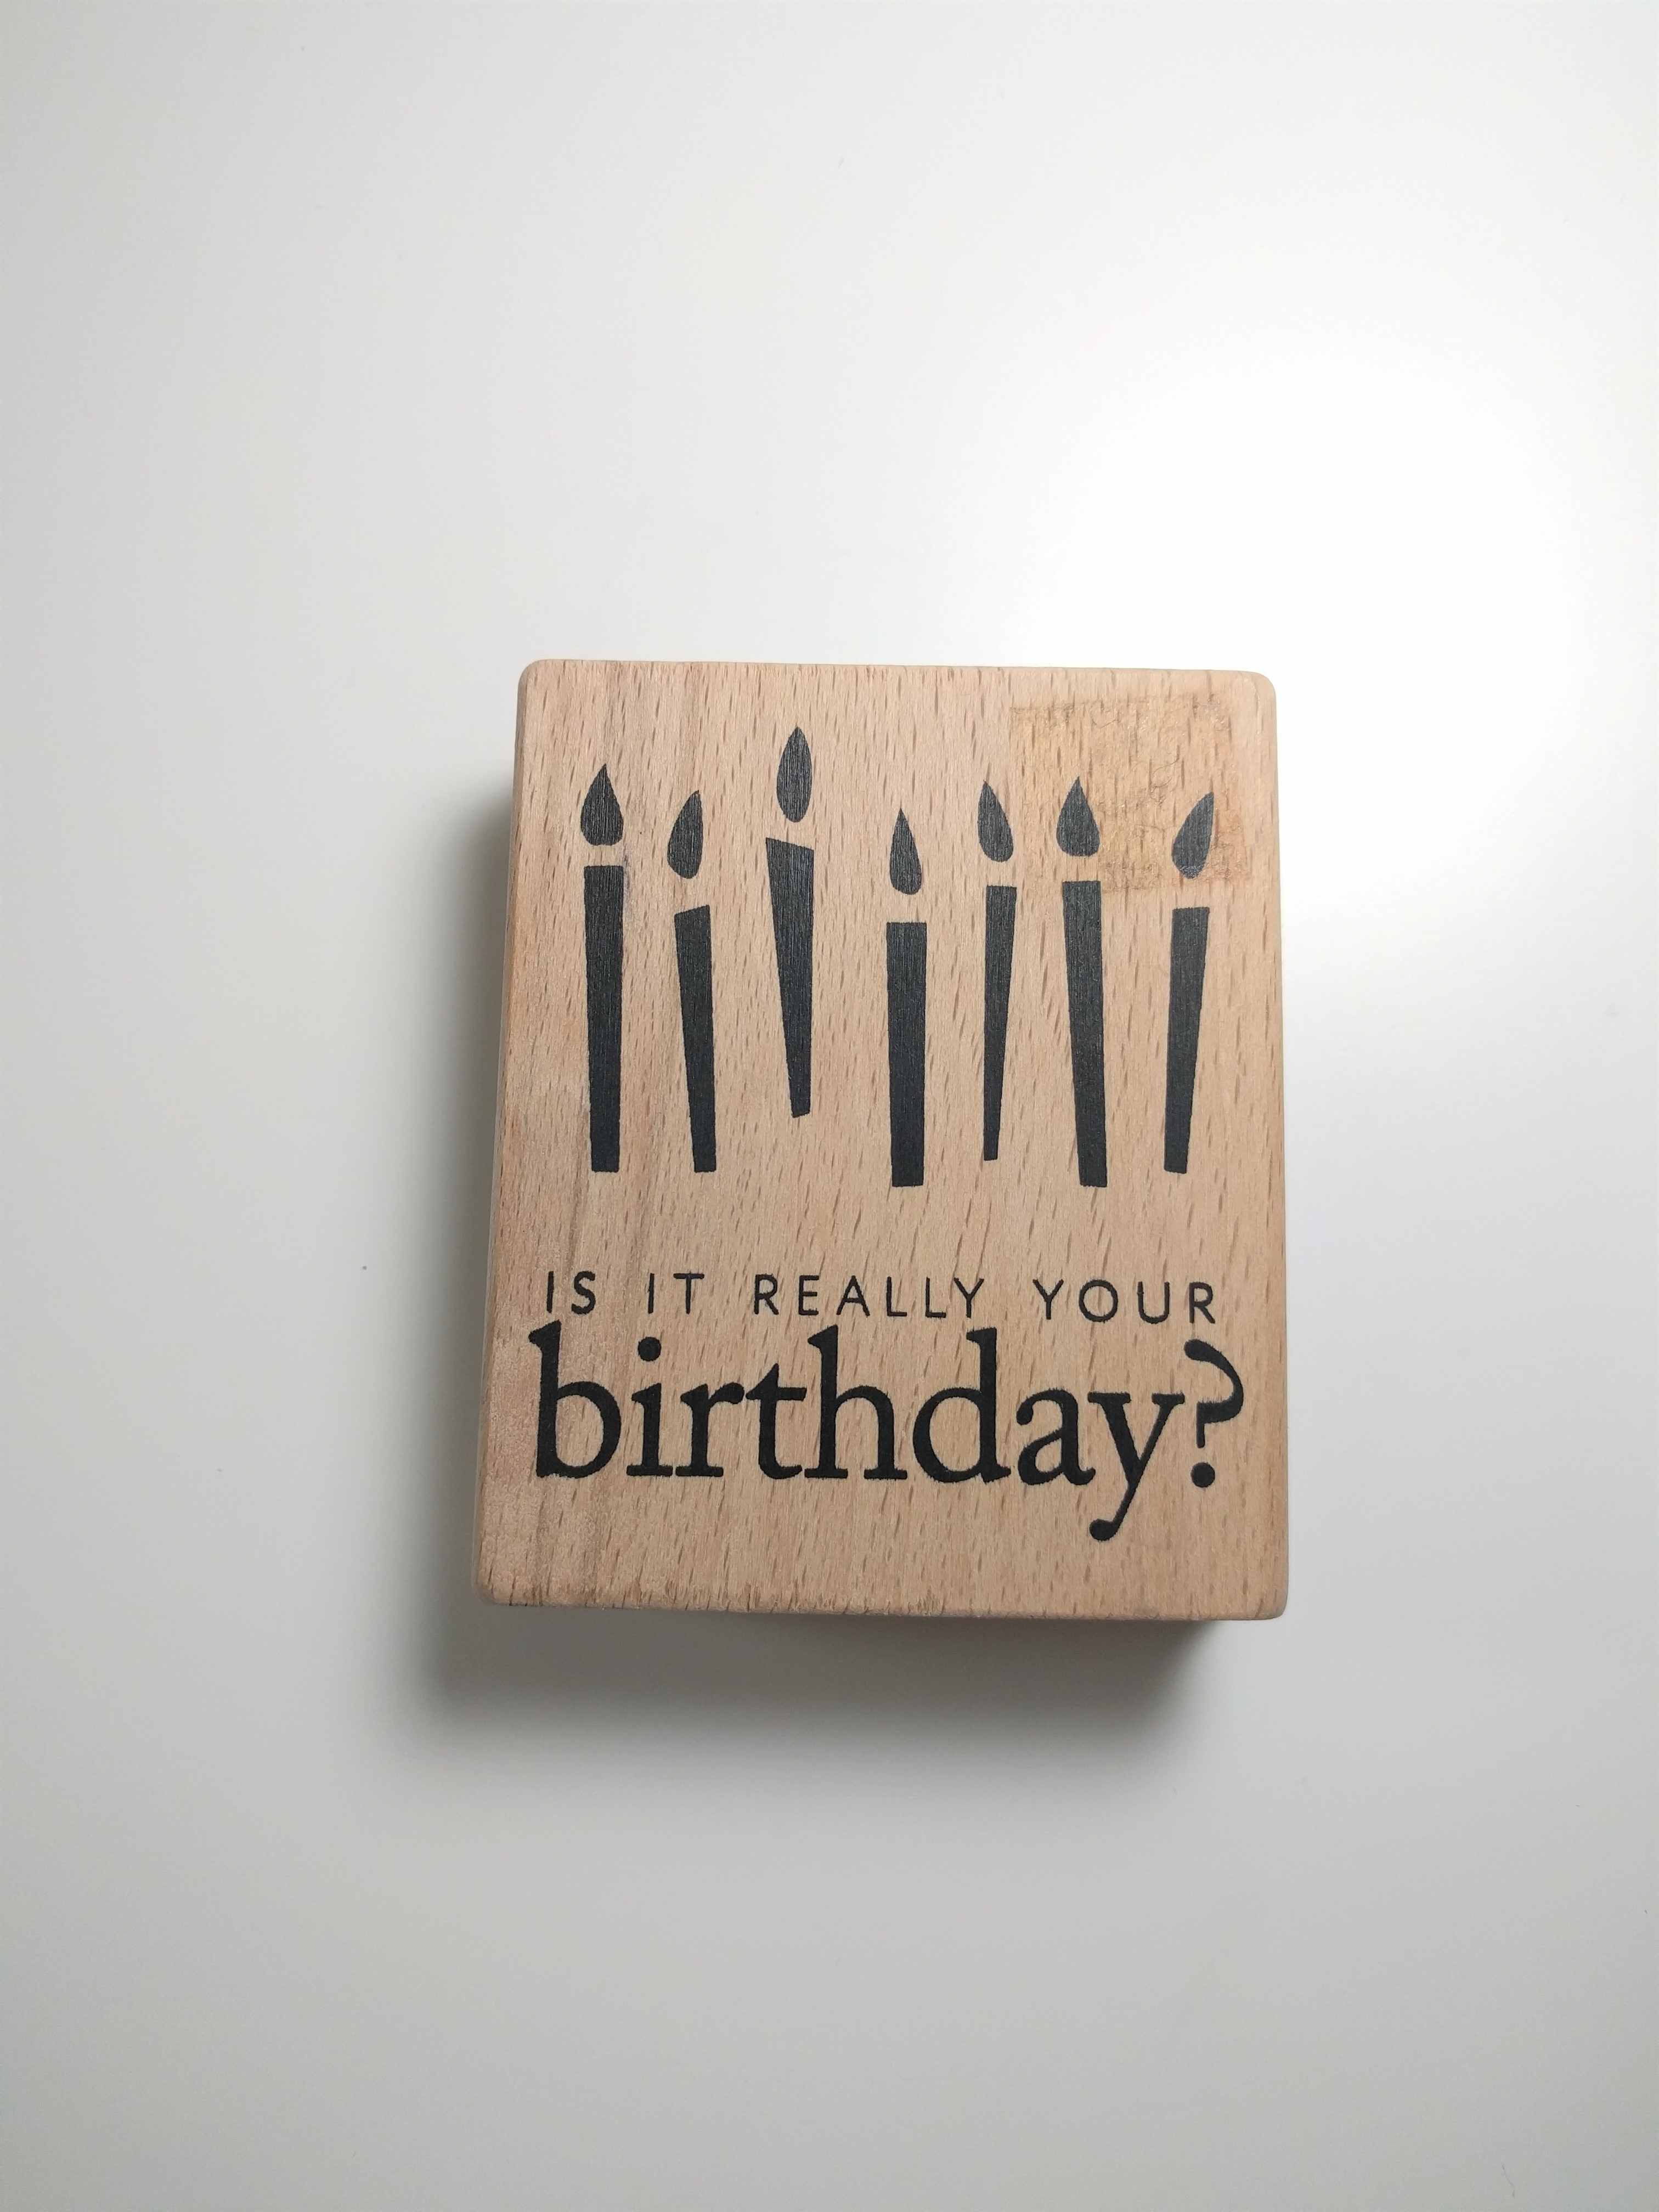
Well, I was rummaging through some old supplies recently and found a little birthday candle rubber stamp on a wooden block. When I saw it I immediately had a design in mind. But, in order to make that idea a reality, I would have to take the image off the wooden block. So how do you take a rubber stamp off of a wooden block you might ask? Well… Here’s how.
Not all rubber stamps are made equally.
First, it’s important to remember that all rubber stamps are not made equally. Some stamps will come off of their block easily, while others will take a bit of extra work. If your stamp is being difficult, the best advice I can give you is to just be patient.
use your fingers to pull the image off the block slowly and with care. There’s a foam padding between the wood and the rubber. When I peeled my stamp apart I was able to keep that foam intact. As a result, It ended up making the image look cleaner when I was stamping it.
Remove the stamp from the wooden block.
Keep the foam if you can. If it starts to break apart, don’t worry just peel the foam off of the rubber as well. You’ll probably have pieces of it on the back of youre stamp when your done peeling it off the block. Take a small amount of Goo Gone, and use it to remove the remaining debris on the back of the rubber stamp.
Here’s a video from Back2BasicsMom PLJ that walks you thought this process in a little bit more detail. She talks about how she stores her stamps in the beginning, but skip to 4:25 to see her go through the peeling process.
If you’re looking for other crafting tips and hacks, check out the Tips for Beginner Card Makers post.
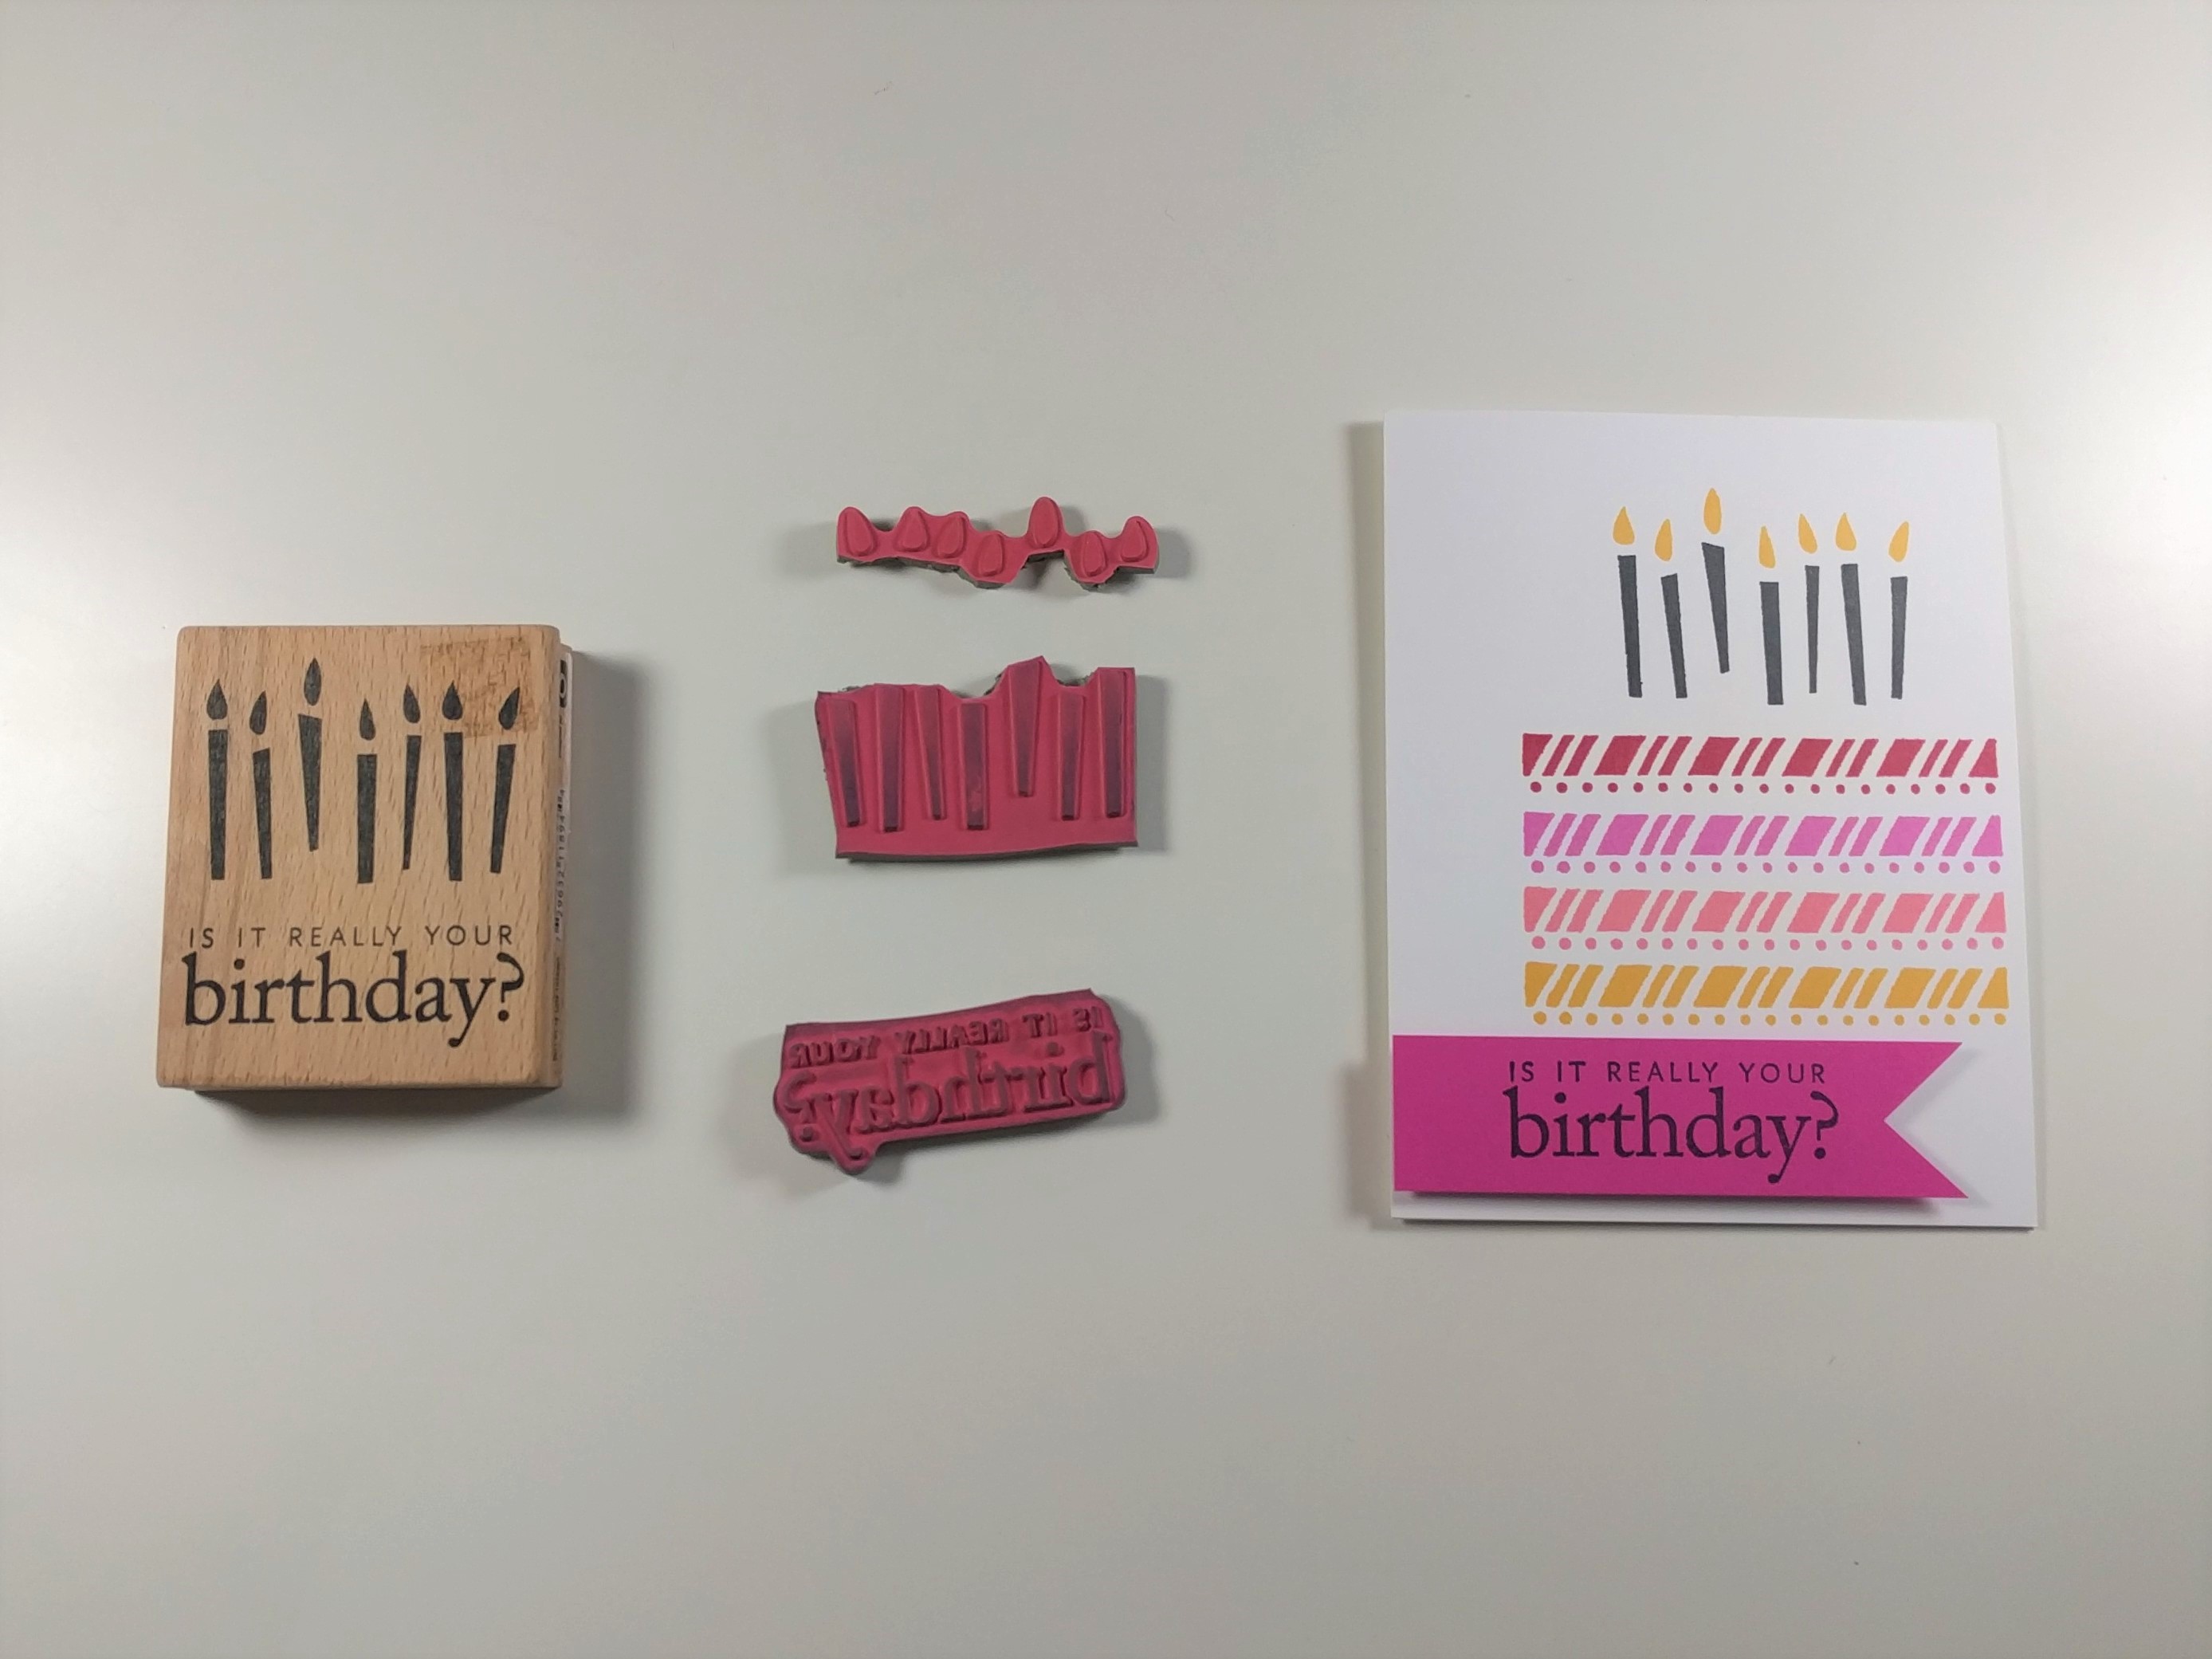
Use a heavy-duty knife to trim the stamp.
The whole reason I wanted to peel the rubber stamp off the woodblock was because I actually wanted to separate the sentiment from the birthday candles on the stamp. Now that the stamp was free from the wooden block I could trim it down to size. I grabbed my cutting mat and my heavy-duty knife and went to town.
Pro Tip: when trimming a stamp down to size try to leave some space between the edge of your cut line and the image on the stamp. If you cut too close to the design, you may not be able to put enough pressure on that section of the stamp pressing it to paper, leaving you with an incomplete image.

Birthday Candles Greeting Card Walkthrough:
Once the rubber stamp was trimmed I was able to make my card. So, I used I single striped stamp to make the different layers of the birthday cake. I placed the stamp on my Misti Stamping Tool, then pressed down to make the top layer of the cake.
After the first layer was done, I wiped off the ink, moved the sheet of cardstock up about a half-inch, and stamped just below the first layer to create the second. I repeated this process until all of the layers were complete. I wanted to make a second card, so I grabbed some blue inks and repeated the process. You can also click on on the Hero Arts Baby Shower Card Ideas to view another creative way to use these inks.
Once all of the layers had dried, I placed the birthday candles from the disassembles rubber stamp above my cake layers. I stamped the candles first and then saved the flames for last.
Lastly, I added the sentiment “Is it really your birthday?” to a banner that could be placed on the lower left-hand side of the card. I set that banner on some foam tape so that it could pop off the page and accent the birthday cake nicely.
Have you ever had to disassemble a crafting tool or stamp that you had? if so, how did you do it? Let me know by leaving a comment below!
