
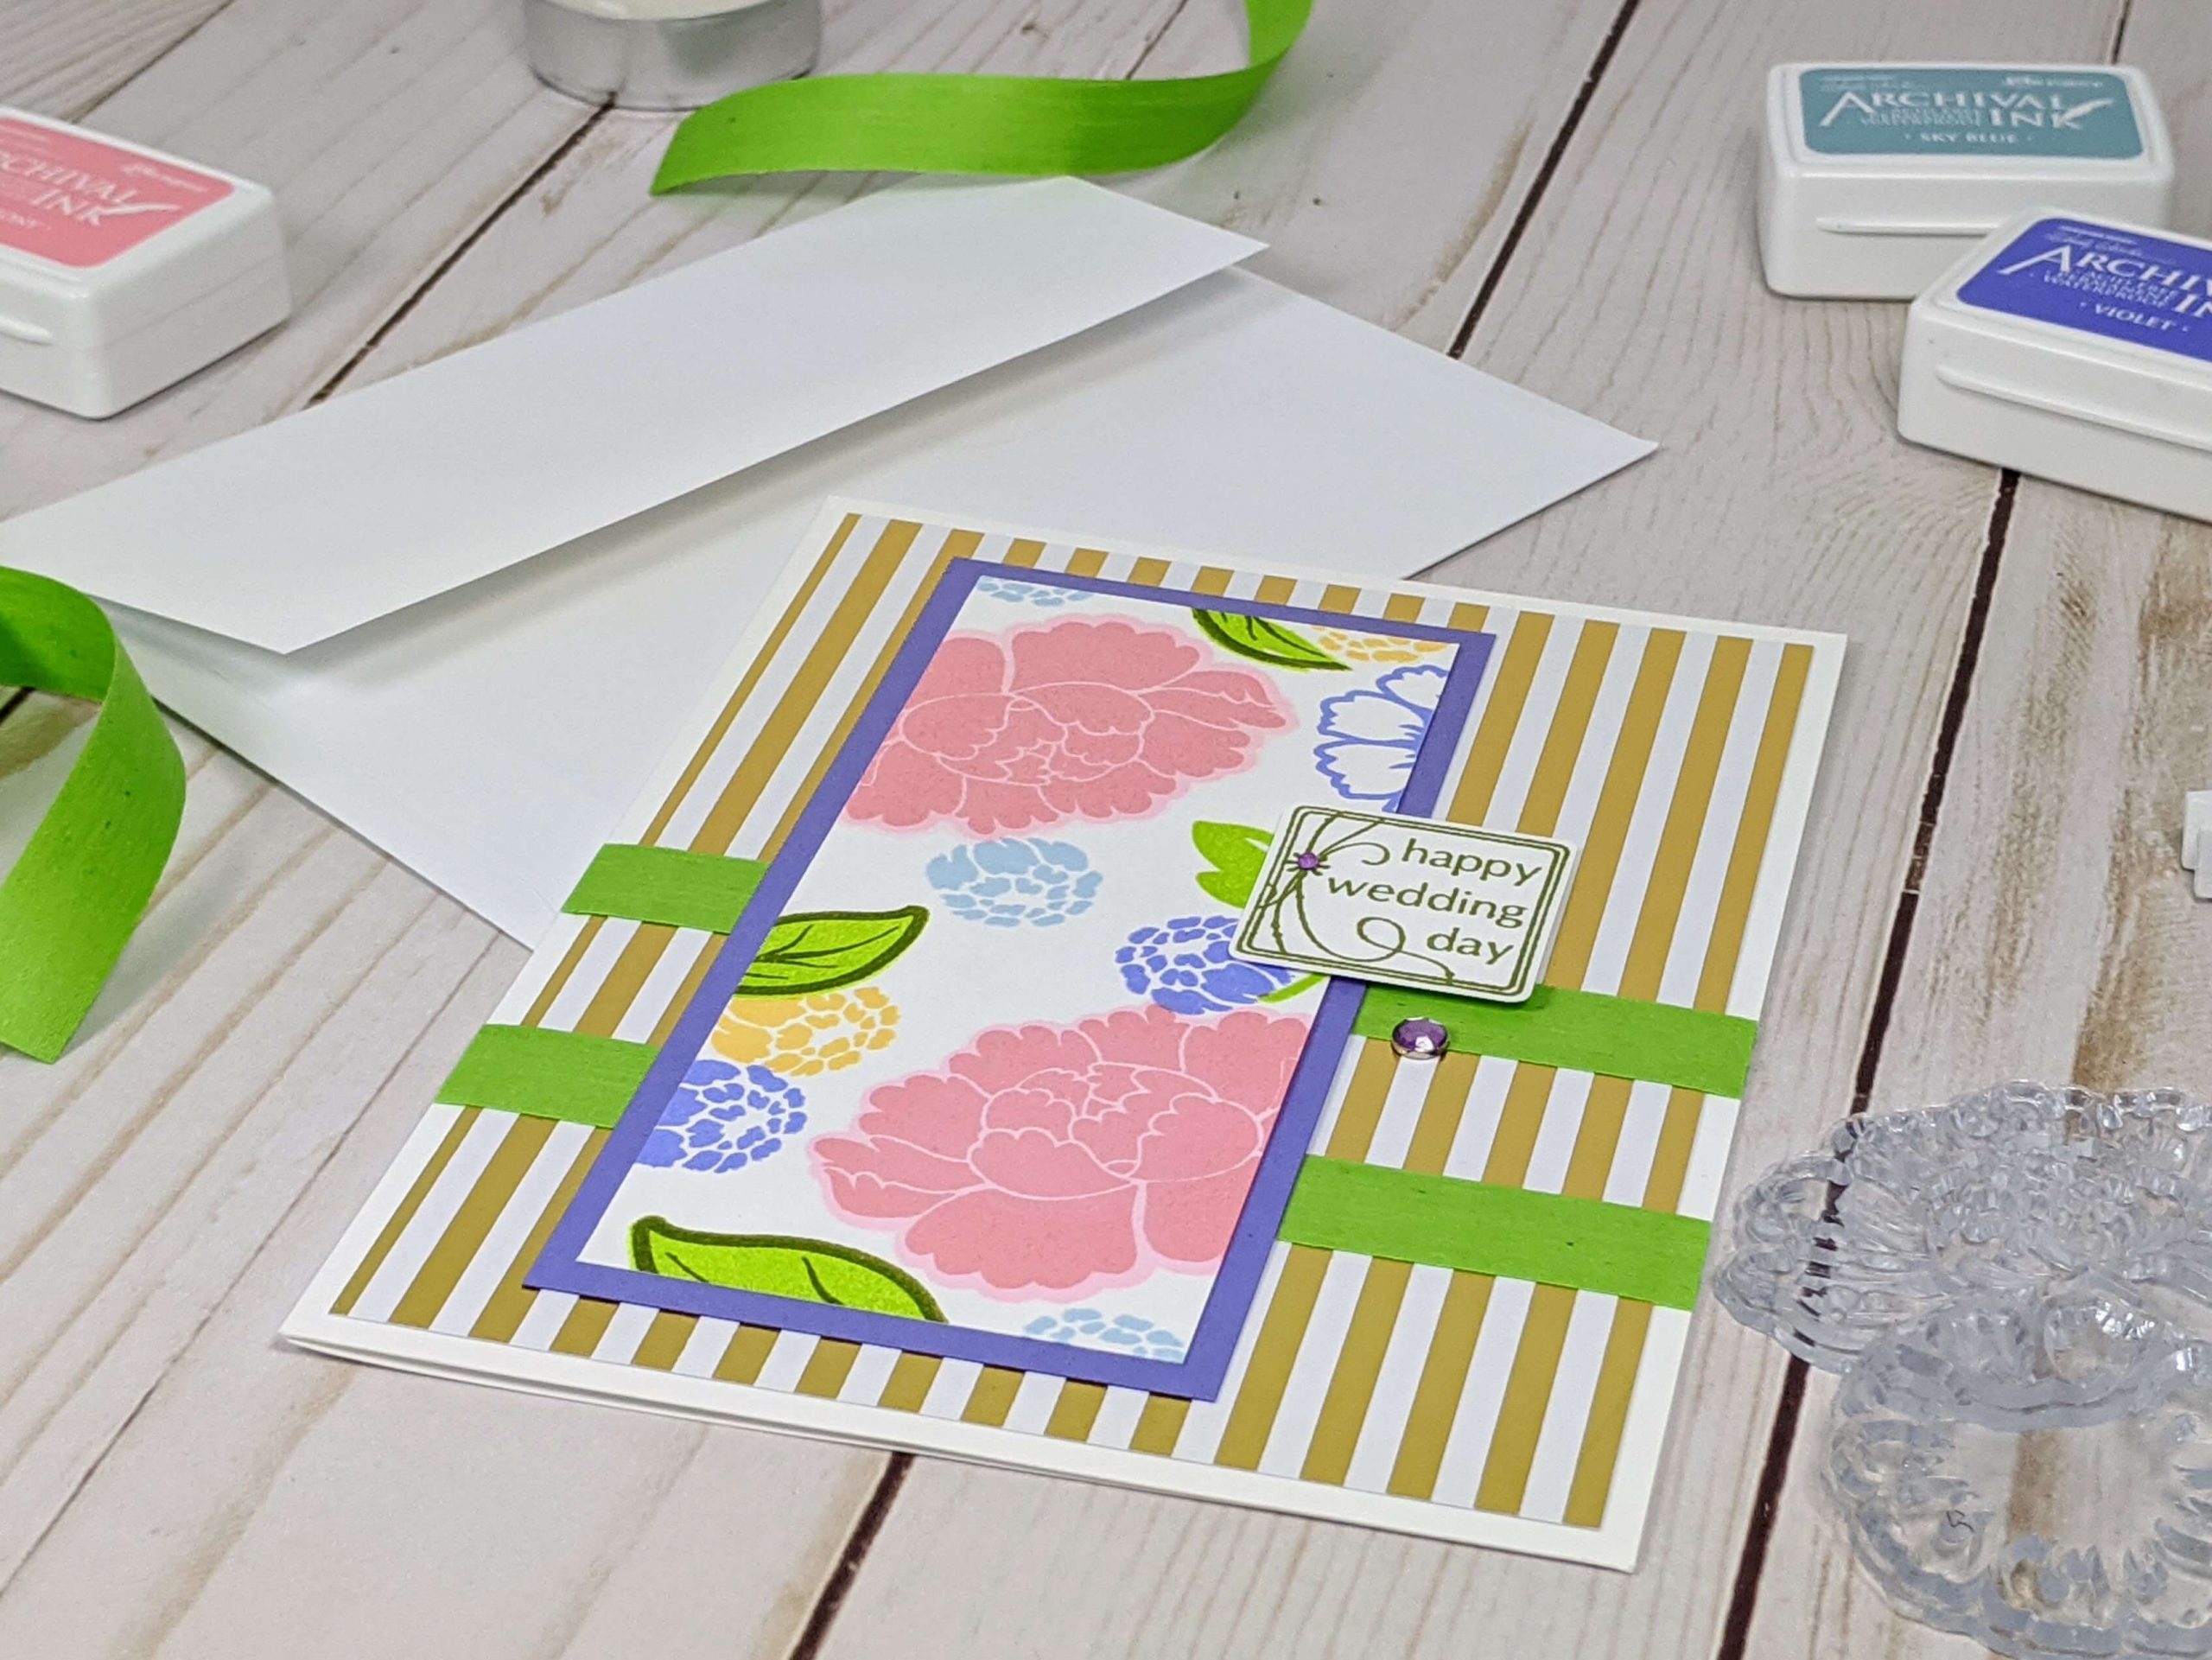
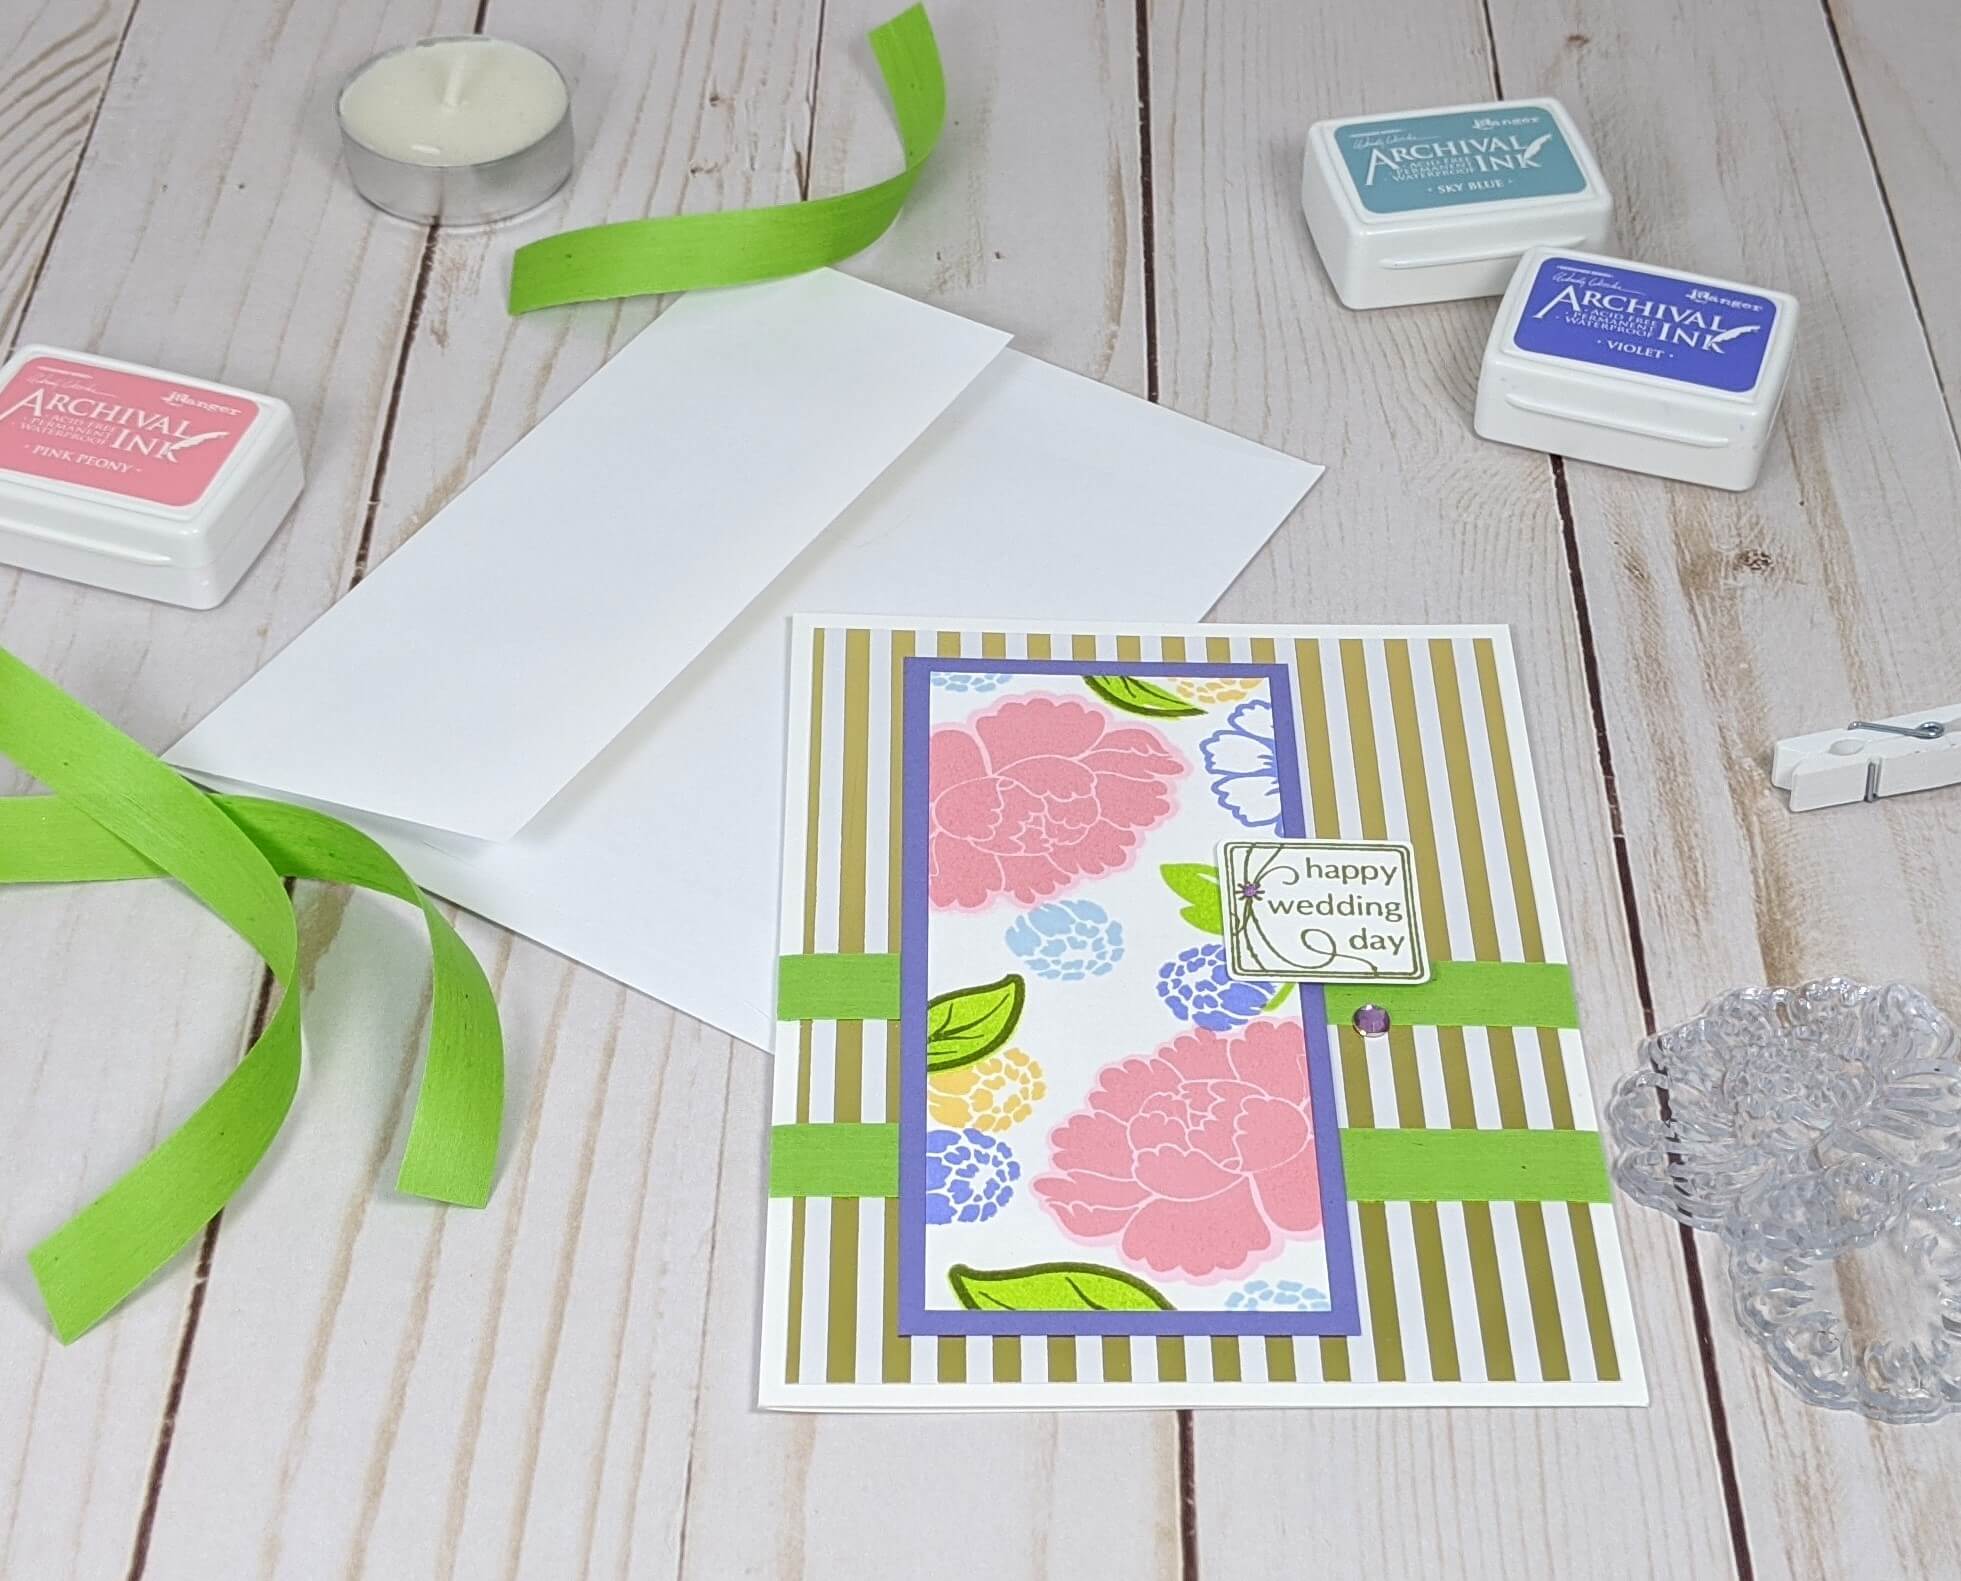
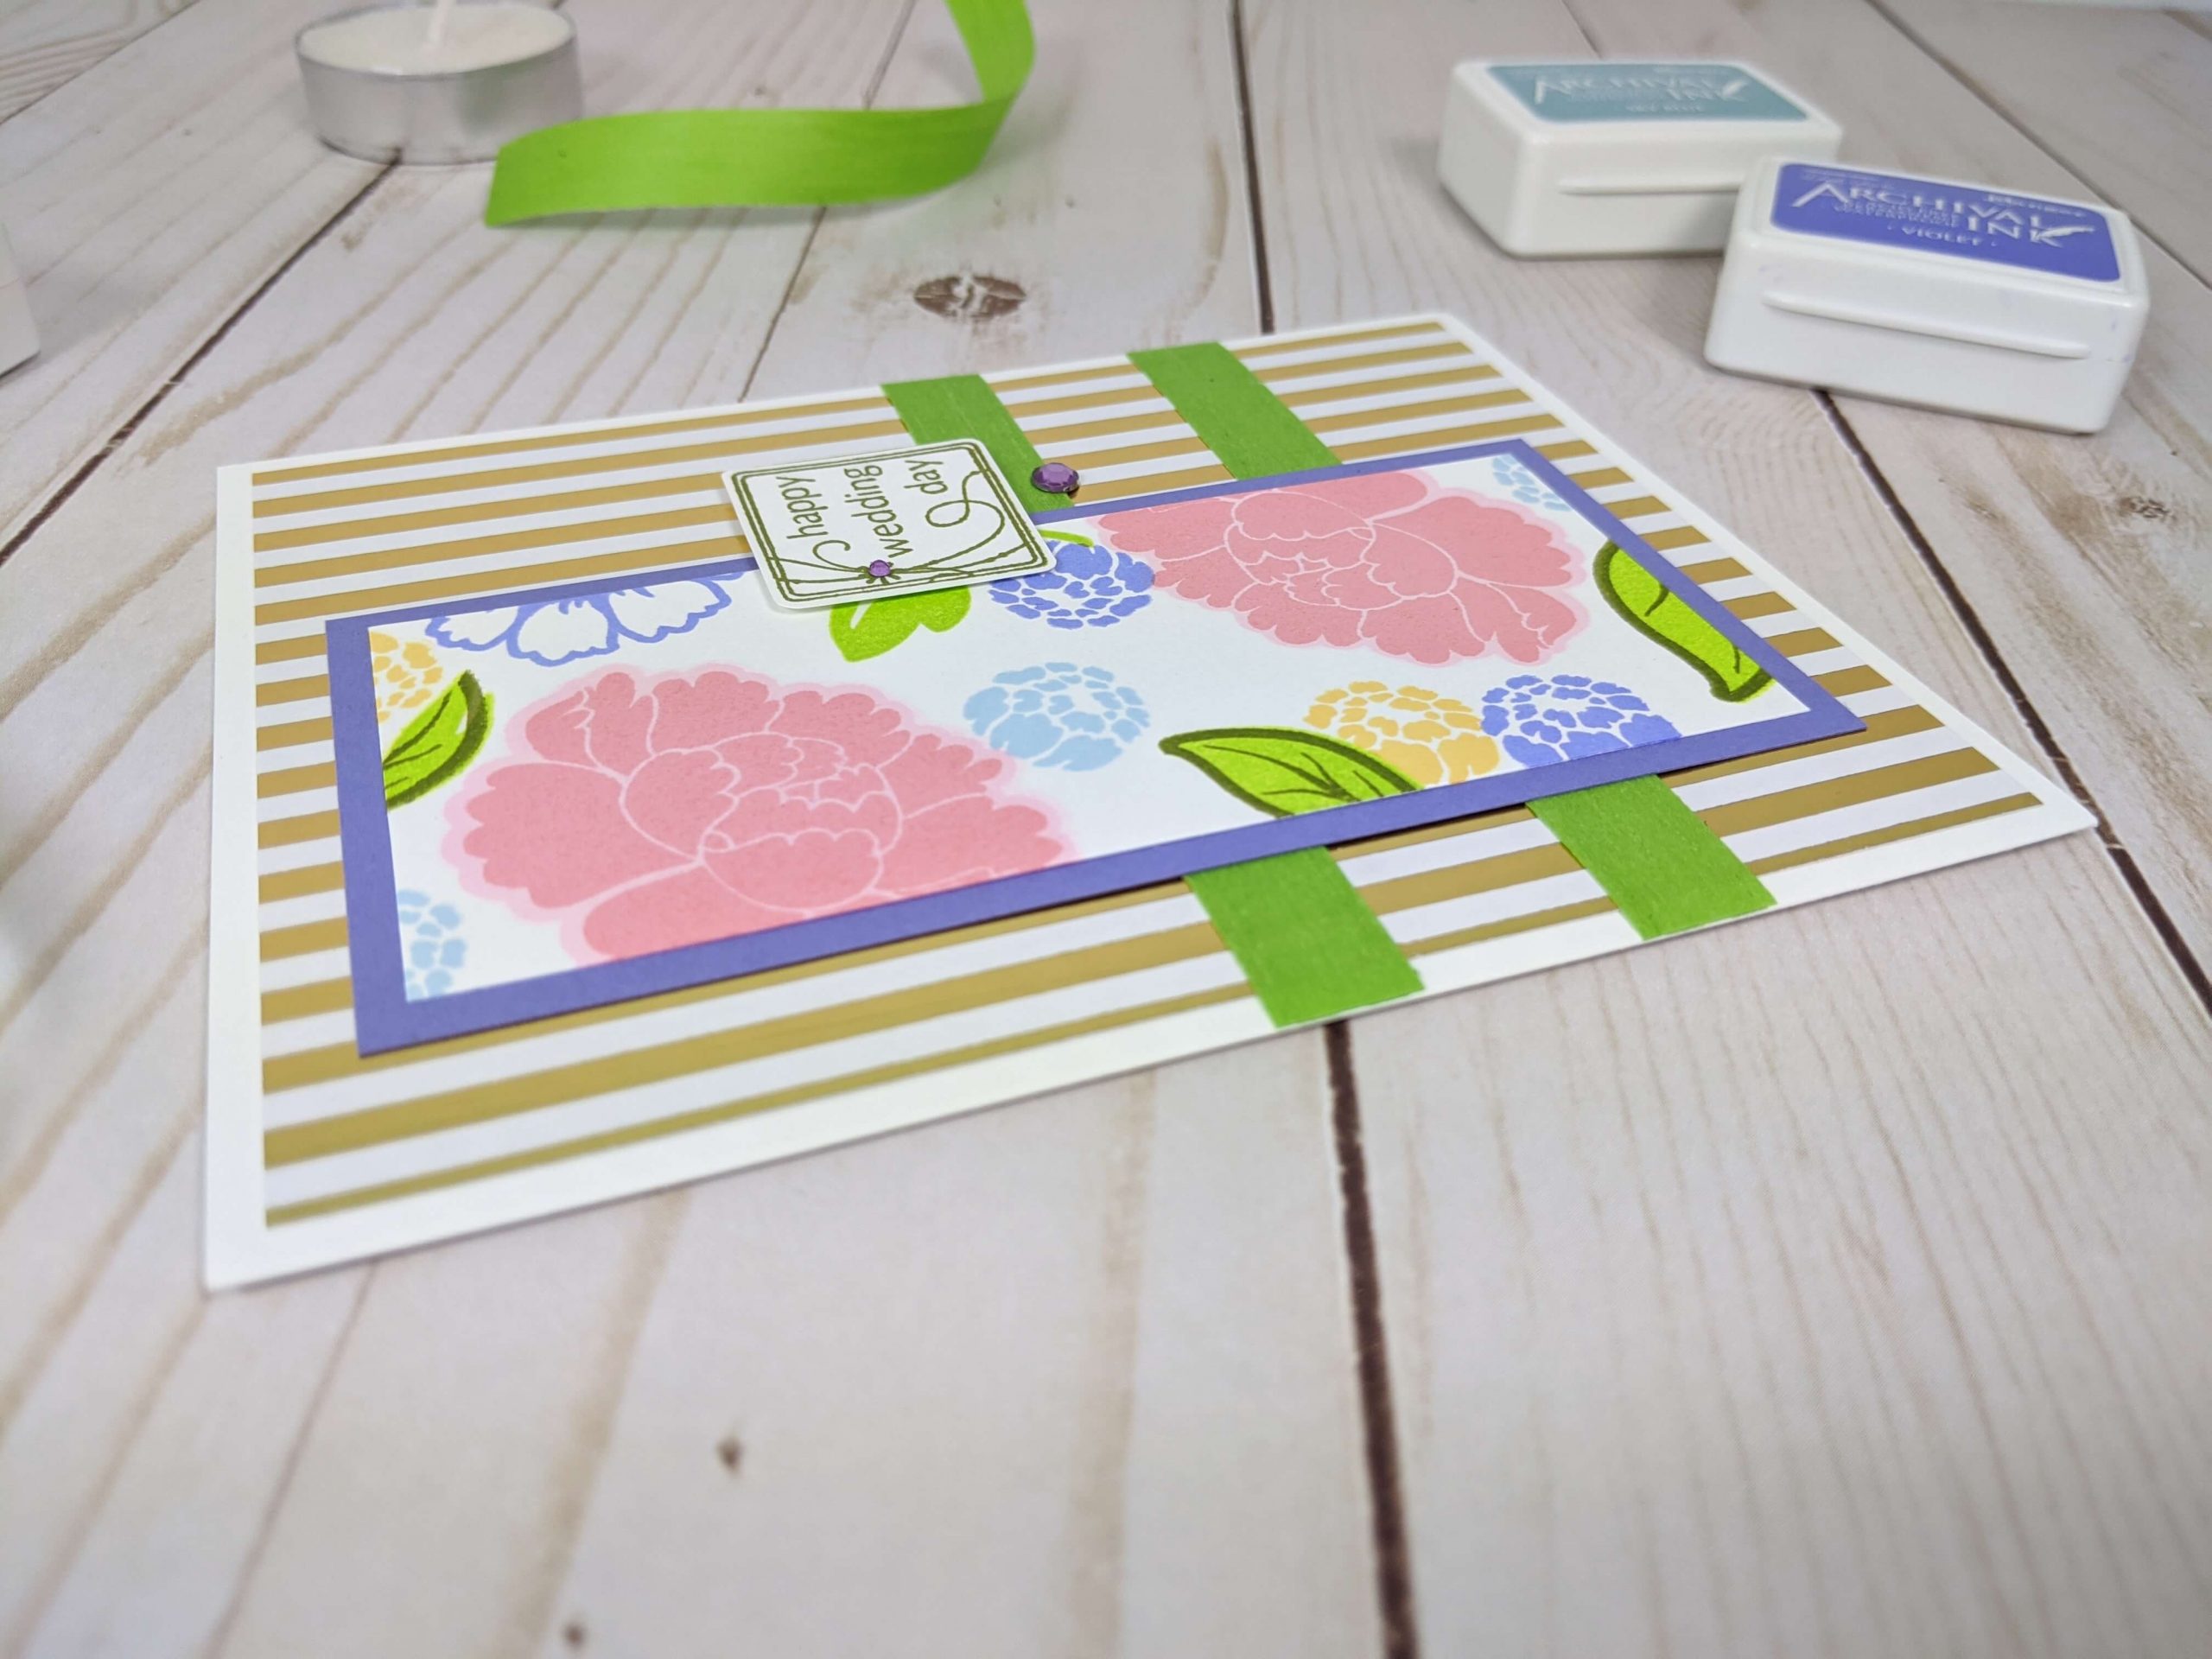
I picked up this floral layering stamp set from Michael’s on clearance about a month ago, and I’ve been looking for new ways to try it out. I ended up making this colorful floral spring wedding card, and I really like how it turned out. Keep reading to find out just how I made it, and to see what supplies I used. Anything that is still in stores has been listed below! I hope you enjoy!
Materials Used:
This blog may use affiliate links when they’re available. If you choose to make a purchase through one of these links, I may receive a small commission at no cost to you. I don’t make recommendations lightly, and will only link to products I know and trust.
EK Tools EK Scoring Board 12×12 [Amazon]
Feather No.55 Switch-Blade Shear, 5.5 Inch [Amazon]
Fiskars Recycled Bypass Trimmer, 12 Inch [Amazon]
Trim Slant Tip Tweezers [Amazon]
Misti Stamp Tool Original Size Stamp Positioner [Amazon]
Ranger Archival Mini Ink Pads – Kit #3 [Amazon] [Scrapbook.com]
Hero Arts – Hero’s Pineapple Layering Stamp Pad Set [Amazon]
Sticro 5 Sizes Self-adhesive Rhinestone Sticker 4950 Pieces [Amazon]
Neenah Solar White Cardstock [Scrapbook.com] [Amazon]
Craft Specialties Double Sided White Foam Tape – 1/2″ X 36 Yards – 1/16″ Thick [Amazon]
Forever In Time 3D Pop Dots Square Dual-Adhesive Foam Mount, 1/4-Inch [Amazon]
Scrapbook Adhesives Initially Repositionable Mounting Squares [Amazon] [Scrapbook.com]
Recollections Cardstock Paper, Essentials 20 Colors [Amazon]
White and Gold Striped Cardstock
Green Apple Ribbon
Hampton Art Floral Sentiments Layering Stamp Set
Wedding Sentiment Stamp
Floral Spring Wedding Card Tutorial:
Step 1.
When I first started making this floral spring wedding card, I started by creating my floral design using my Misti stamping tool and my new layering stamp set. The Misti stamping tool is great for layering designs because it allows you to lay the stamp exactly where you want it on the paper. You can also stamp down a single stamp multiple times to get the desired look.
Step 2.
I chose my Ranger archival mini ink pads set #3 and my Hero Arts ‘Hero’s Pineapple’ layering ink pad set to stamp the images onto my Neenah Solar White cardstock for this cards focal point.
When I was creating that spring floral pattern, I tried to layer similar colors on top of each other. So you’ll see that I started the bottom layer with a light pink, or light green for the leaves, then I used the darker color on top. Once I was finished with the stamped floral design I found a sheet of deep lavender purple recollections cardstock to use as my background for the floral stamps.
Step 3.
Next, I added some green ribbon on top of some striped gold and white patterned cardstock to create the background for this design. I made the background so that it could fit on an A2 size greeting card so I trimmed a sheet of 8.5 x 5.5-inch sheet of cardstock and scored it down the middle to create the card base.
Step 4.
Lastly, I stamped the words ‘happy wedding day’ in Forest Green ink from Hero Arts then I added some light lavender rhinestones over top of the sentiment to embellish it further.
I hope you found this post helpful! If you’re looking for more wedding card ideas, take a look at these tutorials. Check it out, and follow me on Instagram, Facebook or Pinterest for the latest updates! You can also shop all the handmade cards that I’ve designed here.