
Hey everyone! It’s Thanksgiving, and so I thought I’d start this post by writing about some of the things that I’m most thankful for. I feel very fortunate to have a supportive family and some truly amazing friends. I’m also thankful to be able to spend my time on an art craft that I truly enjoy, and for the opportunities that it’s opened up for me. I’m grateful for all of you readers and for the wonderful feedback you’ve given me over the years. I appreciate each and every one of you, and I enjoy hearing about your crafting projects as well. I wish you all a very happy Thanksgiving, and I hope that you get to spend quality time with the people you care about the most.
View the exact specifications of this project in the Cricut Design Studio.
MATERIALS USED:
Cricut Explore Air 2 Machine
- Cricut Adhesive Cutting Mat, Standard Grip
- Cricut Basic Tool Set
- Striped Cardstock (3.75’x5′)
- Solar White Cardstock (11’x4.25′)
- Solar White Cardstock (1.8’x2.4′)
- Mint Green and Yellow Rhinestones (various sizes) – From: Sticro 5 Sizes Self-adhesive Rhinestone Sticker 4950 Pieces
- Scrapbook Adhesives Initially Repositionable Mounting Squares
- Forever In Time 3D Pop Dots Square Dual-Adhesive Foam Mount, 1/4-Inch
- Trim Slant Tip Tweezers
- Feather No.55 Switch-Blade Shear, 5.5 Inch
- 12 Inch Ruler – From: Omnigrid 4-6-12-Inch Marking Ruler Trio
Scor-Pal Scor-Tape-1/8
- EK Tools EK Scoring Board 12×12 (My scoring board is no longer sold in stores, but this is very similar and has good reviews.)
- 1/4 inch Wide Brown Ribbon (two 4.75 inch strands)
- A Color Printer
CRICUT IMAGES USED:
- Thankful (Kim Byers – Pie! Oh My!)
- Standard Square
View the exact specifications of this project in the Cricut Design Studio.
FEELING THANKFUL WALKTHROUGH:
Step 1.
To prepare your thankful greeting card, cut your card base into an 8.5×5.5 inch sheet of Solar White cardstock. Each letter-sized sheet can make two card bases. Next, score the cardstock down the middle to create a crease that will allow you to fold your card in half. I use a scoreboard very similar to the EK Tools EK Scoring Board. Once folded, it should be an A2 4.25 x 5.5 greeting card.
Step 2.
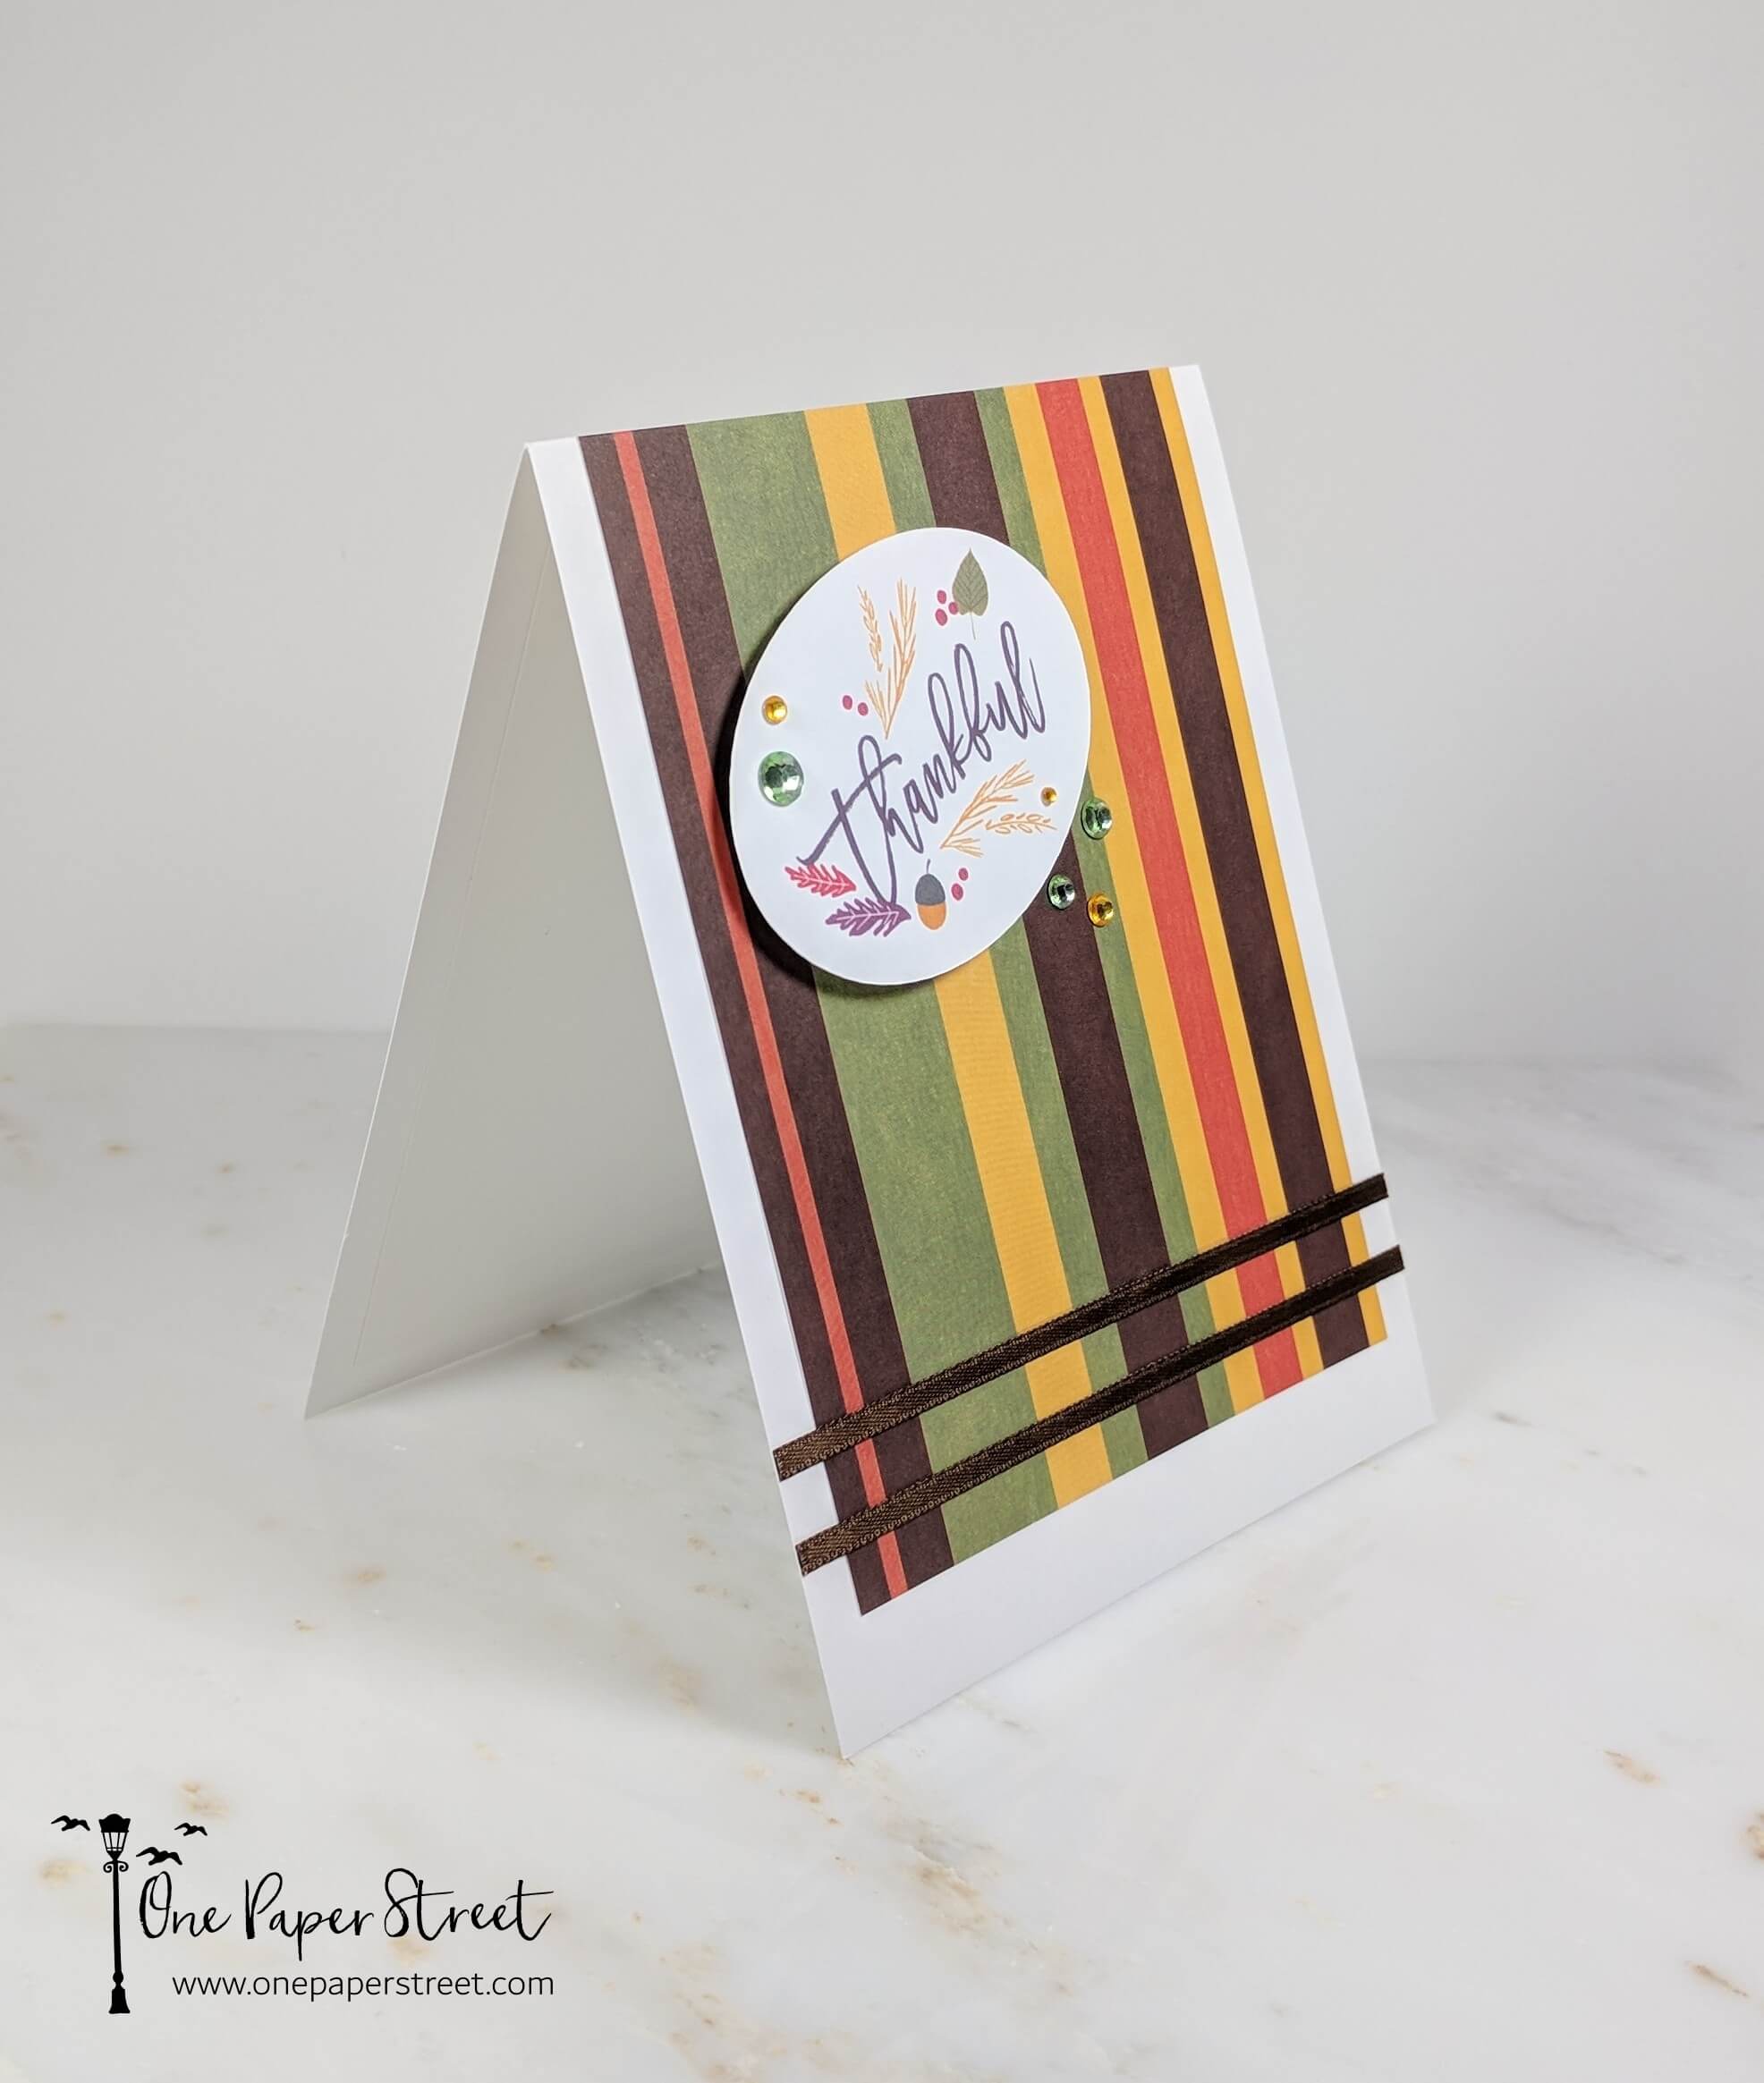
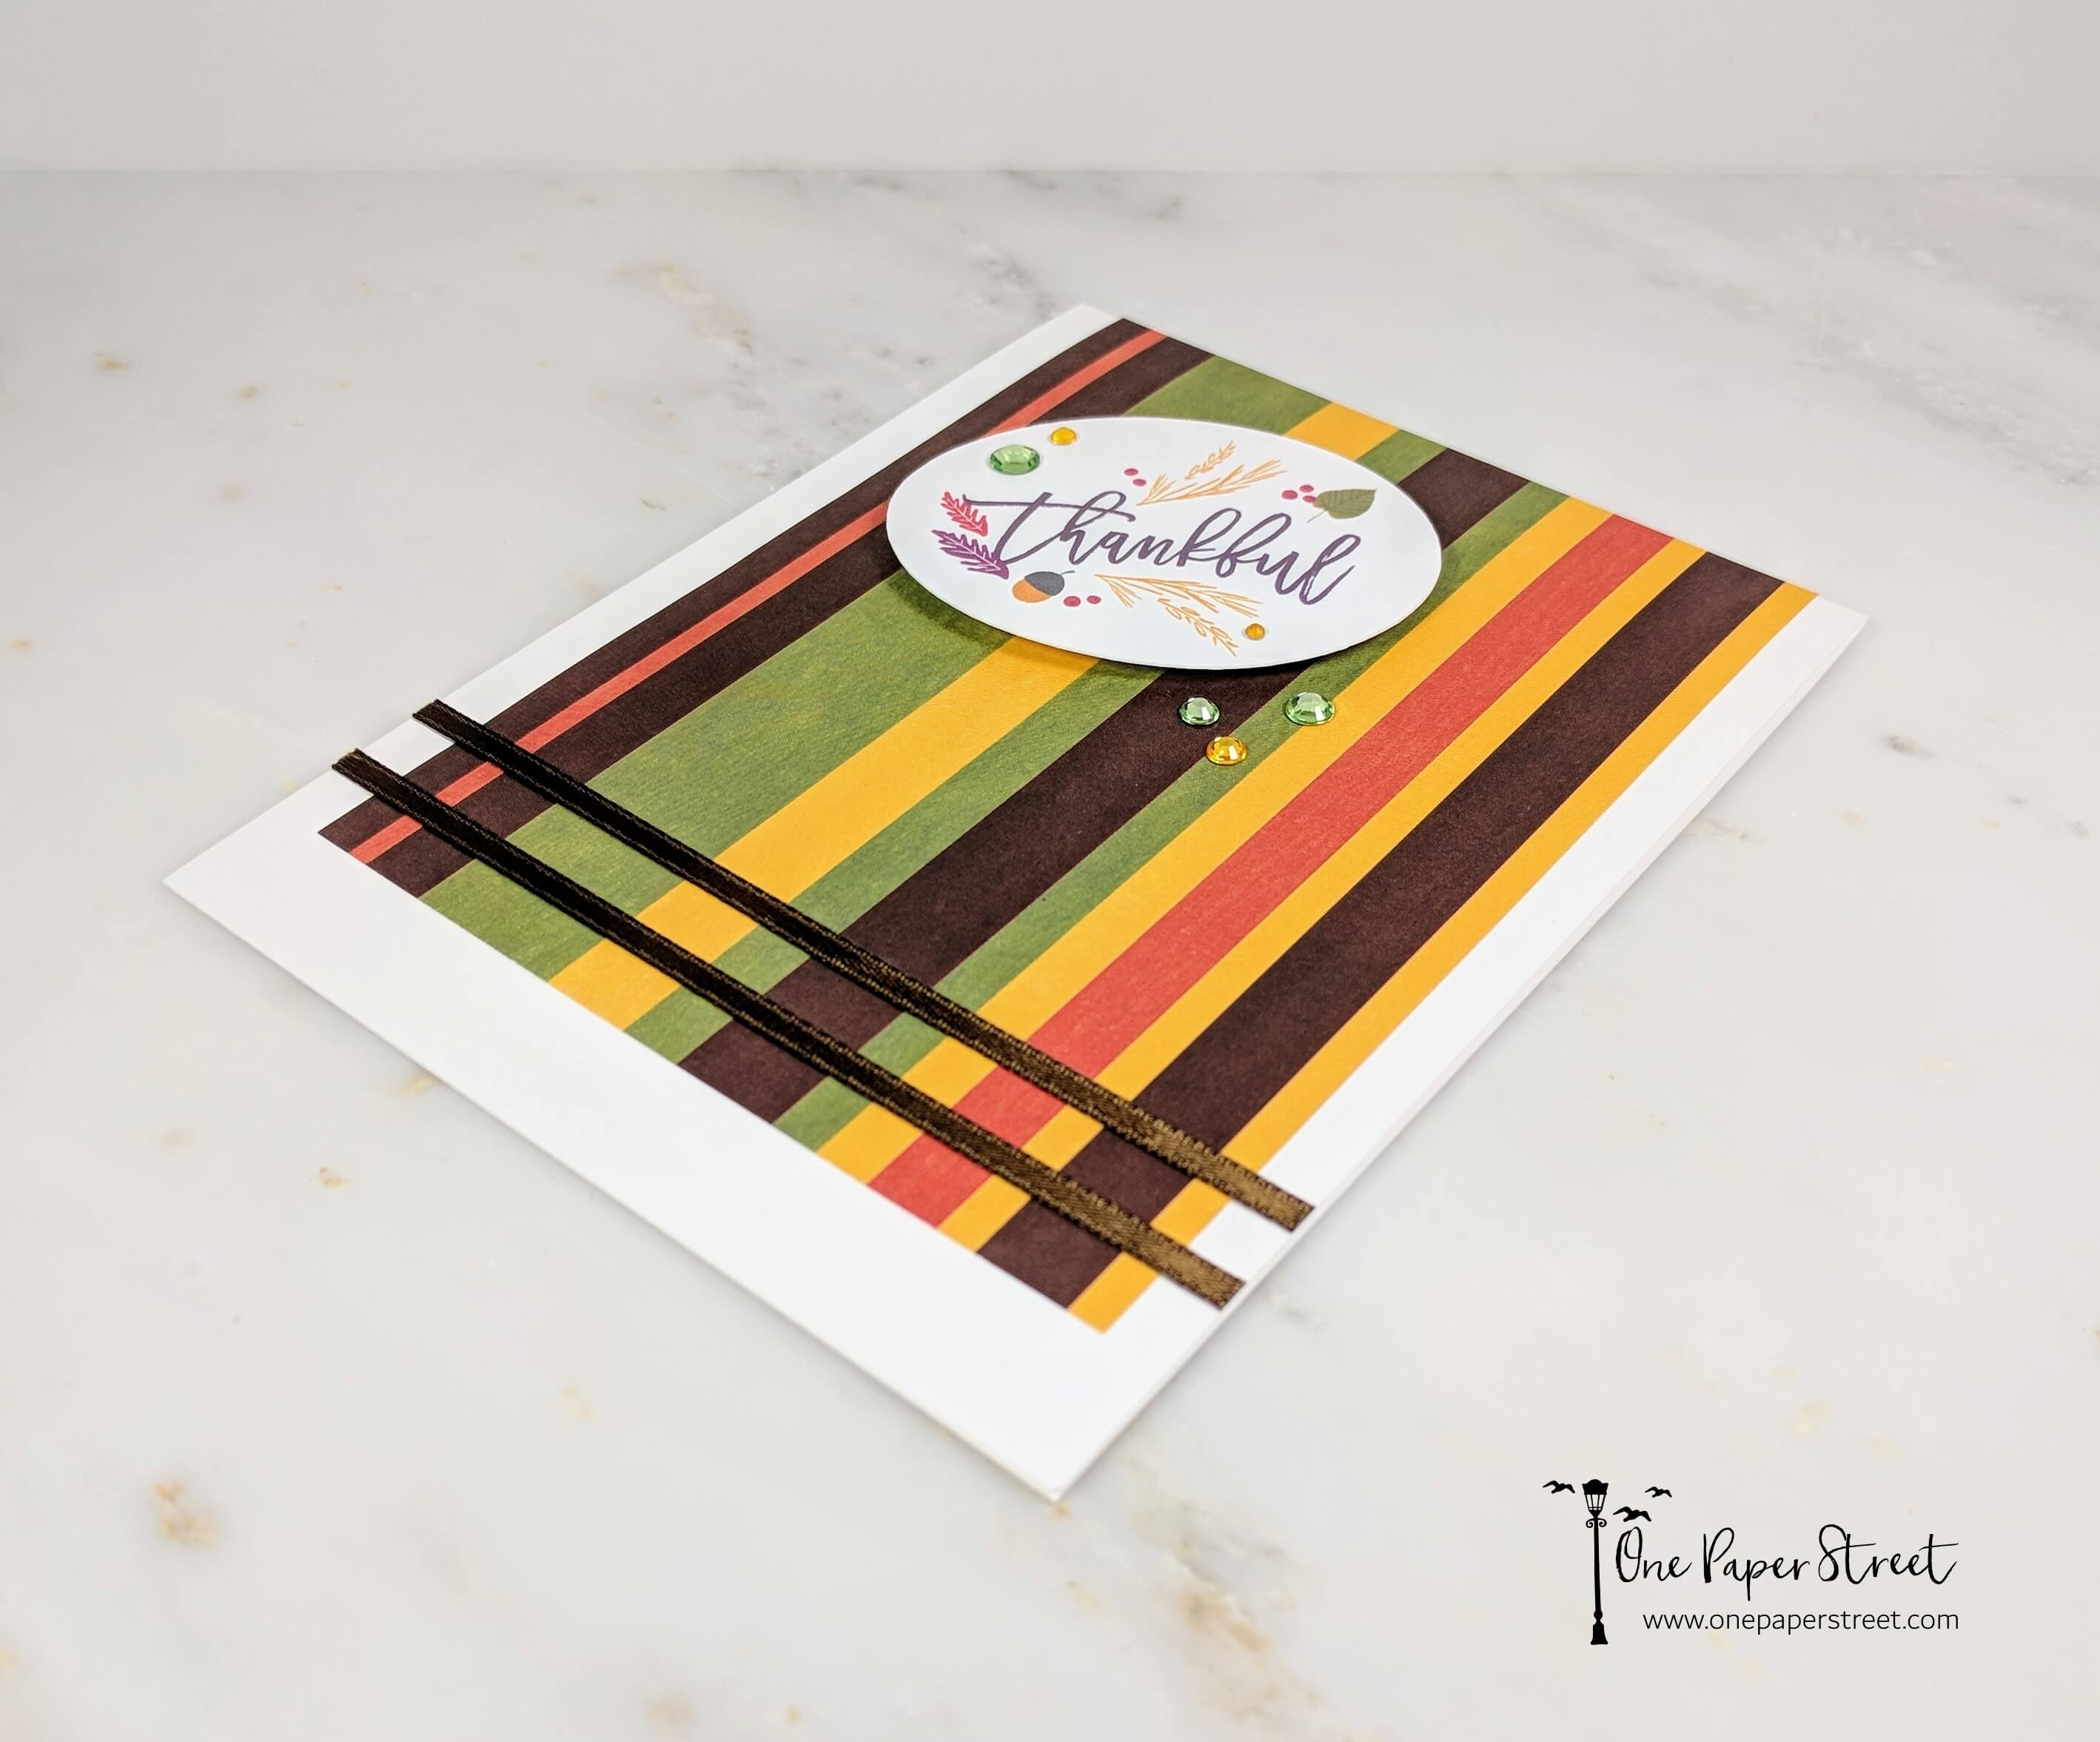
After you’ve found the cardstock that you want to use for the background of the design, cut it down to 3.75 x 5 inches in size. I used a striped sheet of cardstock that was fall themed paper and placed it along the top of the card.
Tip: My best advice for lining cardstock up to the top of a card is to lay down the card, stand over it, and eyeball it. if you try to stand the card up and line it up with your table under, it will likely be uneven.
Step 3.
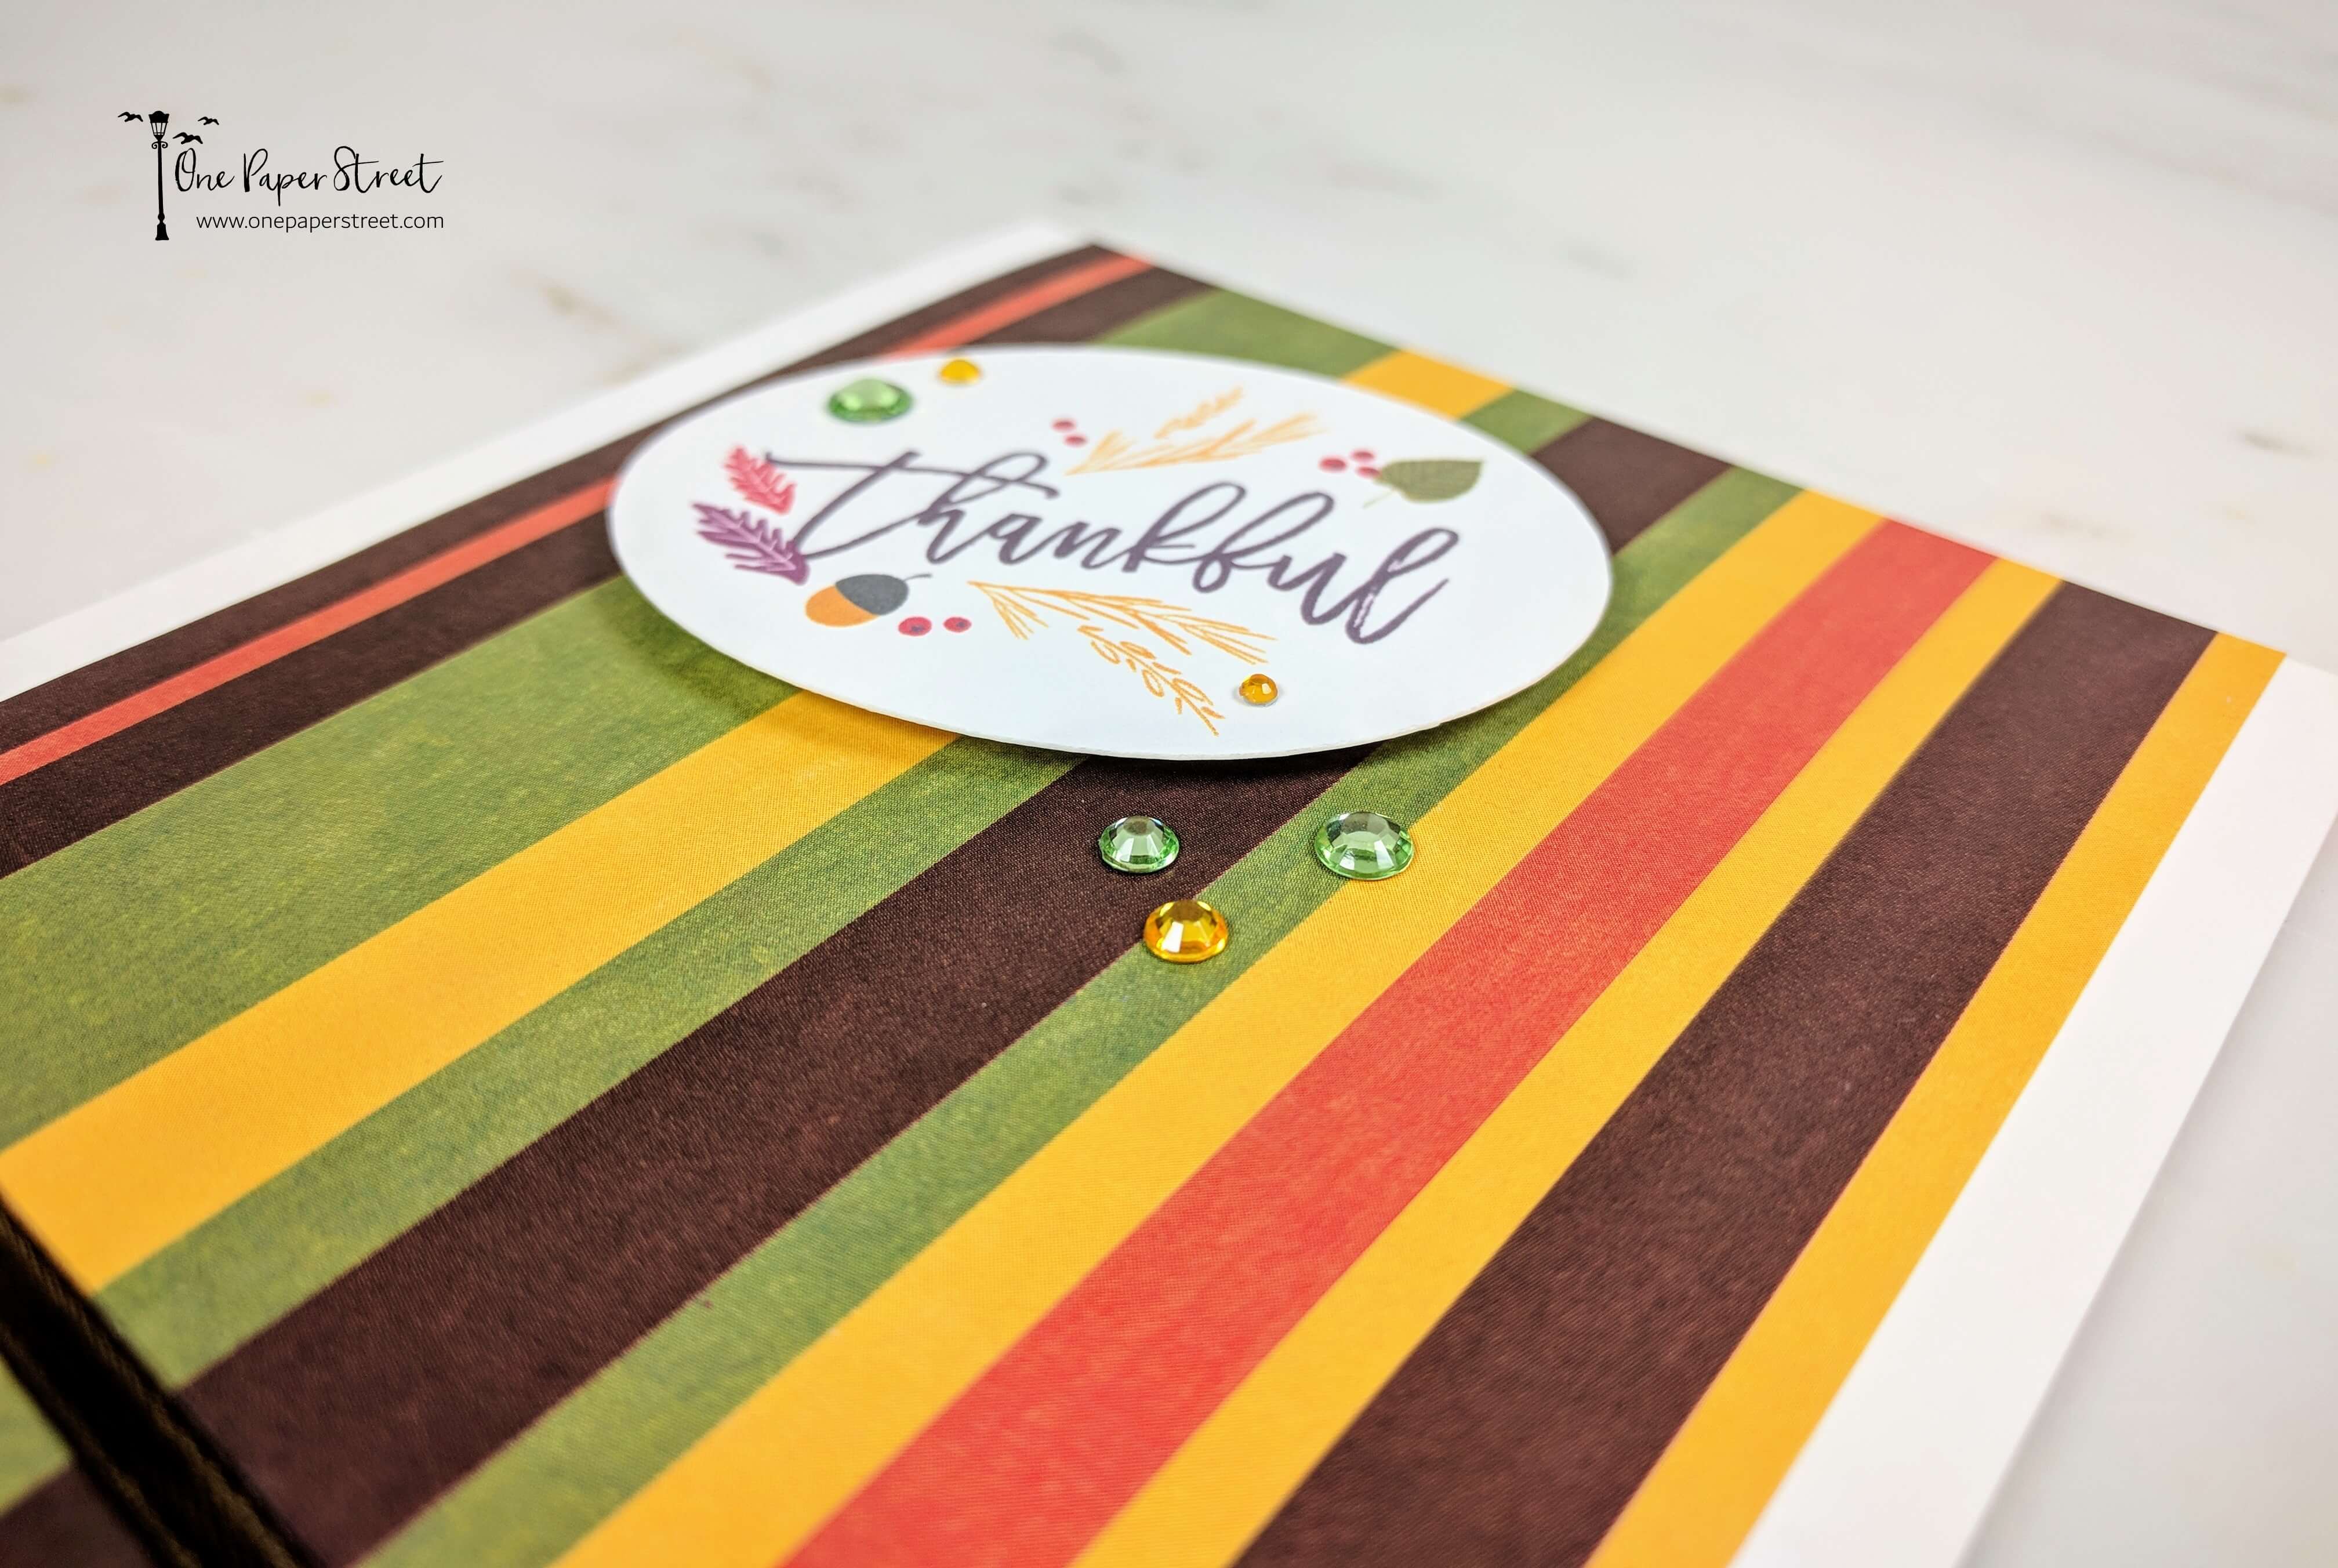
Next, open up the Cricut design studio project here, and follow the steps to print the “Thankful” design that will become the focal point of the card. If you’re using the Cricut Explore Air 2, make sure you’re lining your cardstock up about .5 inches from the left side of the Cricut mat. Otherwise, the machine may have a hard time finding the black borders around the image. The borders tell the machine where to cut after printing, so it’s important to find them. I recommend using the highest resolution and best ink settings that your printer can offer. These settings will give you the best-looking image. Cricut will also ask you if you want the image to “bleed” meaning that the outline will be thicker than normal. This is not needed, so uncheck this box.
Tip: If you’d like to learn more tips and tricks about the Cricut Explore Air 2, check out this article.
Step 4.
Once your thankful image is printed and cut, add some Forever In Time 3D Pop Dots to the back of the cut-out. Next, position it onto the card in the upper left-hand corner. You can also add some rhinestones to spruce it up a bit! I wanted a little something more on my card, so I added two strips of brown 1/4th-inch ribbon to the bottom. However, had I planned a little better, I would have also trimmed the bottom edges of the card before assembling everything.