This week’s easy DIY congratulations card is pretty simple but and still classy. It’s also a great way to whip up a quick card when you need one fast. Another thing I really like is that this design can be easily adapted if you don’t have a Cricut machine and wanted to use stamps and dies instead.
Originally I made this DIY congratulations card for a friend of mine who was looking for a graduation card. I chose the tan and turquoise colors because I wanted the card to be gender neutral. Overall, I was really happy with how this card congratulations card came out, so keep reading to find out how I did it!
Materials Used:
- Cricut Explore Air 2 Machine [Cricut] [Amazon]
- Adhesive Cricut Cutting Mat, Standard Grip [Scrapbook.com] [Cricut] [Amazon]
- Basic Tool Set – Cricut [Amazon]
- Ultimate Fine Point Pen Set – Cricut [Cricut] [Amazon]
- Essentials 20 Colors Cardstock Paper – Recollections [Amazon]
- 1/2-Inch Forever In Time 3D Pop Dots Square Dual-Adhesive Foam Mount [Scrapbook.com] [Amazon]
- 1/4-Inch Forever In Time 3D Pop Dots Square Dual-Adhesive Foam Mount [Amazon]
Cricut Images Used:
- Flower Border (Paper Lace cartridge)
Standard Square
Be Mine Font
View the exact specifications of this project in the Cricut Design Space.
DIY Congratulations Card Walkthrough:
Step 1.
Create your card base by cutting a sheet of tan cardstock to be 8.5×5.5 inches wide. Next, trim two sheets of Neenah Solar White cardstock. The first sheet should be 3.75 x 5 inches wide to make an interior insert, and the second will be about 5×6 inches wide and will be used for the outside of the card.
Tip: Read Mastering your Cricut Machine, to get more comfortable with your own Cricut machine.
Step 2.
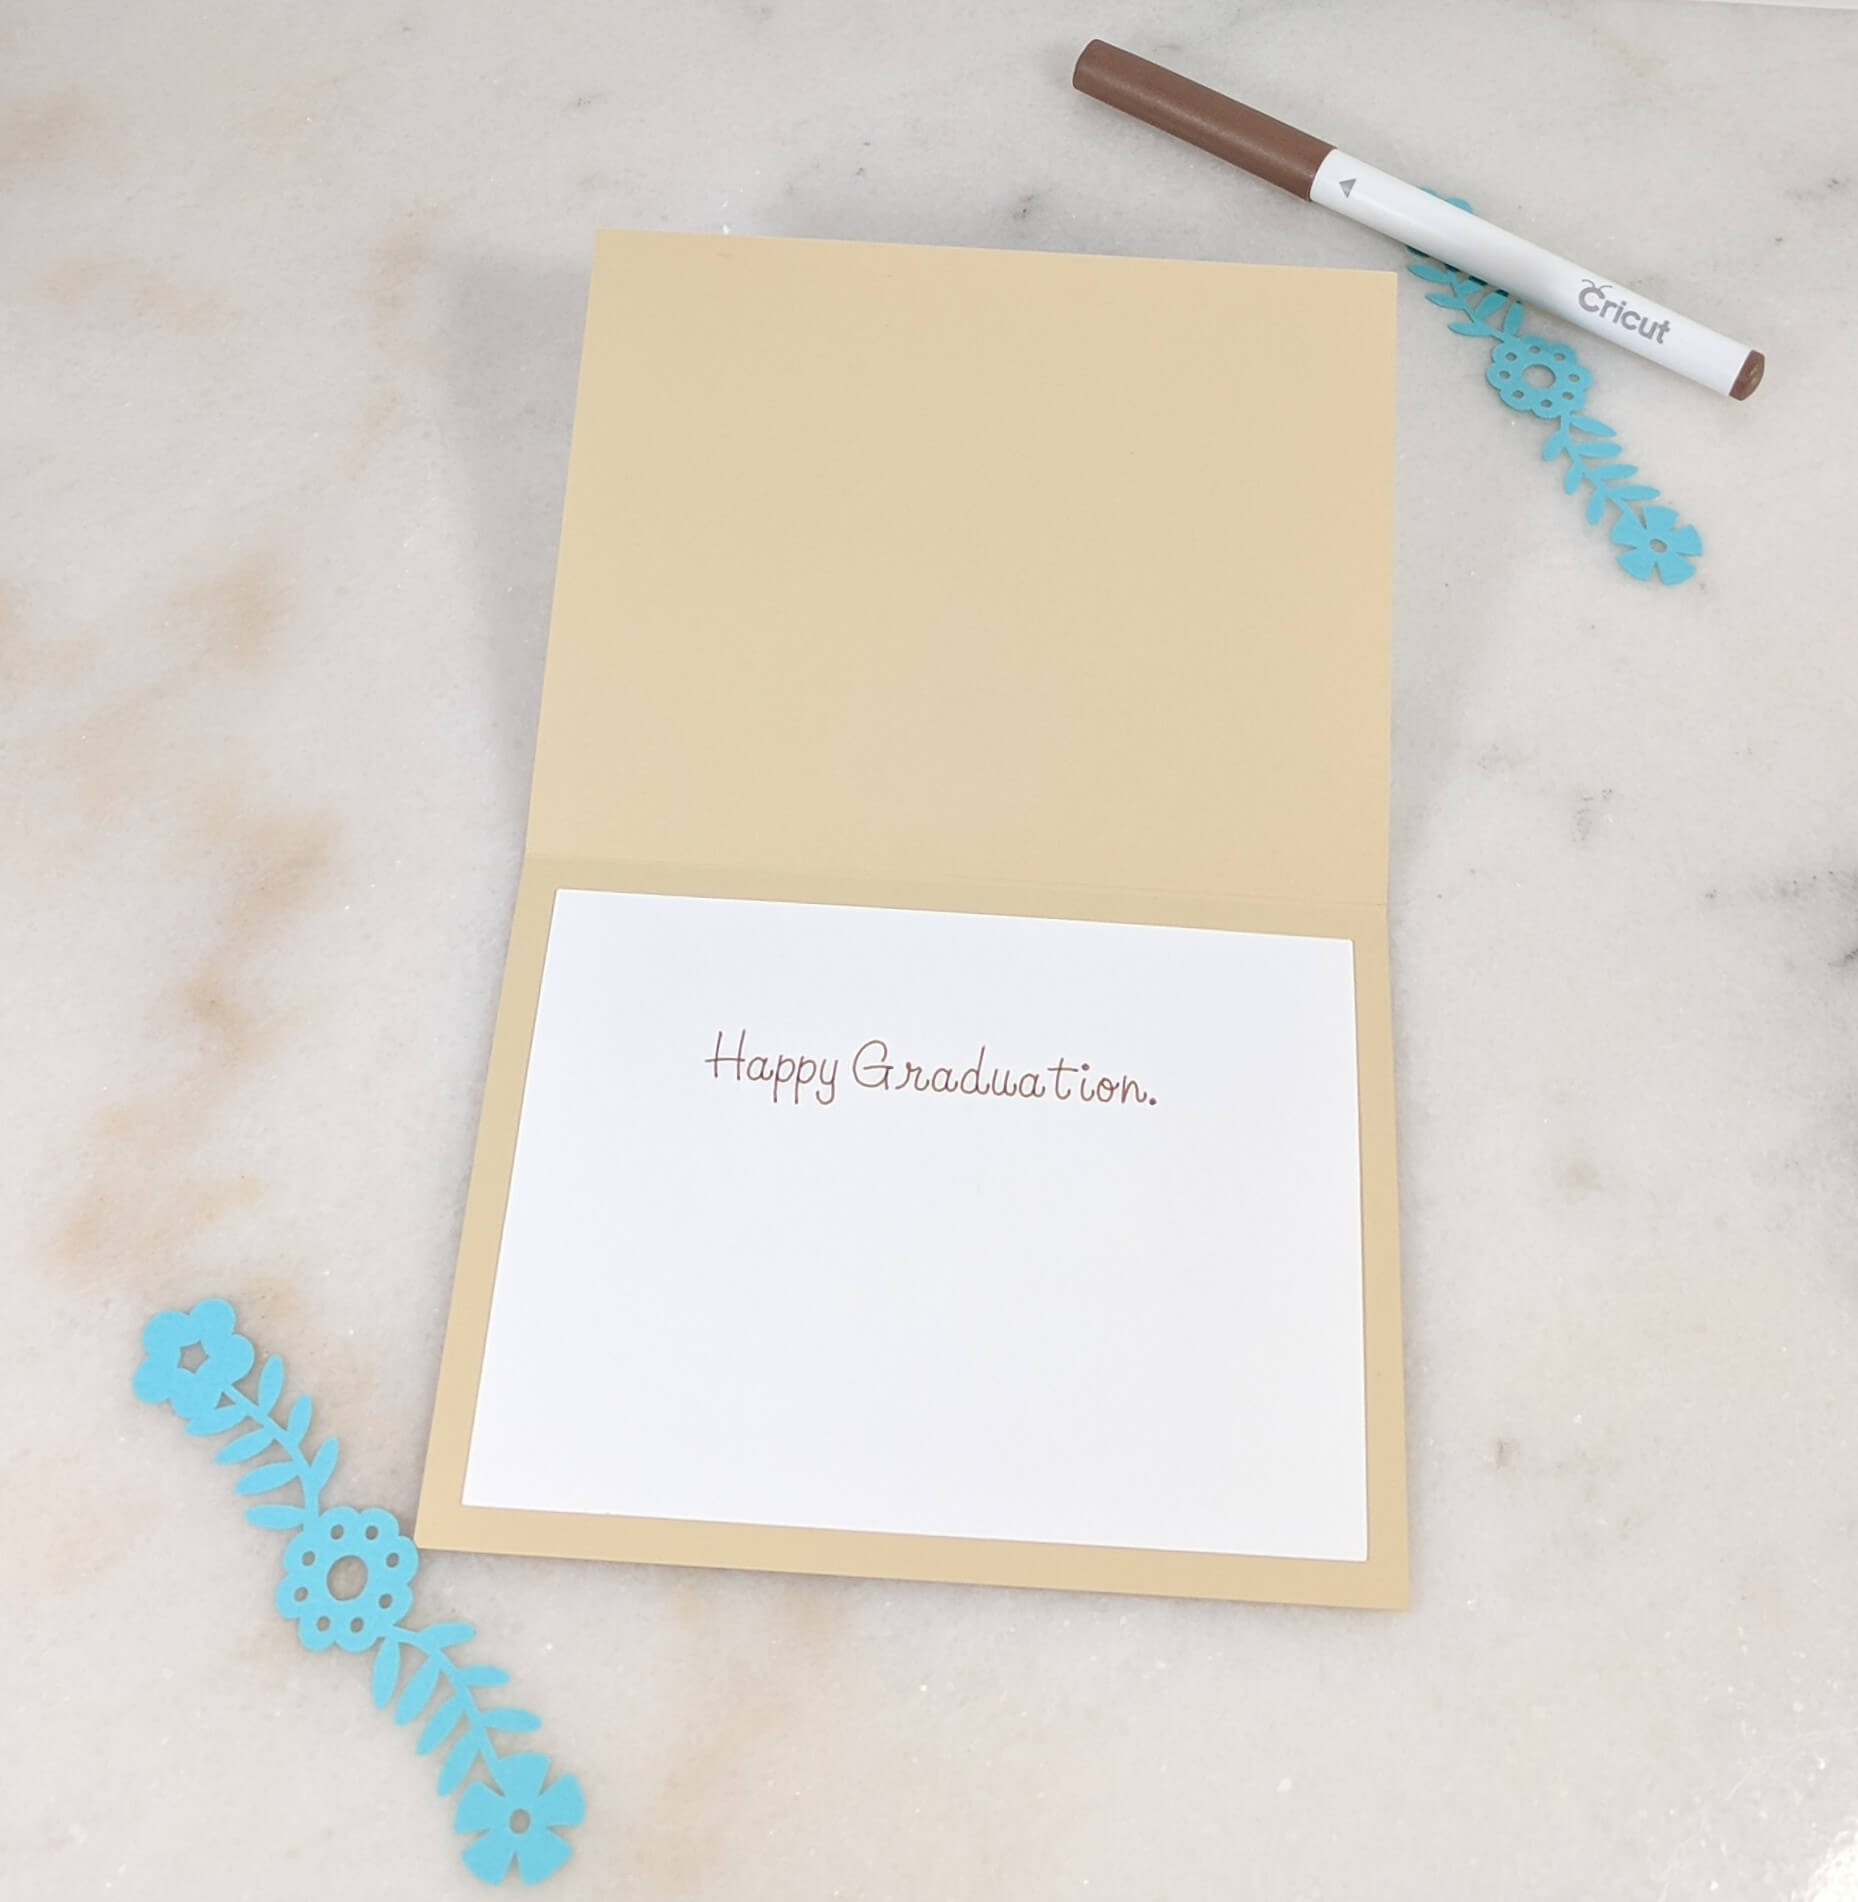
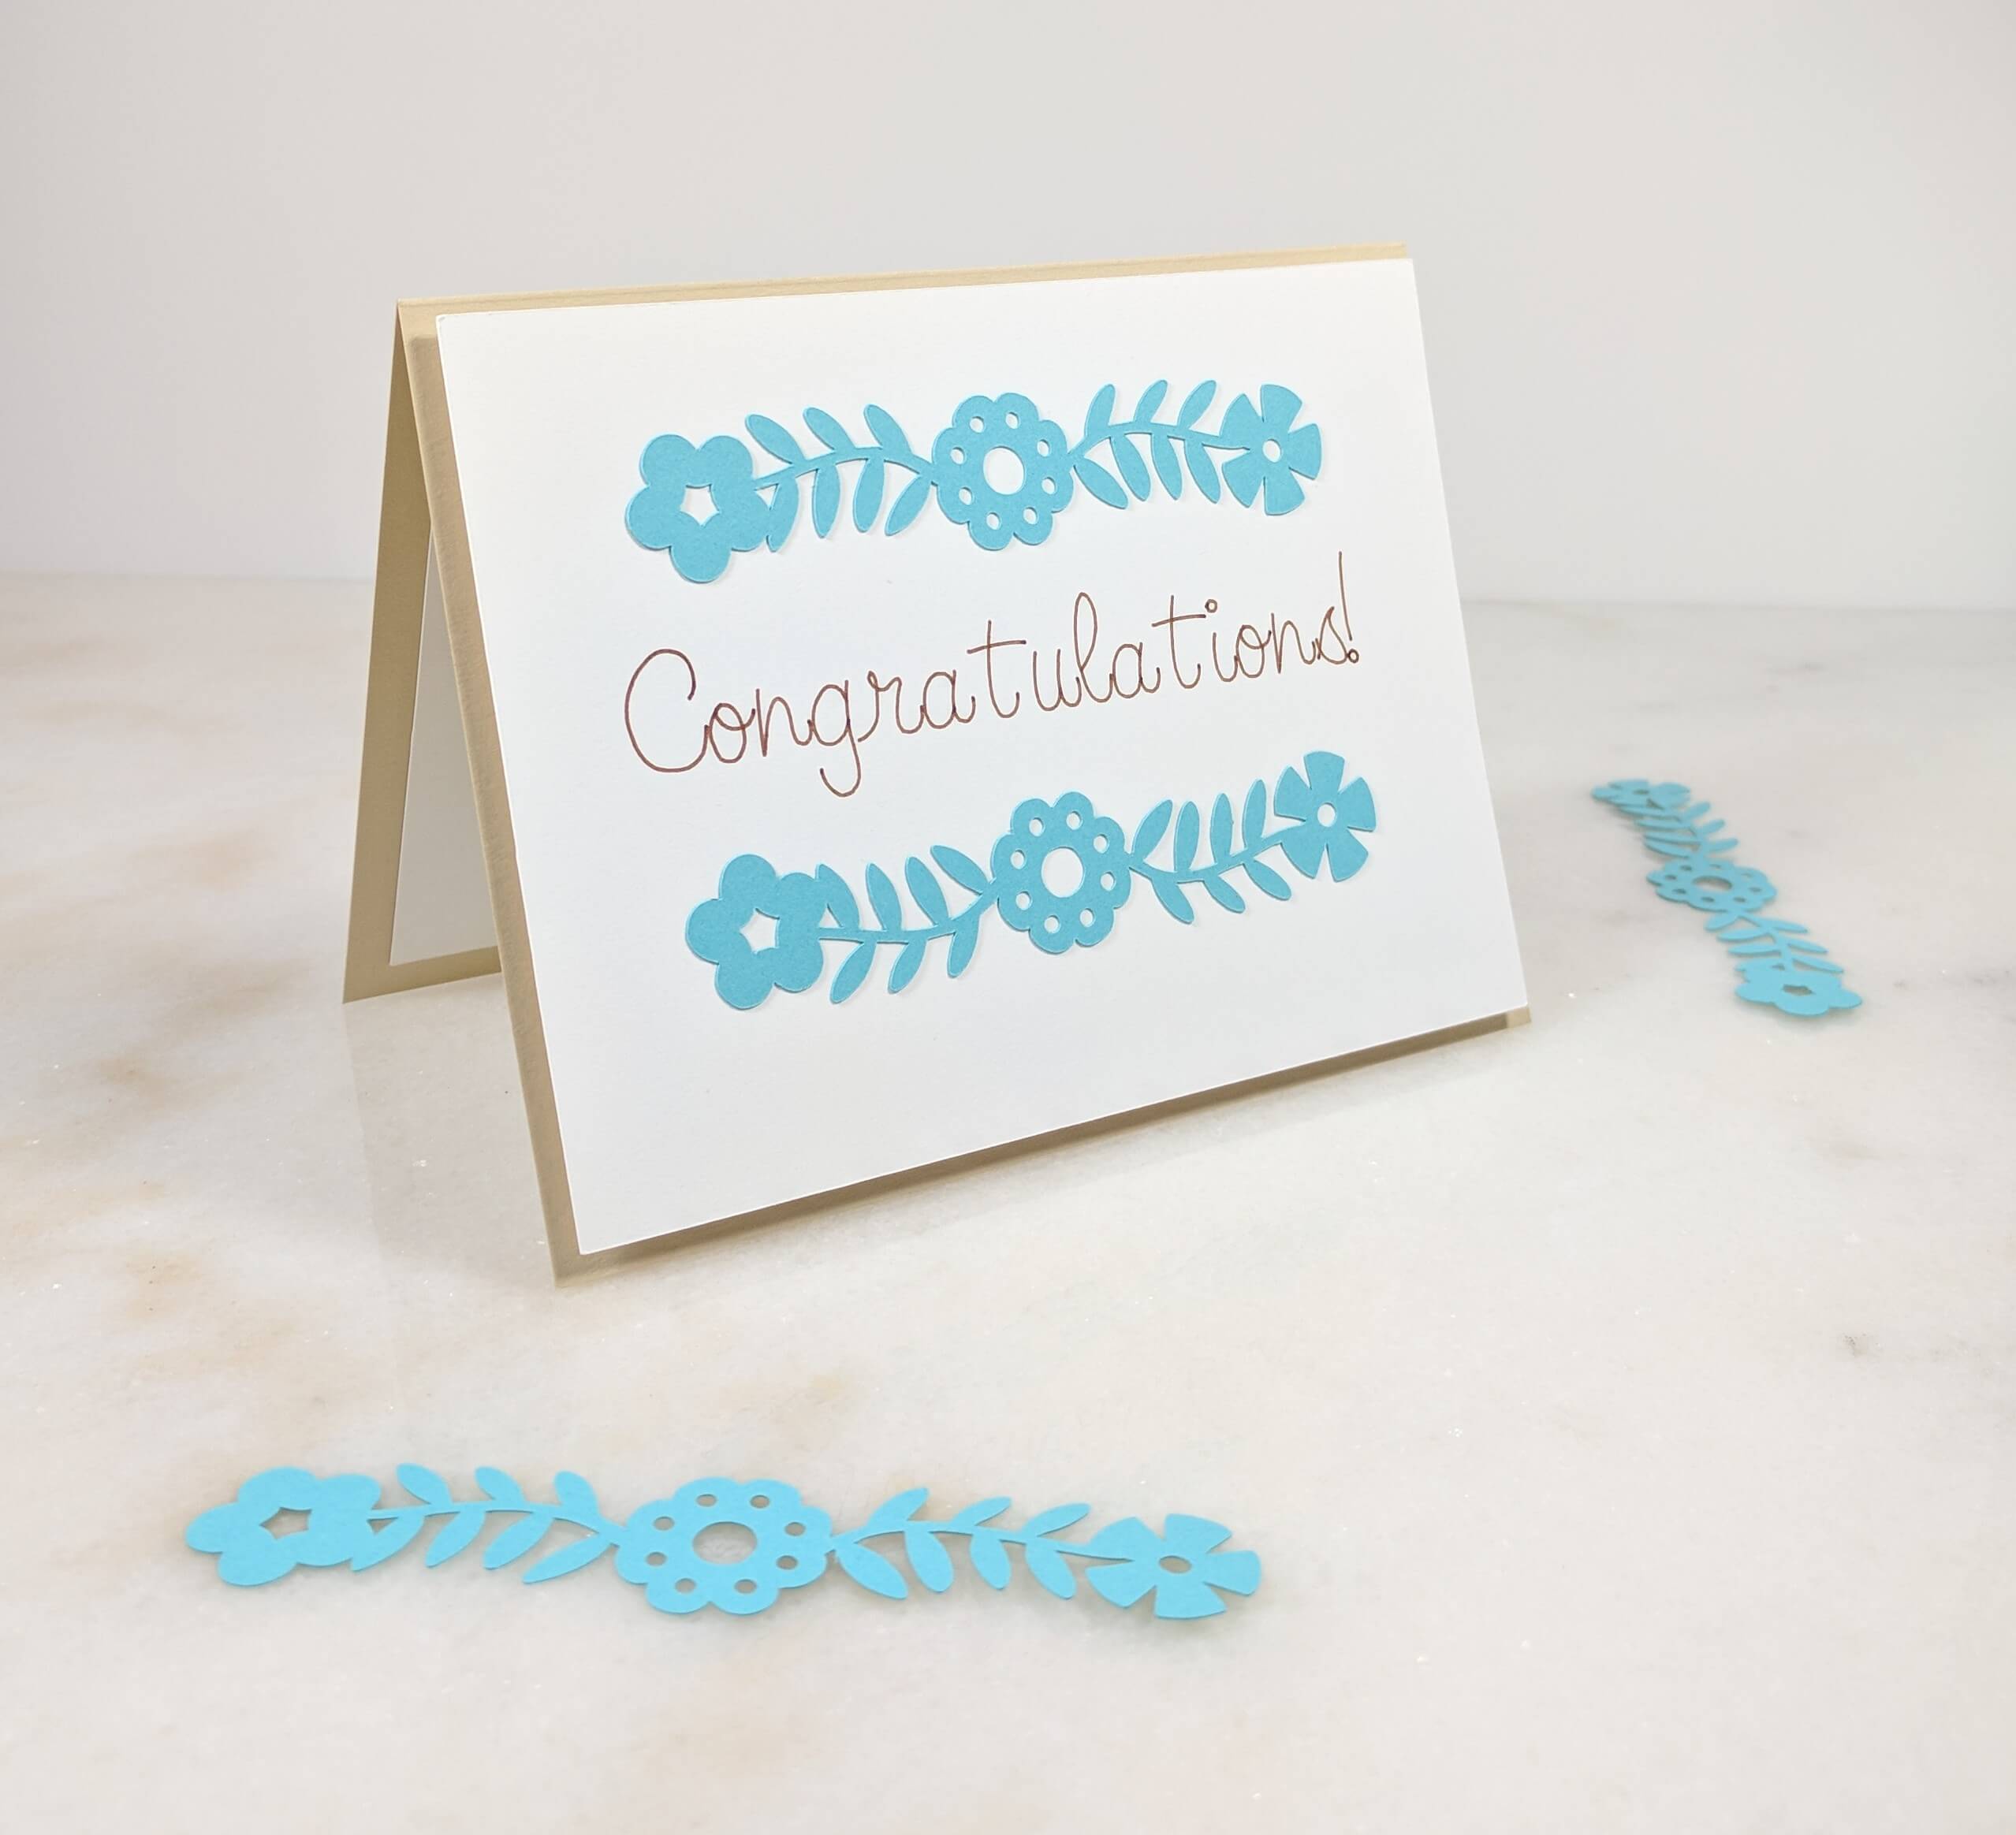
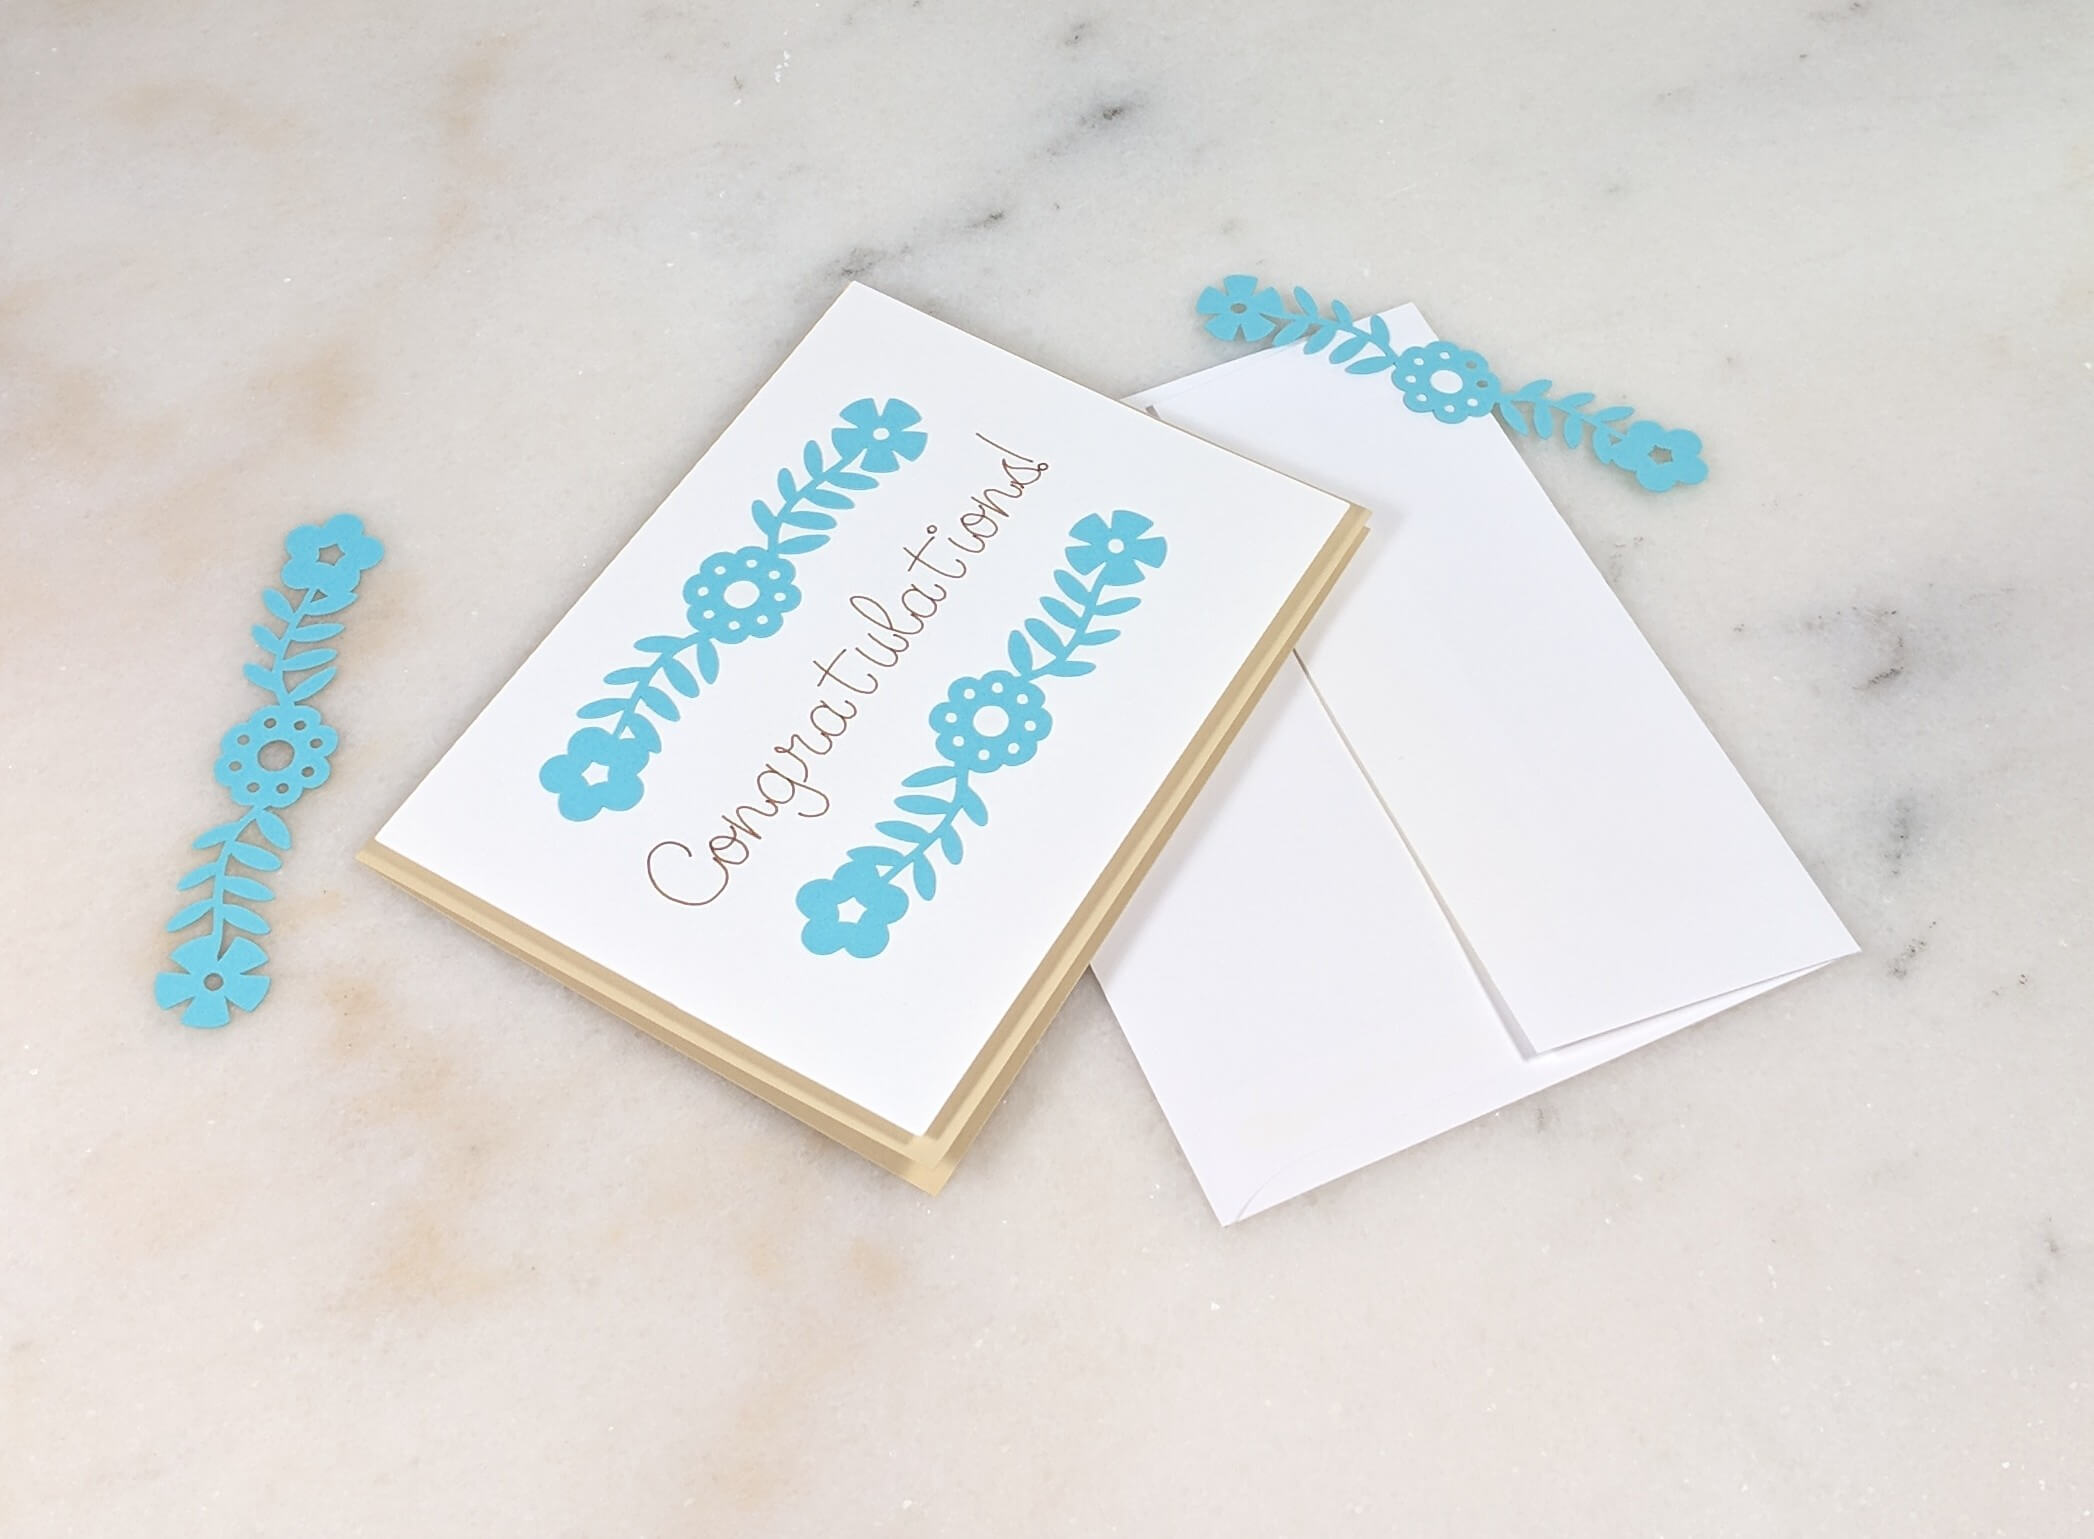
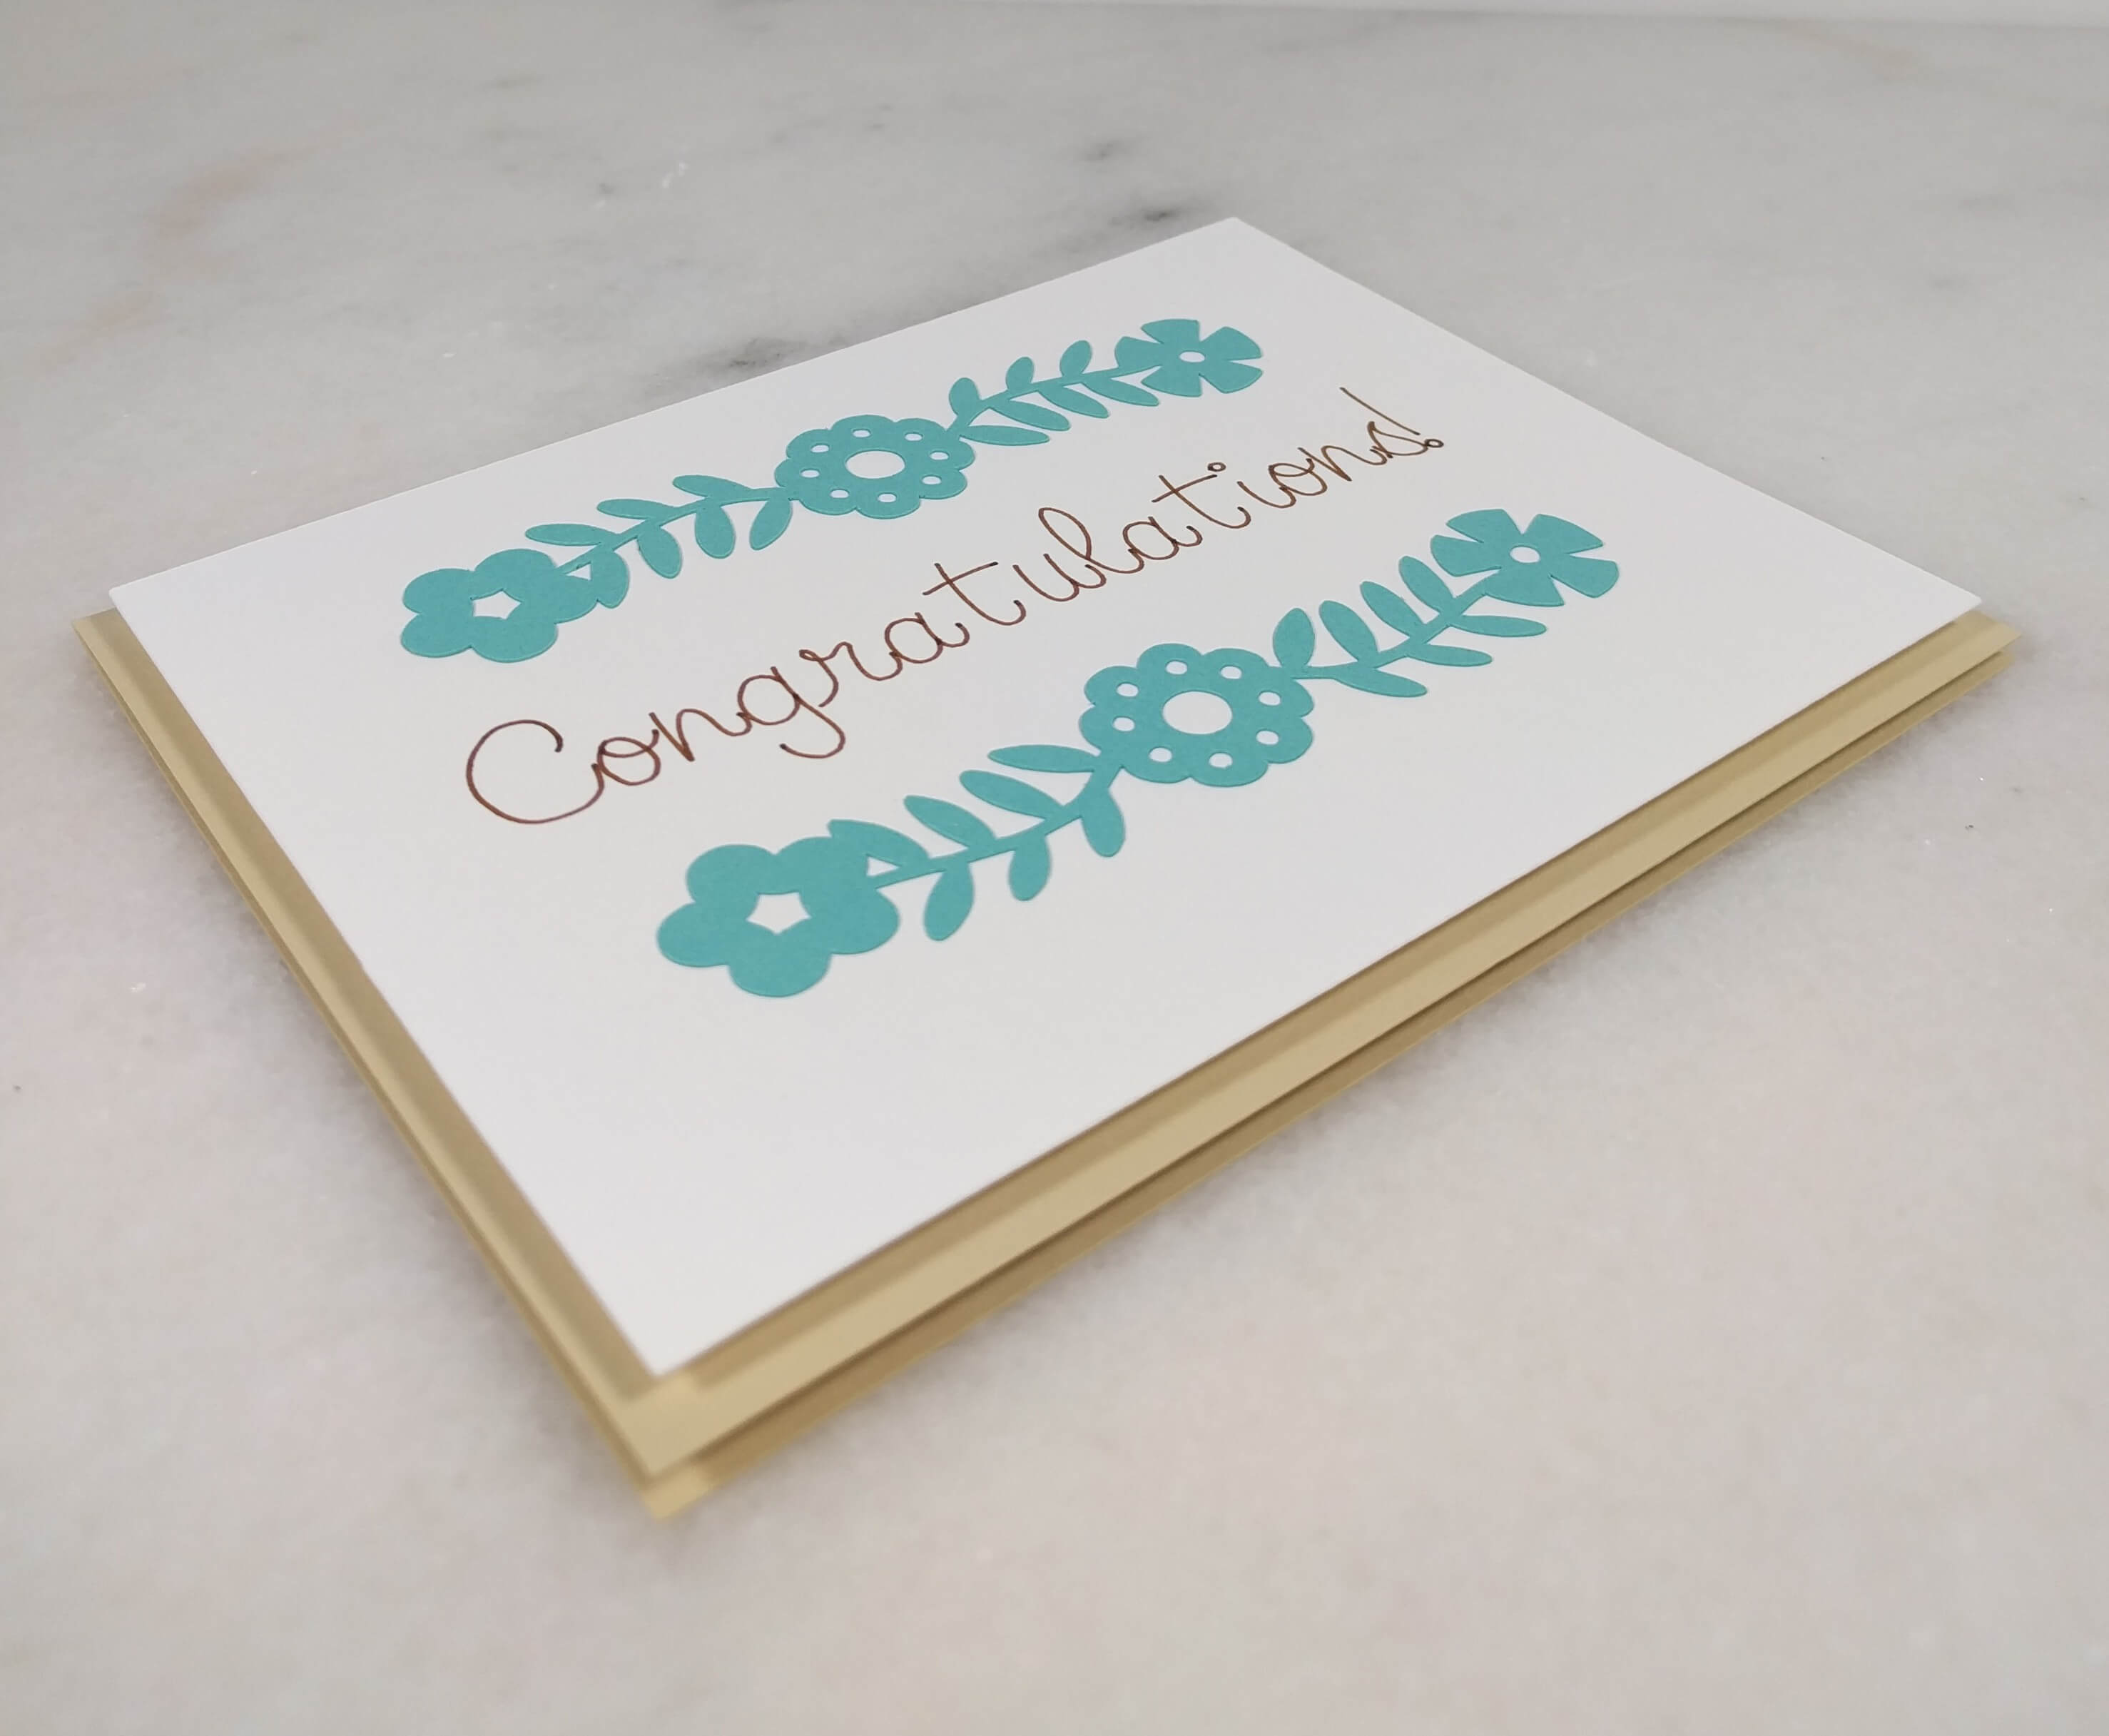
Grab your 5×6 inch sheet of Neenah Solar White cardstock and your Moccason Cricut Marker. Open the Cricut Design Space and follow the instructions outlined in this project to draw the word “Congratulations” on the cardstock using your Cricut machine. The machine should also trim the cardstock down even further to be 4×5.25 inches in size.
Step 3.
Repeat these steps to trim the flower embellishments on a sheet of turquoise cardstock. Next, use Tombow Mono Aqua glue on the back of the floral embellishments and place them on both above and below the words “Congratulations”. Take your time placing the embellishments down and try to keep the glue from getting all over the white cardstock. Most glues will leave a shiny residue behind.
Tip: If you’re not sure what types of adhesives can be used on which types of materials, check out my 5 favorite card making adhesives.
Step 4.
Once the glue has dried, add 3D foam tape to the back of your congratulations design and place it on the front of the card to make it look like it’s popping off the page. Lastly, add an interior insert inside the card using mounting squares, so that you have a place to write a message to your loved one!
You can use your Cricut machine to add an extra message on the inside for an extra special touch. If you do, I suggest making your interior sheet size a little bigger than 3.75 x 5. This will allow the Cricut to trim the cardstock down to the correct size, and ensure that your message is centered on the page. I chose to add the words “Happy Graduation” inside my card.