
I use my Cricut machine a lot. Since I have a pretty small crafting space, and it allows me to make a bunch of different greeting card designs without having to store a ton of different stamps and dies. It was easy to make this floral bouquet Mother’s Day card entirely using my Crucit machine and markers. I’ll walk you through how I did it in this post, so keep reading. All of the supplies I used for this project can also be found down below.
Materials Used:
This blog may use affiliate links when they’re available. If you choose to make a purchase through one of these links, I may receive a small commission at no cost to you. I don’t make recommendations lightly, and will only link to products I know and trust.
- Cricut Explore Air 2 Machine [Cricut] [Amazon]
- Adhesive Cricut Cutting Mat, Standard Grip [Scrapbook.com] [Cricut] [Amazon]
- Basic Tool Set – Cricut [Cricut] [Amazon]
- Ultimate Fine Point Pen Set – Cricut [Cricut] [Amazon]
- EK Tools EK Scoring Board 12×12 [Amazon]
- Fiskars Recycled Bypass Trimmer, 12 Inch [Amazon]
- X-Acto Self-Healing Cutting Mat, 12’x18’ [Amazon]
- Trim Slant Tip Tweezers [Amazon]
- Fiskars Heavy Duty Die Cast Craft Knife [Amazon]
- Pink Metal Brads (from Hobby Lobby)
- Recollections Cardstock Paper, Essentials 20 Colors [Amazon]
- Neenah Solar White Cardstock [Scrapbook.com] [Amazon]
- Craft Specialties Double Sided White Foam Tape – 1/2″ X 36 Yards – 1/16″ Thick [Amazon]
- Scrapbook Adhesives Initially Repositionable Mounting Squares [Amazon]
- Forever In Time 3D Pop Dots Square Dual-Adhesive Foam Mount, 1/2-Inch [Amazon] [Scrapbook.com]
Cricut Images Used:
Pretty Posies Border (Dimensional Scenes cartridge)
Standard Square
Birthday Bash Font
Mother’s Day Floral Bouquet Tutorial:
Step 1.
When making this Mother’s Day card I first created the card base. I trimmed a sheet of grey cardstock to be 8.5 x 5.5 inches, then scored it and folded it in half to make an A2 sized greeting card.
Step 2.
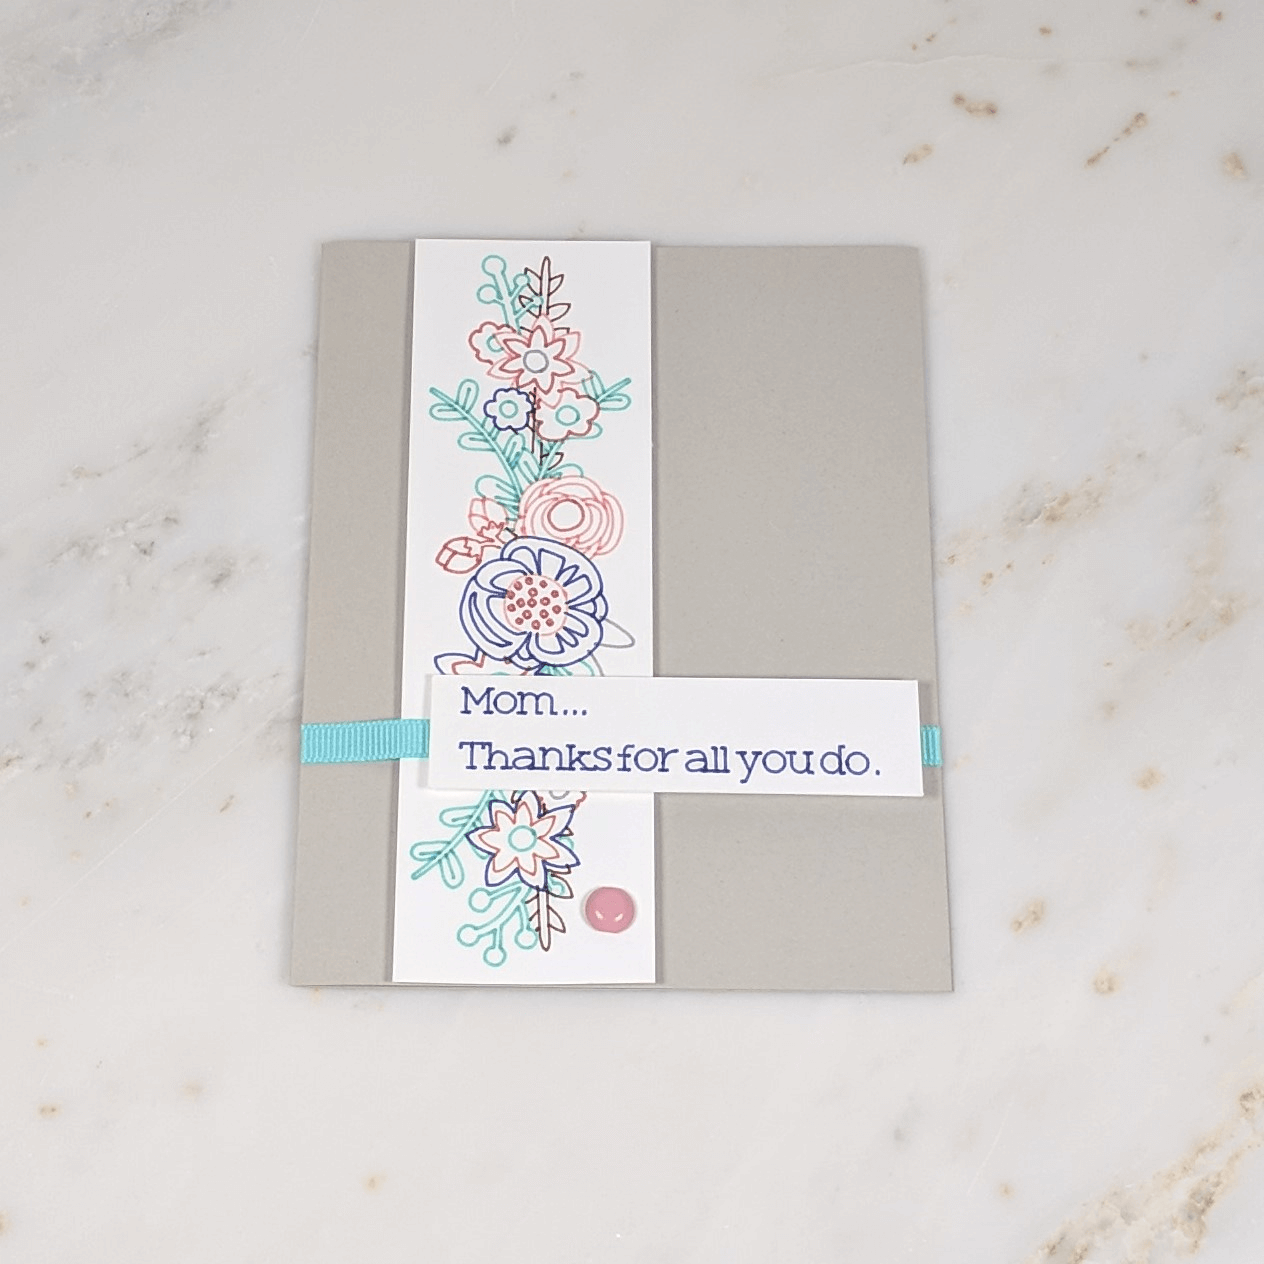
I created the floral bouquet using the Pretty Posies Boarder image in the Cricut Design Space. If you’re new to your Cricut machine, check out this post to learn some helpful tips and tricks to get the most out of your machine. I used my Cricut Ultimate Fine Point Pen Set to draw out the flower bouquet and sentiment using the following colors: Moccasin, Jade, Pink Crystal, Red, Orange Peel, Armadillo, and Navy. After that, I set up standard squares around my designs so that my machine would still do the work to cut them out.
Step 3.
Now, most images and fonts in the Cricut Design Space default to the cut setting instead of the draw setting. So, I have to make sure I have the image on the draw setting whenever I want to use my Cricut markers. Once you have your drawing in place, be sure to create a cut shape around your work. If you don’t, your drawing will be placed at the very edge of your cardstock when you run it through your machine.
Once I had my bouquet and sentiment designed, I followed the instructions on my Cricut machine to draw and cut out each image.
Looking for more Cricut tutorials? Check them out here.
Step 4.
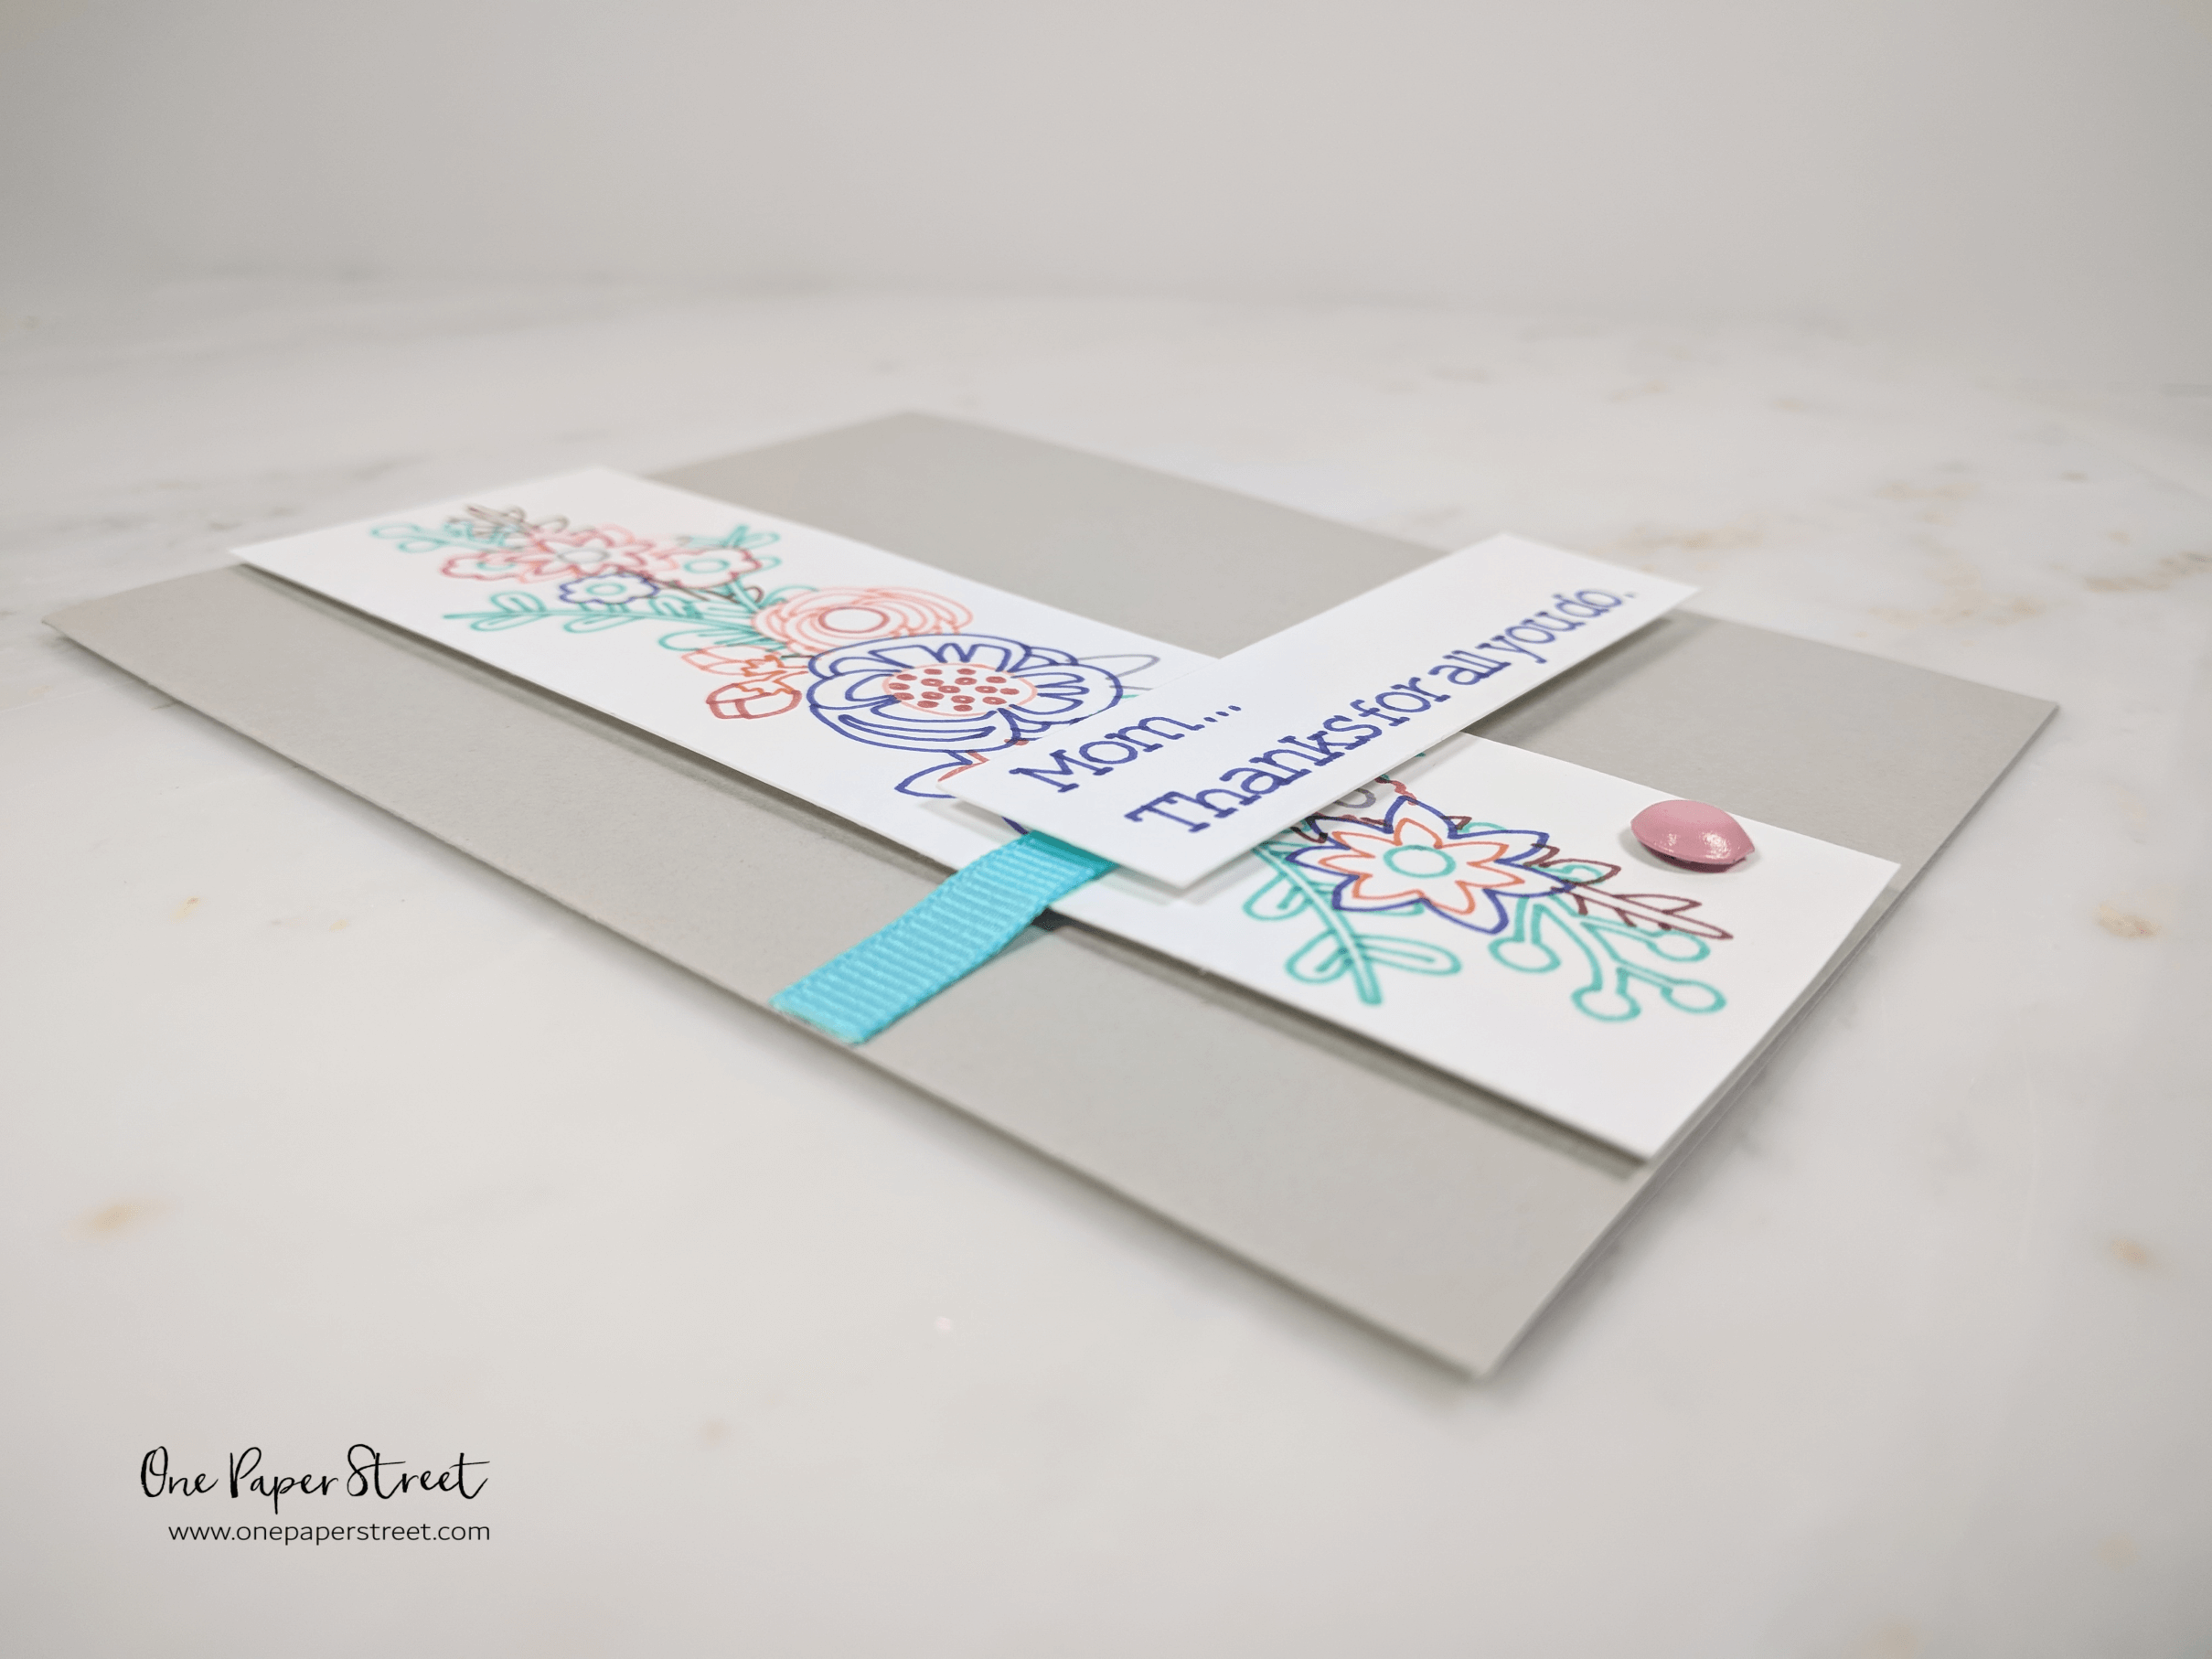
It really felt like this Mother’s Day card needed a little embellishment. So, I added a pink metal brad at the lower right-hand side of the floral bouquet. I also laid a strip of turquoise ribbon near the bottom of the card. This allowed the sentiment to lay beautifully over top of it.

Step 5.
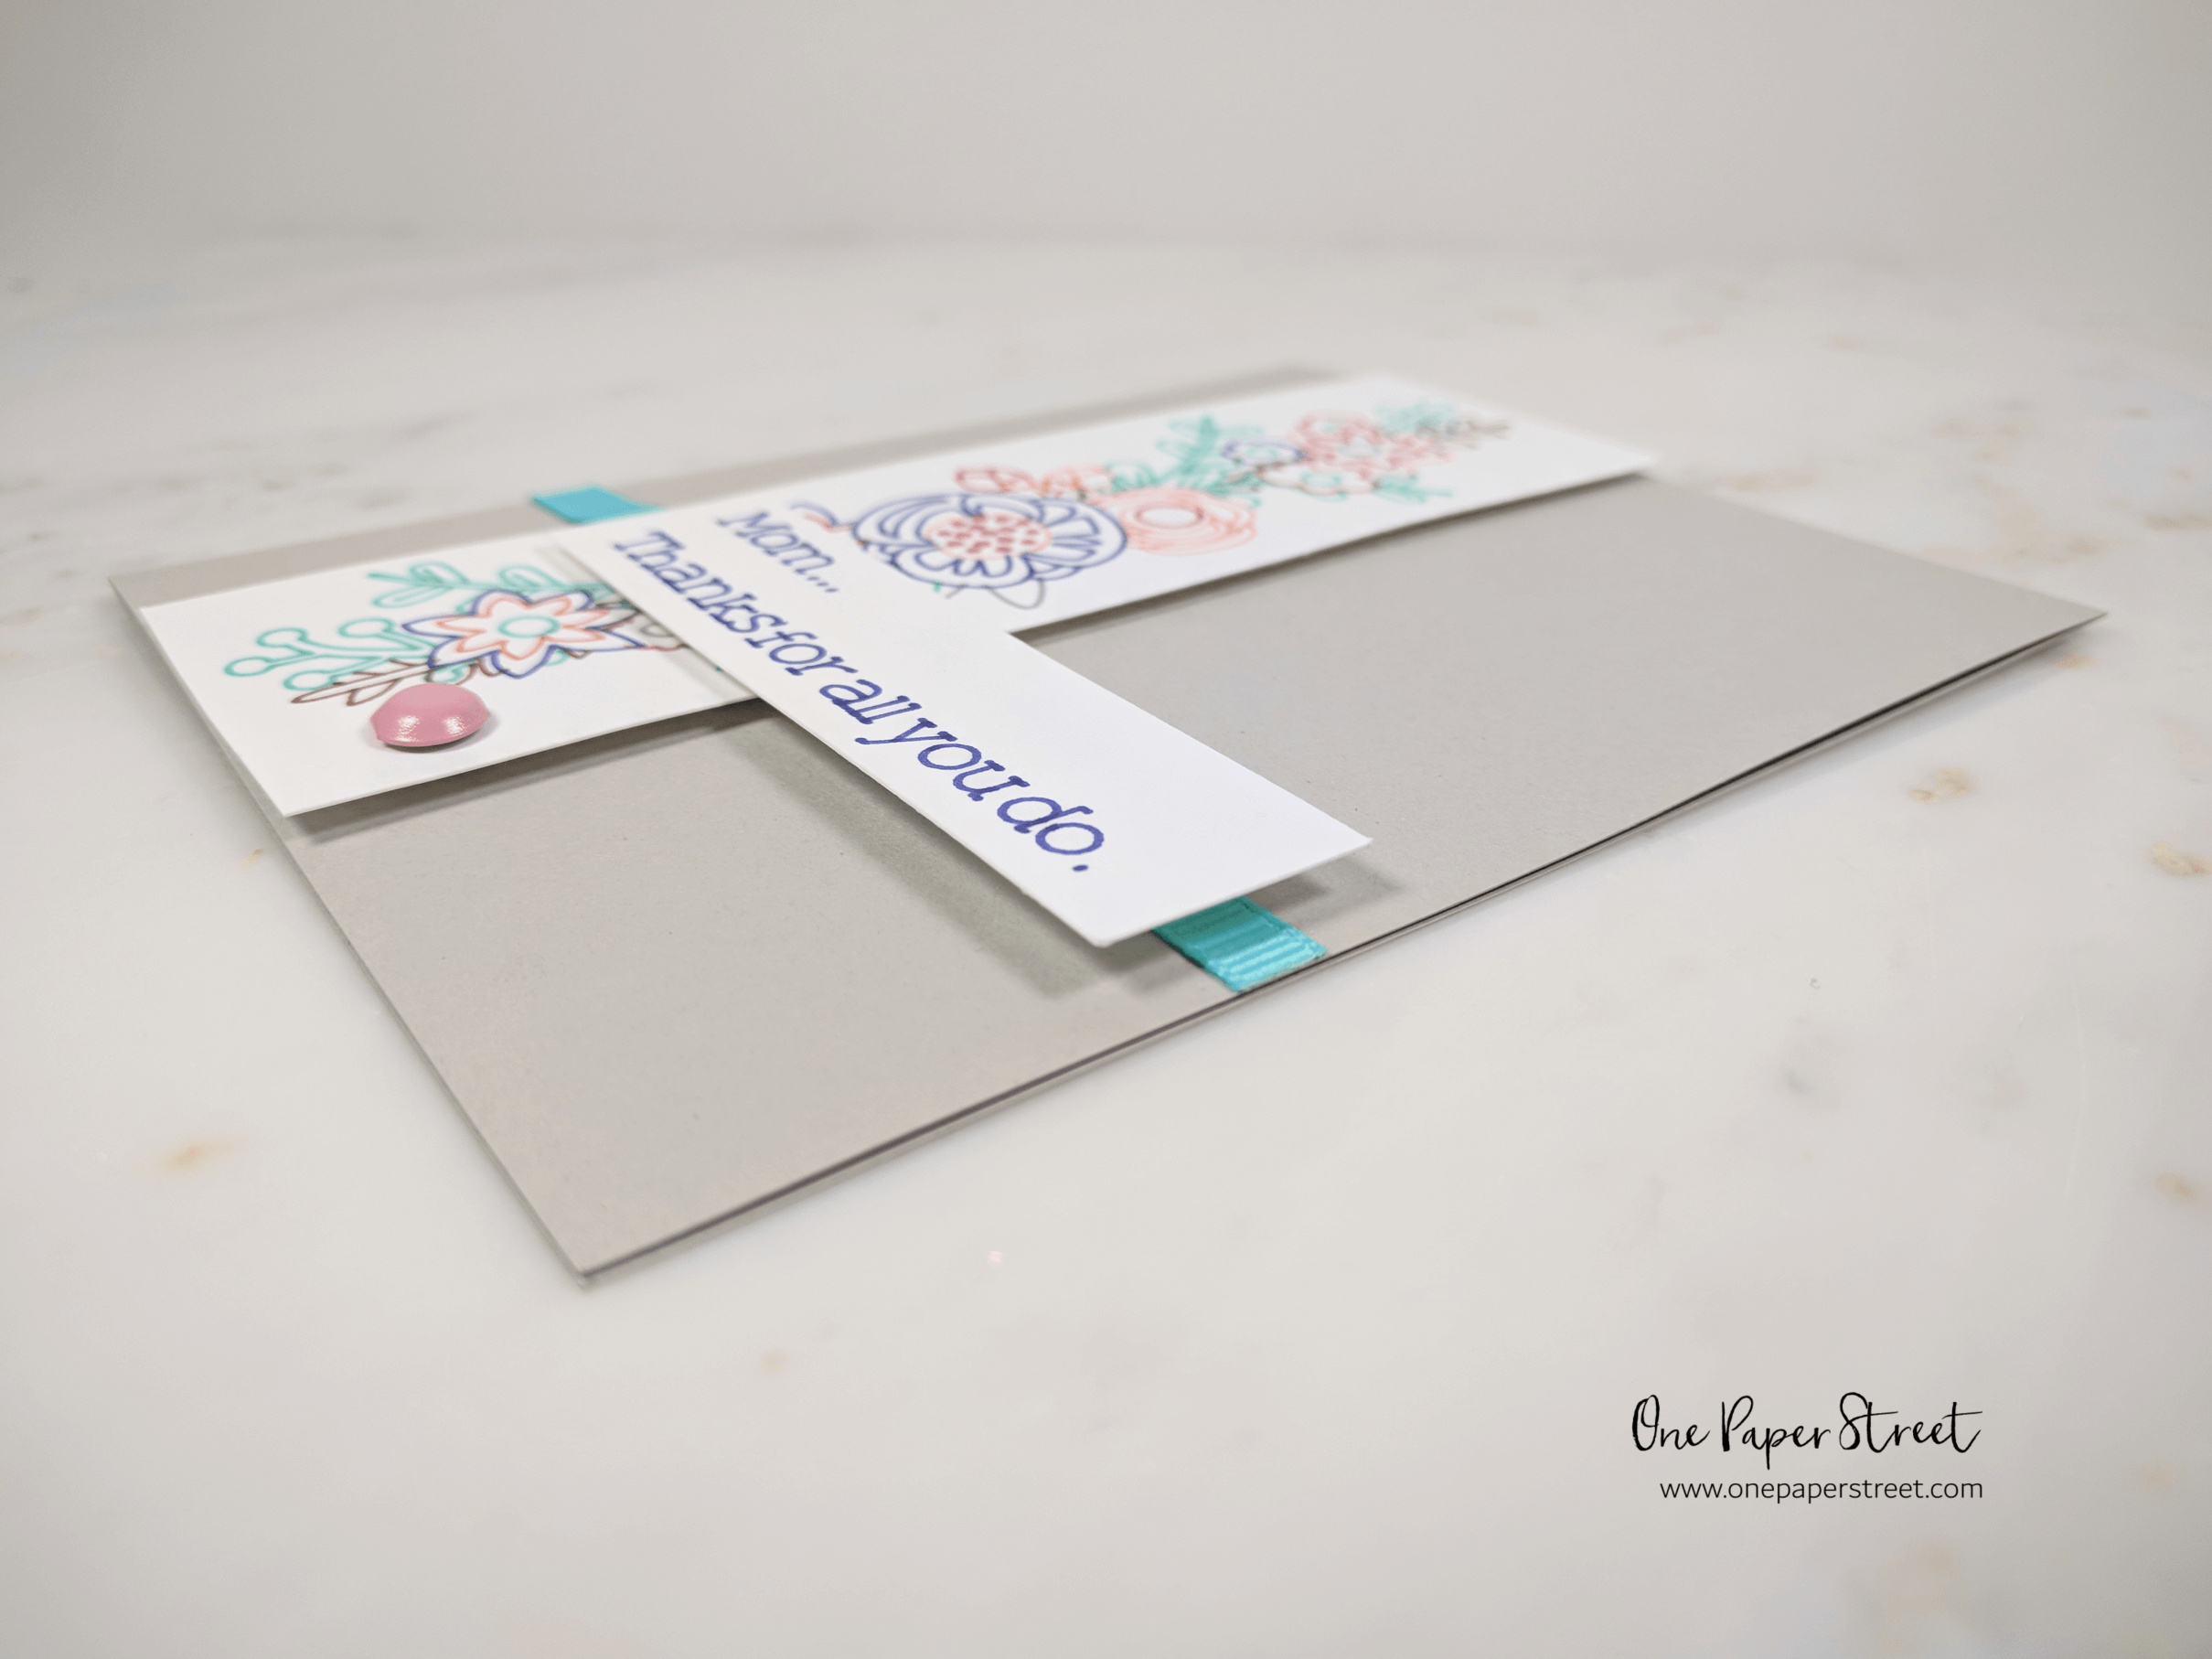
When the whole design was ready to be placed on the greeting card, I placed one layer of double-sided white foam tape underneath the floral bouquet of flowers. The plan was to overlap the flower bouquet and the sentiment on this Mother’s Day card. I wanted them to be at two different heights. How did I achieve this look you might ask? First, I placed one layer of foam tape under the left side of the sentiment, and two layers under the right side.
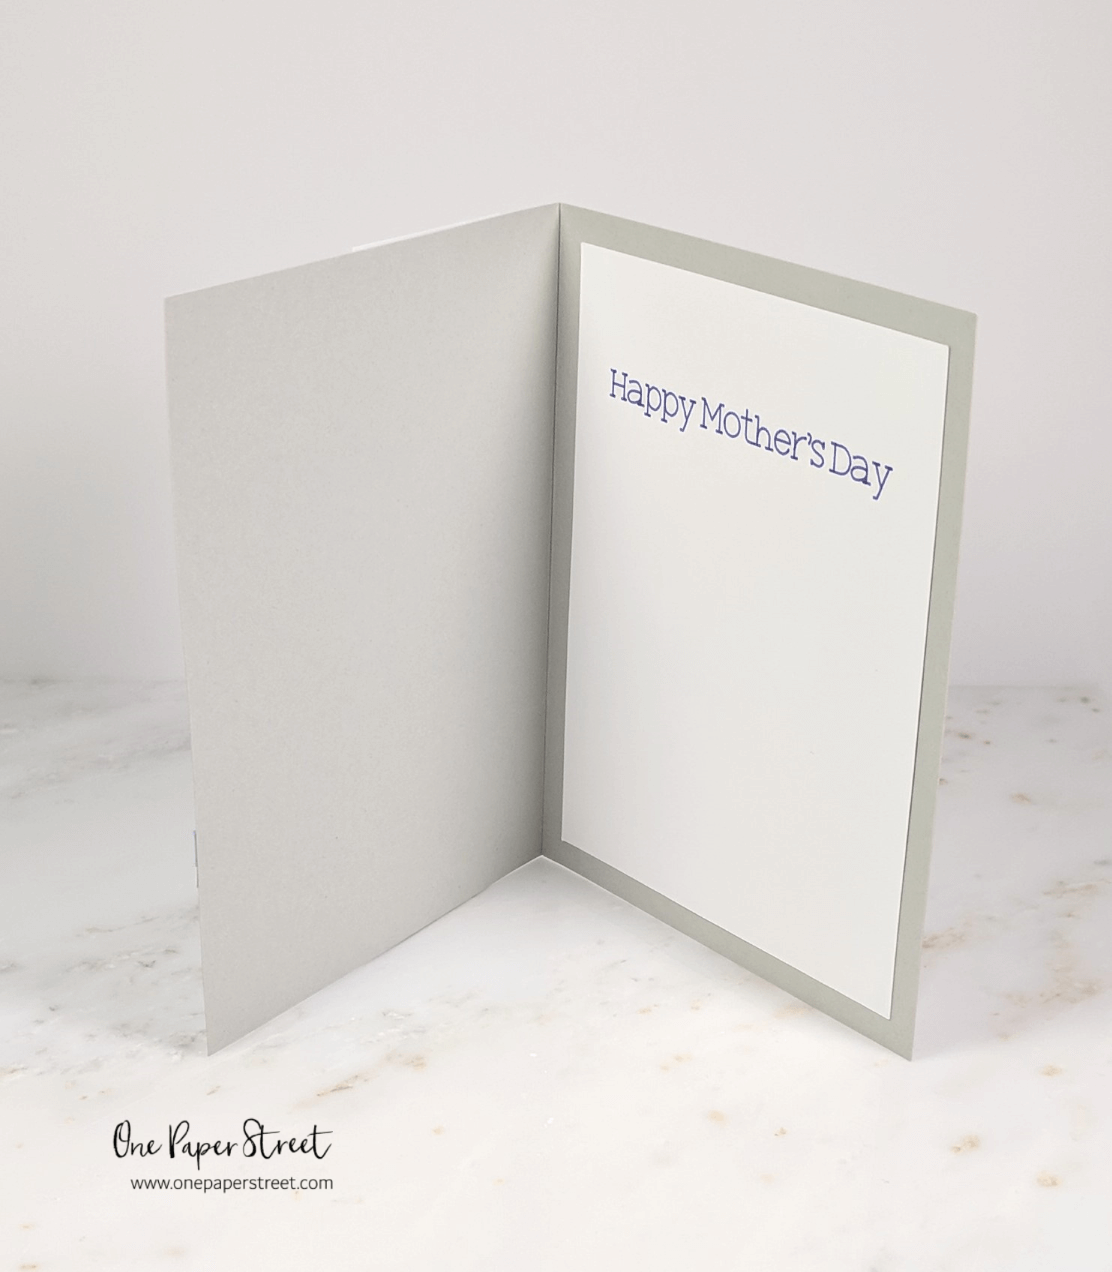
Lastly, I drew the words “Happy Mother’s Day” on a sheet of 3.75 x 5 inch Neenah Solar White cardstock using my Cricut Machine and added it as an interior insert to be able to cleanly write on the inside of the card. I secured it in place with Scrapbook Adhesives mounting squares.
I hope you found this tutorial helpful. Looking for quick and easy cards to make? View more of my favorite tutorials here or follow me on Instagram, Facebook or Pinterest for the latest updates! You can also shop all the handmade cards that I’ve designed here.