
I pulled some old supplies out of the archives earlier this month and I wanted to see if I could still find creative ways to use them, so today I’m going back to the basics with this cartoon pupper make a wish birthday card. I’m making a card with some simple supplies that I had when I first out. Stick around to find out just how I did it and what supplies were used.
Materials Used:
This blog may use affiliate links when they’re available. If you choose to make a purchase through one of these links, I may receive a small commission at no cost to you. I don’t make recommendations lightly, and will only link to products I know and trust.
Faber-Castel Polychromos Colored Pencil Set – 60 Pieces [Amazon]
Faber-Castel Polychromos Colored Pencil Set – 120 Pieces [Amazon]
EK Tools Scoring Board 12×12 [Amazon]
Fiskars Recycled Bypass Trimmer, 12 Inch [Amazon]
Omnigrid 4-6-12-Inch Marking Ruler Trio [Amazon]
Trim Slant Tip Tweezers [Amazon]
Neenah Solar White Cardstock [Scrapbook.com] [Amazon]
Forever In Time 3D Pop Dots Square Dual-Adhesive Foam Mount, 1/2-Inch [Amazon] [Scrapbook.com]
Scrapbook Adhesives Initially Repositionable Mounting Squares [Amazon]
Birthday Pupper Stamp Set (from Michael’s a few years ago)
Misti Stamp Tool Original Size Stamp Positioner [Amazon]
Ranger Archival Ink Pad, Jet Black [Amazon] [Scrapbook.com]
Colorbox CLEARSNAP Pigment Inkpad, Black [Amazon]
EK Tools Powder Tool [Amazon] [Scrapbook.com]
Uchida Embossing Heat Tool with Stand [Amazon] [Scrapbook.com]
Stampendous Detail Embossing Powder .5 Ounce-Clear Transparent [Amazon]
Feather No.55 Switch-Blade Shear, 5.5 Inch [Amazon]
Martha Stewart Crafts Corner Punch, Rounder [Amazon]
Cartoon Pupper Make A Wish Tutorial:
Step 1. Prep the card base and trace the background design.
To start this cartoon pupper card, I trimmed a sheet of Neenah Solar White cardstock to be 8.5×5.5 inches. Then I scored it and folded it in half to make an A2 sized greeting card base.
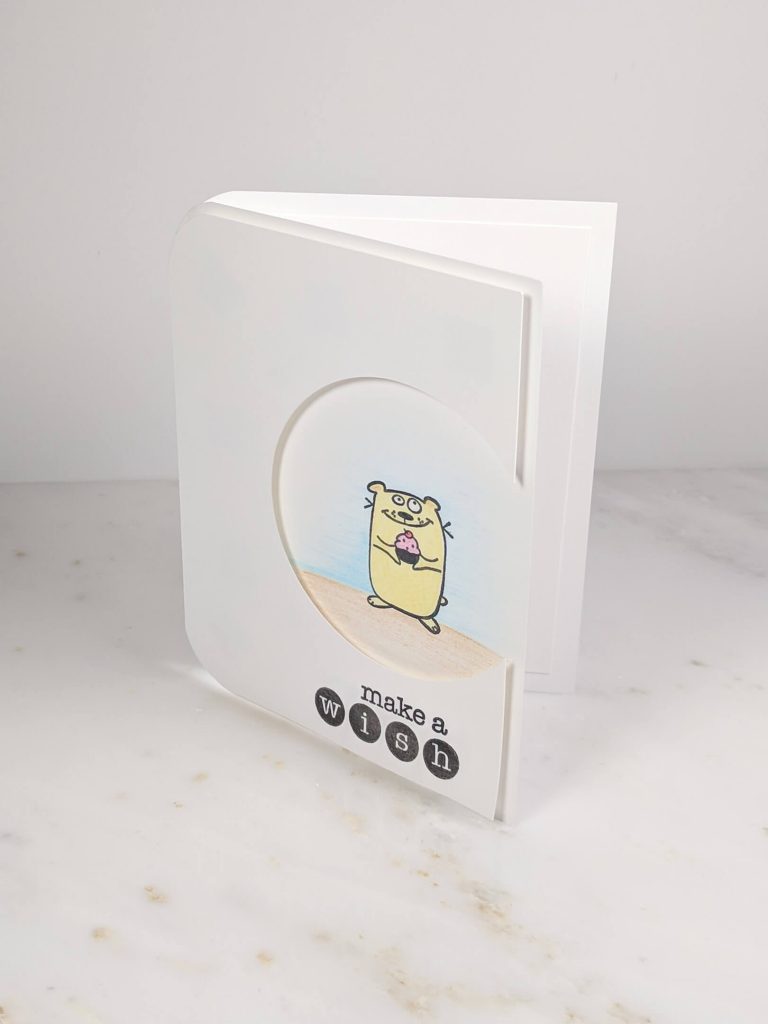
Next, I traced a circle on the right-hand side of another sheet of 5.25×4 inch Solar White paper. I intentionally made the circle come off the edge of the paper this made it easy to cut and it also gave it a bit of an off-balanced feel.
Step 2. Position the circular design.
Once I had finished trimming the circle with a pair of scissors, I positioned the 5.25×4 sheet of cardstock on top of the card base and lightly laid some washi tape over top of both pieces to keep them in place while I stamped my image.
Step 3. Stamp and color the design.
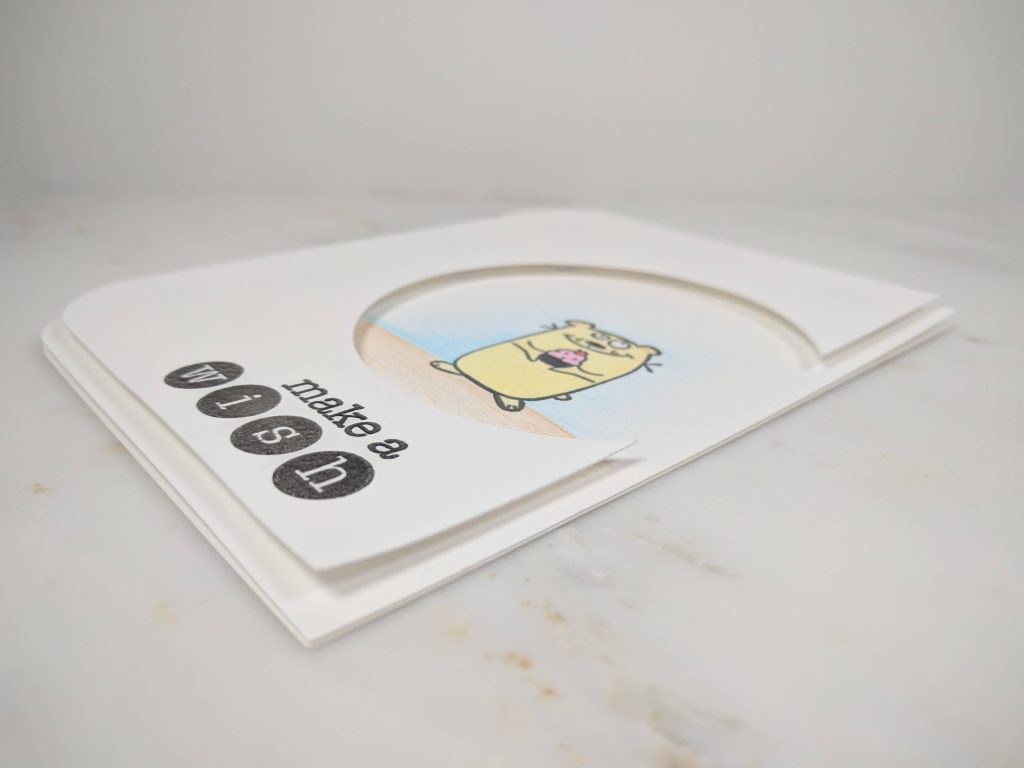
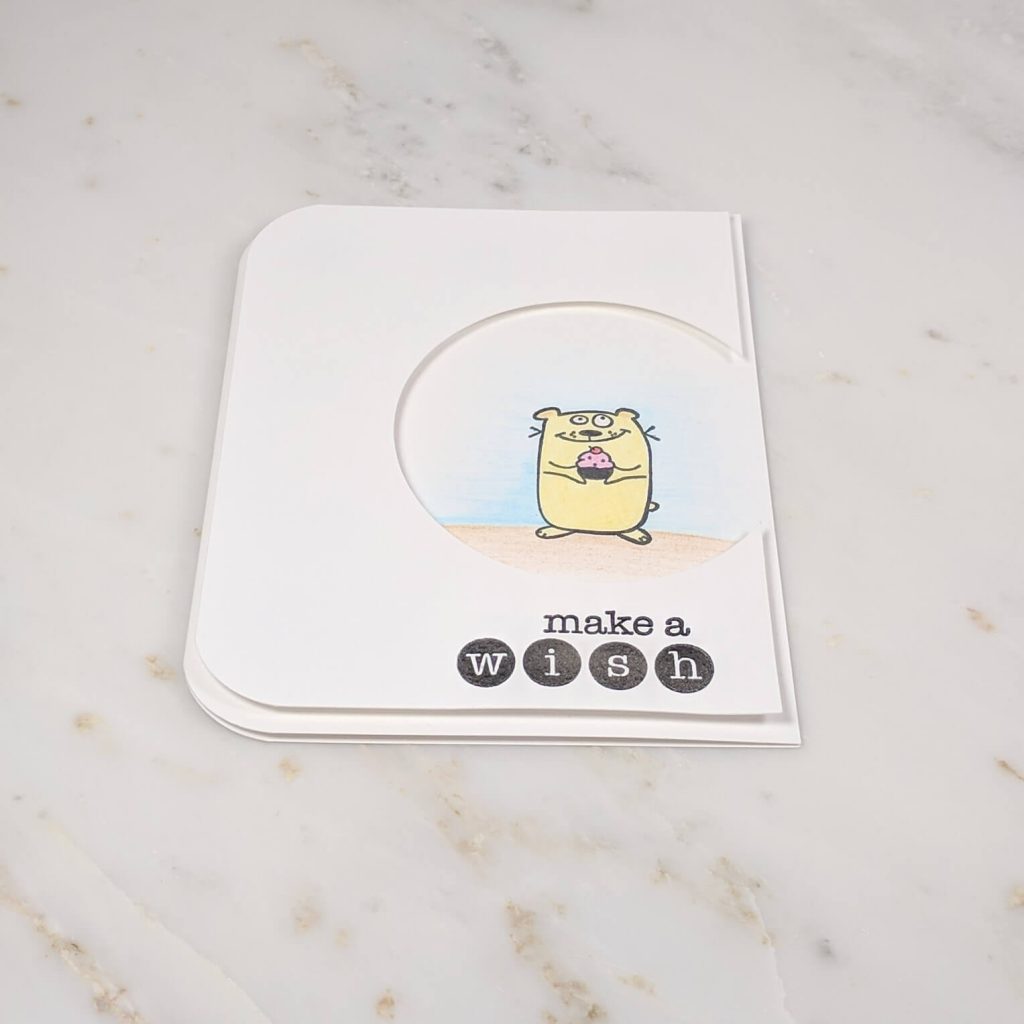
Next, I stamped this cute little cartoon pupper holding a cupcake in the center of the circle, directly onto the card base using black archival ink. Once I had stamped my image, I removed the washi tape and the top layer of cardstock. Then, I went to town using my Faber-Castell Polychromos colored pencils to do a little background shading and to color in the little pup on the card.
Step 4. Emboss the sentiment.
After my pupper had been colored, I took my EK Tools powder tool and ran it across the bottom of the 5.25×4 inch sheet of Neenah Solar White cardstock to remove any static from the paper. I stamped the ‘make a wish’ sentiment on the cardstock with my Colorbox CLEARSNAP Pigment Inkpad and covered the ink with Stampendous clear embossing powder. I then used my Uchida heating tool to set the powder over the image.
Step 5. Add the finishing touches.
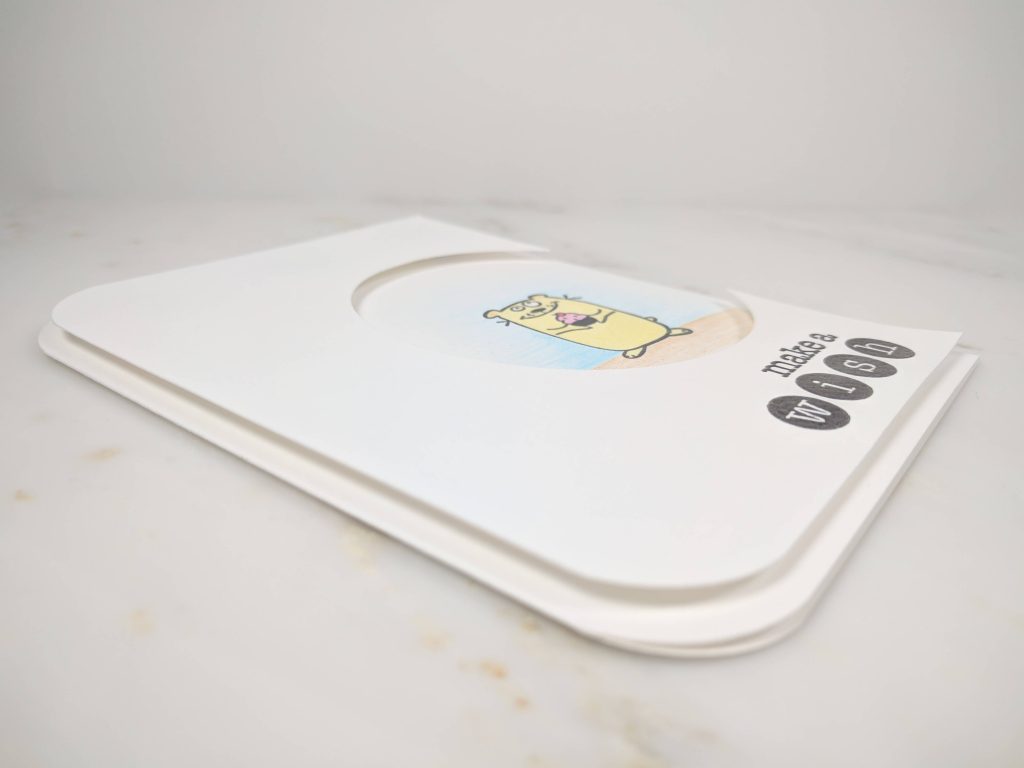
Lastly, I rounded the edges using my rounded corner punch on the left side of the card base and the 5.25×4 inch cardstock. I then put some Forever In Time 3D Pop Dots on the back of the 5.2 x 4 cardstock and centered it on the card base.
Hopefully you enjoyed this tutorial! Check out more birthday card tutorials here. or follow me on Instagram, Facebook or Pinterest for the latest updates!